Popular Menu and Toolbar Options
Across the top of the IDE are toolbars. These represent a subset of the items that are available in the IDE’s main menu. There are lots of toolbar options and lots of menu items. We will use some of these in the course of this book, but we will not be examining all of them.
By contrast, there are several menu items — many with corresponding toolbar buttons — that are fairly popular and are worth mentioning now.
We already used one of these toolbar buttons: the Run option, represented by a green triangle:

Additional Run Options
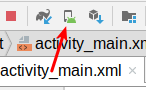
After you have run your app on a device or emulator, a few new toolbar buttons will show up, replacing the original Run button:

The black square with a green curved arrow will re-run your app on the device or emulator. This will do the same thing as the Run button did back when it was just the simple green triangle.
The “A” with a green curved arrow, and the four lines with a tiny green curved arrow, will try to take changes that you have made in the IDE and simply “apply” them to the running copy of your app. For larger projects, this might be substantially faster than just running the app. However, it is somewhat risky — the resulting patched app might not be exactly the same as what you would get by just running it normally.
Debug
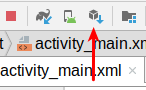
Near to those toolbar buttons is a large green bug:

This is the “Debug” button. By default, clicking this has much the same effect as clicking the Run button, other than Debug happening a bit more slowly. However, this runs your app under the control of the Android Studio debugger, where you can set breakpoints, inspect objects, and otherwise see what is going on when the app is running.
We will examine how to use the Android Studio debugger more later in the book.
Open Project/Open Recent
In Android Studio, you can have several projects open at one time. Each project gets its own separate window, with the same menus, toolbar, and so on as do the other windows.
To open another project, you can:
- Choose File > Open… from the main menu, to open an existing Android Studio project
- Choose File > Open Recent from the main menu, which will bring up a fly-out menu containing a list of projects that you have recently worked on, to be able to re-open those projects rapidly
- Choose File > New > Import Project from the main menu to import another project and set it up for use with Android Studio
- Choose File > New > New Project from the main menu to create a new project using a new-project wizard, which we will examine later in the book
To stop working on a project, just close its window. To stop Android Studio completely, close all of its windows. When you re-launch Android Studio, it will re-open the last project you had worked in, and you can get to other recent projects quickly via File > Open Recent.
AVD Manager
We saw how to set up an emulator with the AVD Manager in the previous chapter.
To return to the AVD Manager, you can use the Tools > AVD Manager main menu option that you did before. Also, there is a toolbar button for more rapid access to the AVD Manager:
We will explore the AVD Manager, and working with the emulator, in greater detail in an upcoming chapter.
SDK Manager
When you installed Android Studio and ran it for the first time, a lot of the tools, libraries, and related materials that form “the Android SDK” were also downloaded and installed for you.
When updates to Android Studio or installed pieces of the Android SDK are available, you will be prompted with a dialog or other form of pop-up, where you can elect to allow Android Studio to install the update. Note that installing updates may take a few minutes, depending on your Internet connection speed. Also note that installing updates may require you to restart Android Studio afterwards to apply those updates.
On occasion, you may find instructions telling you to go to “the SDK Manager” to install something. You can get to the SDK Manager via Tools > SDK Manager in the main menu or via its corresponding toolbar button:
We will explore the SDK Manager in greater detail later in the book.
Settings
To control the overall behavior of Android Studio, there is a Settings dialog that you can display via “File” > “Settings” (on Windows and Linux; macOS has an equivalent option in “Android Studio” > “Preferences…”):
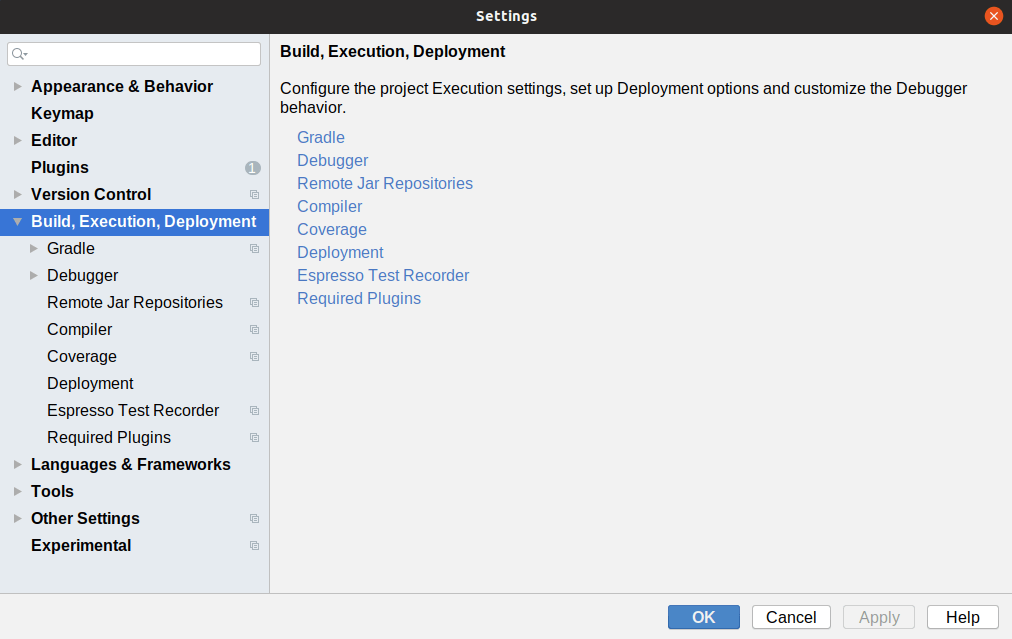
There are a lot of settings that you can configure in the Settings dialog. You can either navigate via the tree on the left or via the search field.
Some popular things to tailor include:
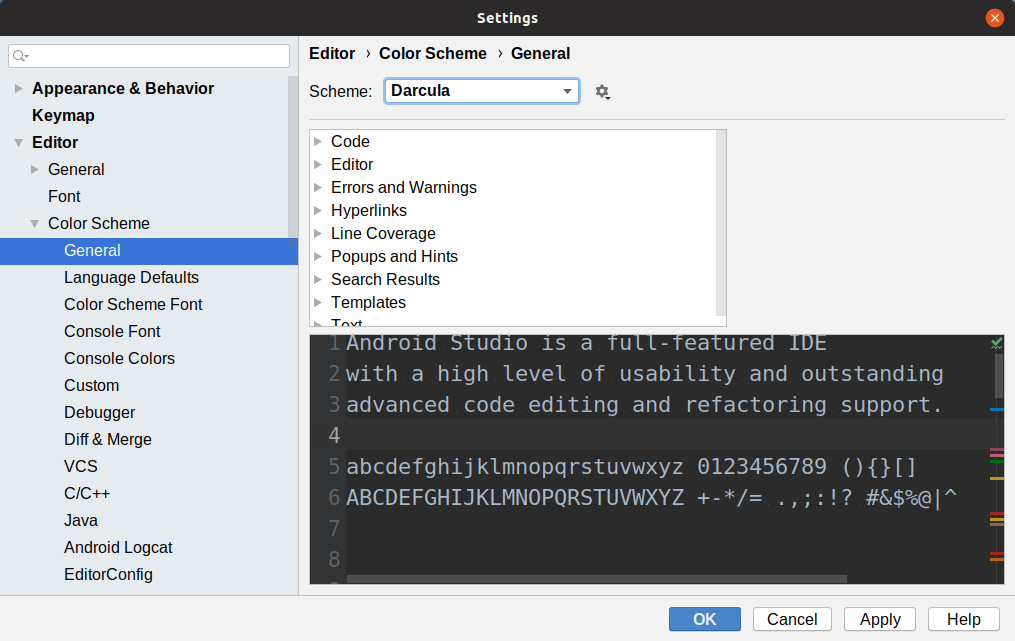
- The color scheme to use for the IDE:
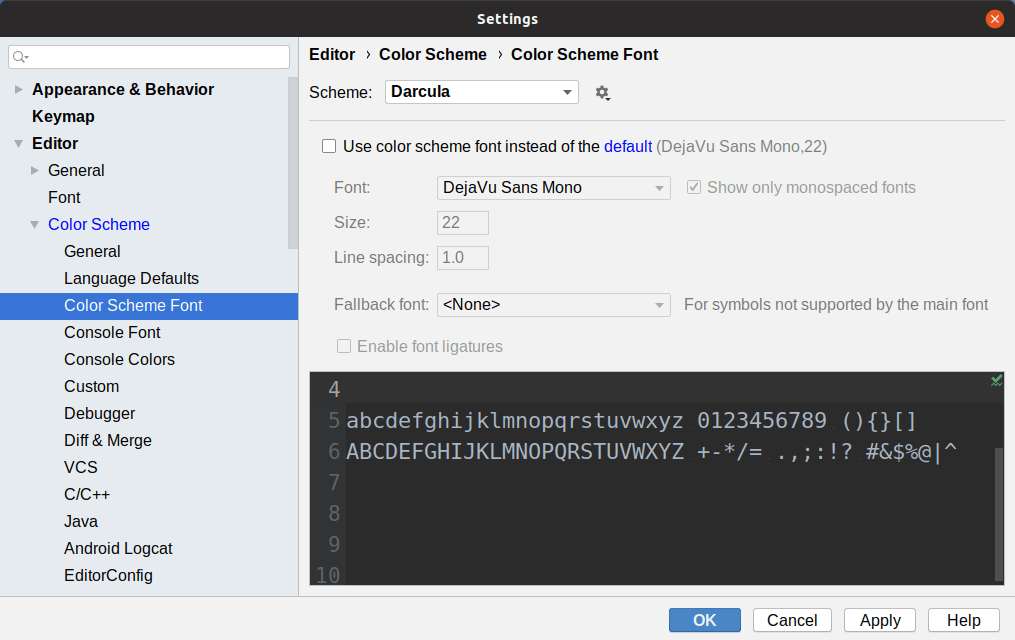
- The font and font size to use in the editing pane:
- The coding style rules to apply to your source code, for languages like Java and Kotlin:

We will explore more options later in the book.
Prev Table of Contents Next
This book is licensed under the Creative Commons Attribution-ShareAlike 4.0 International license.