Using the AVD Manager and the Emulator
Some developers focus on using actual Android-powered devices for testing their Android apps. However, nearly every developer winds up using the Android SDK emulator for at least some work. We set up the emulator and set up an AVD earlier in the book. Here, we will explore some more capabilities of the emulator, beyond the basics of being able to run your Android app.
Notable AVD Configuration Options
When defining an AVD, or editing an existing AVD definition, there are many configuration options at your disposal, beyond those that we saw in the earliest chapters of the book.
Hardware Graphics Acceleration
One way to speed up the emulator is to have it use the graphic card or GPU of your development machine to accelerate the graphics rendering of the emulator window. By default, the emulator will use software-based rendering, without the GPU, which is slow in general and worse when running an ARM-based image.
Whether this will work or not for you will depend in part upon your graphics drivers of your development machine. Also, their use might conflict with other things you might want to do — on Linux, using hardware GPU mode might break your ability to take screenshots, for example.
This setting is toggled within the AVD Manager, for new and existing AVDs, via the “Graphics” drop-down list in the “Emulated Performance” group:

There are three options:
- “Software” says to render the graphics purely within the emulator software
- “Hardware” says to render the graphics using the GPU of your development machine
- “Auto” (the default) delegates the decision to the emulator itself, based on its own heuristics of what will work well
Keyboard Behavior
The Android emulator can emulate devices that have, or do not have, a physical keyboard. Most Android devices do not have a physical keyboard, and so the emulator is set up to behave the same. However, this means that typing on your development machine’s keyboard will not work in EditText widgets and the like — you have to tap out what you want to type on the on-screen keyboard.
If you wish to switch your emulator to emulate a device with a physical keyboard — either “for realz” or just to simplify working with the emulator on your development machine — you can do so.
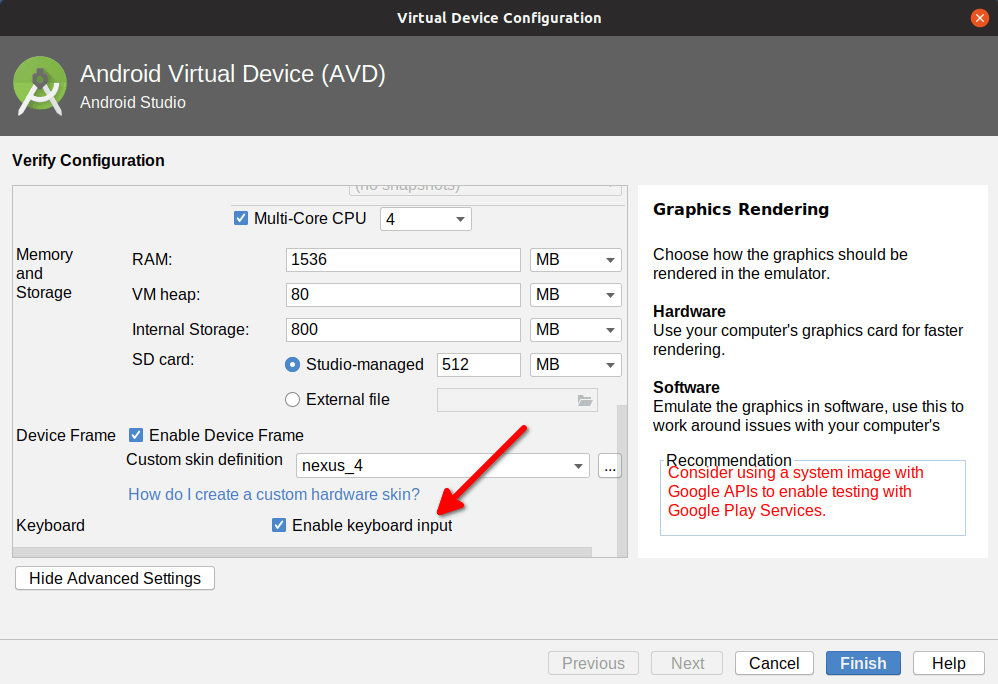
In the Android Studio AVD Manager, in the “Advanced Settings” area, there is an “Enable keyboard input” checkbox that determines whether hardware keyboard input is honored in the AVD or not:
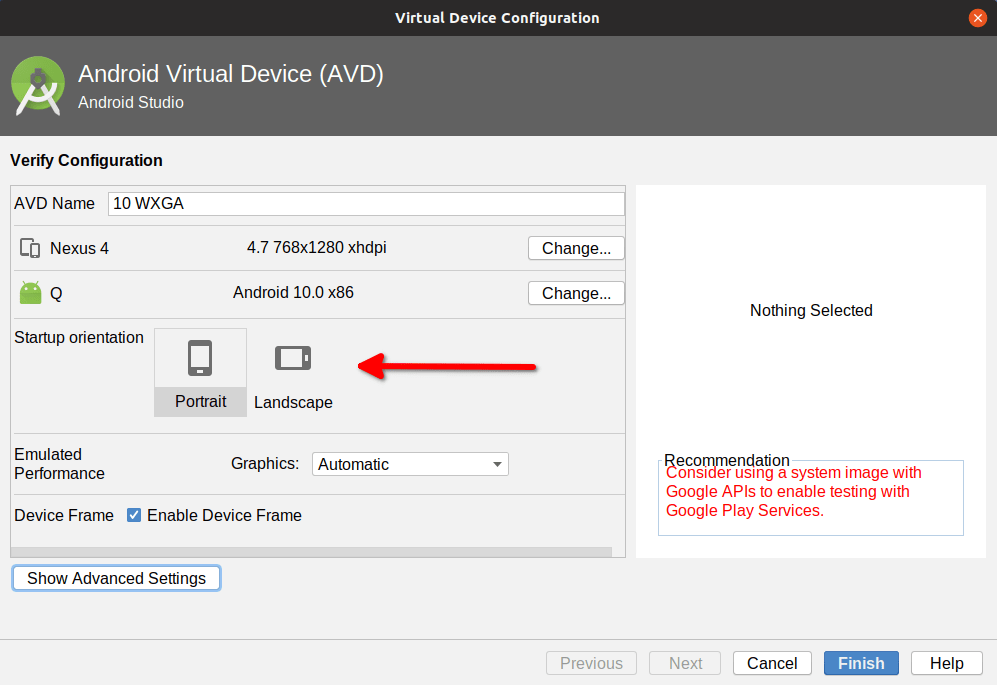
Startup Settings
You can also control whether the device starts up in portrait or landscape mode at the outside, by the toggle buttons labeled “Startup orientation”:
Camera Options
In the “Advanced Settings” area, you can control whether or not the emulator emulates a device with a camera:
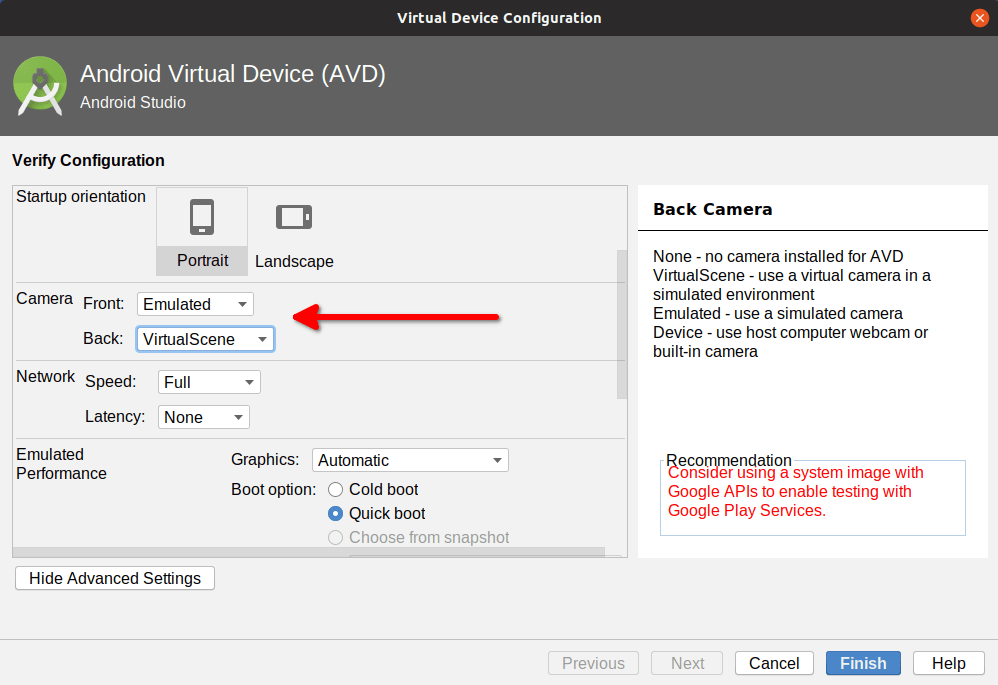
Whether you can configure both front and back cameras, or just one, is indeterminate. If you can configure a camera, your options are:
- “None”, to emulate a device without a camera
- “Emulated”, which emulates a device with a camera, but where the camera images themselves are emulated
- some hardware indicator (e.g.,
Webcam0), which emulates a device with a camera, where the camera images are pulled from some camera hardware on your development machine (e.g., a notebook webcam)
The back camera also will have a “VirtualScene” option, where the camera will appear to be looking at the interior of a home, in the form of a 3D rendering of that interior.
However, the emulator’s ability to truly emulate the way Android cameras behave is very limited. Serious camera testing needs to be done using Android hardware, not the emulator.
Memory and Storage Configuration
In the “Advanced Settings” area, you can control how much RAM and storage is used by the emulator:

Specifically:
- “RAM” controls how much system RAM the emulator emulates. This will be a subset of the overall RAM of your development machine that the emulator consumes.
- “VM heap” appears to control the Dalvik/ART heap limit assigned to applications.
- “Internal Storage” indicates how much space is allocated for the main device partitions in the emulated device.
- “SD card” is still the misnomer for external storage. Your options are either to have Android Studio manage this for you, or for you to use tools like
mksdcardto create your own disk image that you attach to the emulator.
Usually, the defaults are fine.
Prev Table of Contents Next
This book is licensed under the Creative Commons Attribution-ShareAlike 4.0 International license.