Getting Your First Project
Creating an Android application first involves an Android “project”. As with many other development environments, the project is where your source code and other assets (such as icons) reside. And, the project contains the instructions for your tools for how to convert that source code and other assets into an Android app.
So, let’s work on setting up a “hello, world!” application to examine.
As with the rest of this book, these instructions are for Android Studio Arctic Fox. If you are using a different version of this IDE, while the instructions are likely to be close to what you will see, there will be differences.
Step #1: Importing the Project
Roughly speaking, there are two ways to start with a project with Android Studio: creating a new project or importing an existing project.
It might sound like creating a new project would be the more common scenario. In truth, many developers import an existing project, because they are working on a development team, and somebody else on the team created the project. Often, that project was created quite some time ago, with developers coming and going from the team.
So, while we will see how to create a project later in the book, for now, let’s import an existing project, one set up for use by this book. It will closely resemble the sort of project that you get when creating a brand-new project in Android Studio.
You can download this project from the CommonsWare site. Then, unZIP that project to some place on your development machine. It will unZIP into an HelloWorld/ directory.
Then, import the project. From the Android Studio welcome dialog — where we ended up at the end of the previous chapter — you can import a project via the “Import project (Eclipse ADT, Gradle, etc.)” option. If you already have a project open in Android Studio, you can import a project via File > New > Import Project… from the main menu.
Importing a project brings up a typical directory-picker dialog. Pick the HelloWorld/ directory and click OK to begin the import process. This may take a while, depending on the speed of your development machine. A “Tip of the Day” dialog may appear, which you can dismiss.
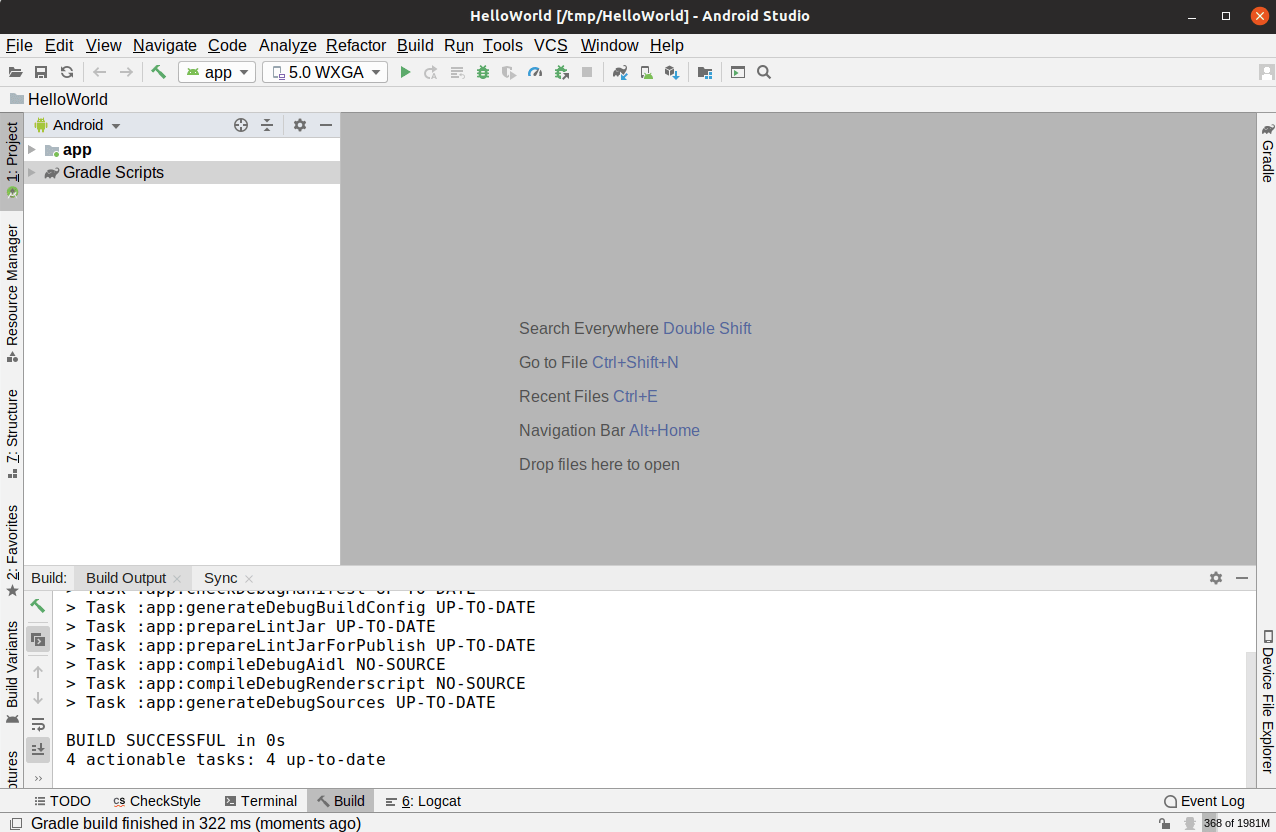
At this point, you should have a mostly-empty Android Studio IDE window:
We will examine what is all in this window coming up in future chapters. But, first, let’s get things set up for you to be able to run this sample app and see its results.
Prev Table of Contents Next
This book is licensed under the Creative Commons Attribution-ShareAlike 4.0 International license.