Writing Unit Tests
First, let’s look at unit tests, the ones that run on your development machine. As noted above, these reside in the test/ source set of your module.
The ToDoTests sample module in the Sampler contains a couple of unit tests in Kotlin. A Java project will have a similar setup, just with Java test classes.
ToDoTests is an expanded version of the “To Do” sample app that we explored back in the chapters on fragments and navigation. It is reminiscent of the sample app being developed in Exploring Android, with a variety of changes.
Configure Gradle
Gradle knows how to run unit tests “out of the box”. The only thing that you need to configure in Gradle are dependencies. Just as your app code can depend upon libraries, so too can your test code. However, instead of implementation (to add dependencies to your main source set), you use testImplementation (to add dependencies to your test source set).
ToDoTests has several such dependencies:
  testImplementation "org.mockito:mockito-inline:3.12.1"
  testImplementation "com.nhaarman.mockitokotlin2:mockito-kotlin:2.2.0"
  testImplementation 'org.jetbrains.kotlinx:kotlinx-coroutines-test:1.5.1'
  androidTestImplementation 'androidx.test.ext:junit:1.1.3'
  androidTestImplementation 'androidx.test.espresso:espresso-core:3.4.0'
  androidTestImplementation "androidx.arch.core:core-testing:2.1.0"
The two that nearly every project will use are:
-
junit:junit, which contains the JUnit unit test framework -
androidx.arch.core:core-testing, which contains the main Jetpack support for unit testing
Everything else beyond that is particular to the test code that you want to write. We will see what some of these dependencies give to us later in this chapter, as we explore the tests that are already here.
Create a Test Class
For your own project, though, you will need to create your own test classes. You will not be able to download them from some book’s repository.
(sorry!)
Inside the test/ source set, you can have a java/ directory containing your standard sort of Java packages and Java/Kotlin source files.
How you choose to organize your test code into packages is up to you. Note, though, that if you place test code in the same package as the code that it is testing, you can access package-private Java methods, fields, and so forth. For example, if you are testing a foo.bar.Something class, and your test class is foo.bar.SomethingTest, SomethingTest can access the package-private members of Something… even when Something and SomethingTest are in separate source sets. This gives you some amount of “white box testing”, as you can peek inside more of the objects being tested. Kotlin does not use Java’s package-private system, so this distinction is less important in a pure-Kotlin project.
Your test classes are just ordinary Java/Kotlin classes. They do not have to extend any particular base class, nor does the class necessarily have to have any annotations to teach JUnit that it is a class containing tests.
Add Test Functions
In your test class, you can add test methods or functions. These need to:
- Be annotated with
@Test - Take no parameters (by default)
- Be
public(for Java; Kotlin functions are public by default) - Return
void(in Java) orUnit(the default return type in Kotlin)
In ToDoTests, we have a SillyTest test class with a pair of silly test functions:
package com.commonsware.todo

import org.junit.Assert.assertEquals
import org.junit.Test

class SillyTest {
  @Test
  fun `this is very silly`() {
    assertEquals(1, 1)
  }

  @Test
  fun thisIsEquallySillyButWithoutBackticks() {
    assertEquals(4, 2 + 2)
  }
}In Kotlin unit tests, you will sometimes find test functions that have a strange function name syntax, where the function name has spaces and/or punctuation, and the whole function name is wrapped in backticks. While this looks odd in the code, when you run the tests, since the function names become part of the test output, it allows that test output to read a bit more naturally.
 You can learn more about backticks in function names in the "Escaped Method Names" chapter of Elements of Kotlin!
Assert Yourself
The bodies of these two test functions both call an assertEquals() method. This comes from JUnit, and it “does what it says on the tin”: it asserts that two values are equal. If they are, the test passes. If they are not, the test fails. If there are no assertion failures in the entire test function, the test succeeds.
There are many libraries available to add more powerful assertion rules than “does X equal Y?”. We will see one of these — Hamkrest — in the course of this chapter.
Running the Tests
The “gutter” area in the Java/Kotlin editor will show green “run” icons next to the test class and any test methods or functions:
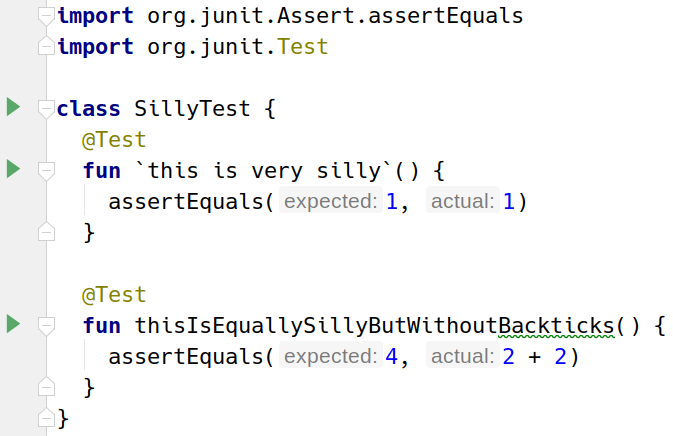
SillyTest, As Viewed in Android Studio
As you might expect, clicking the “run” icon runs whatever the icon points to: an individual test method/function or the entire class.
And, as we saw earlier in the book, whatever you choose to run — a single test, a single class, etc. — the results will appear in a “Run” tool, docked by default at the bottom of the Android Studio window:

Executing Code Around the Tests
Each test method or function is executed in an independent instance of the test class. So, if we run both tests in SillyTest, two instances of SillyTest get created, one for each of the two test functions.
If you have common initialization or cleanup code that you want to execute around those test functions, you have several options:
- You can use an ordinary constructor or field/property initializers
- You can have a method or function annotated with
@Before— this will be called before each of the test functions - You can have a method or function annotated with
@After— this will be called after each of the test functions - You can have a method or function annotated with
@BeforeClass— this will be called before any of the test functions in the test class get executed - You can have a method or function annotated with
@AfterClass— this will be called after any of the test functions in the test class get executed
In addition, you can have a field or property annotated with @Rule. A JUnit rule encapsulates “before” and “after” logic. The rule instance in the @Rule-annotated field or property will be able to perform some work before each test method/function and after each test method/function. This allows for easier reuse and encapsulation of whatever the before/after logic entails.
We will see examples of @Before and @Rule later in this chapter.
Prev Table of Contents Next
This book is licensed under the Creative Commons Attribution-ShareAlike 4.0 International license.