Using AlertDialog and DialogFragment
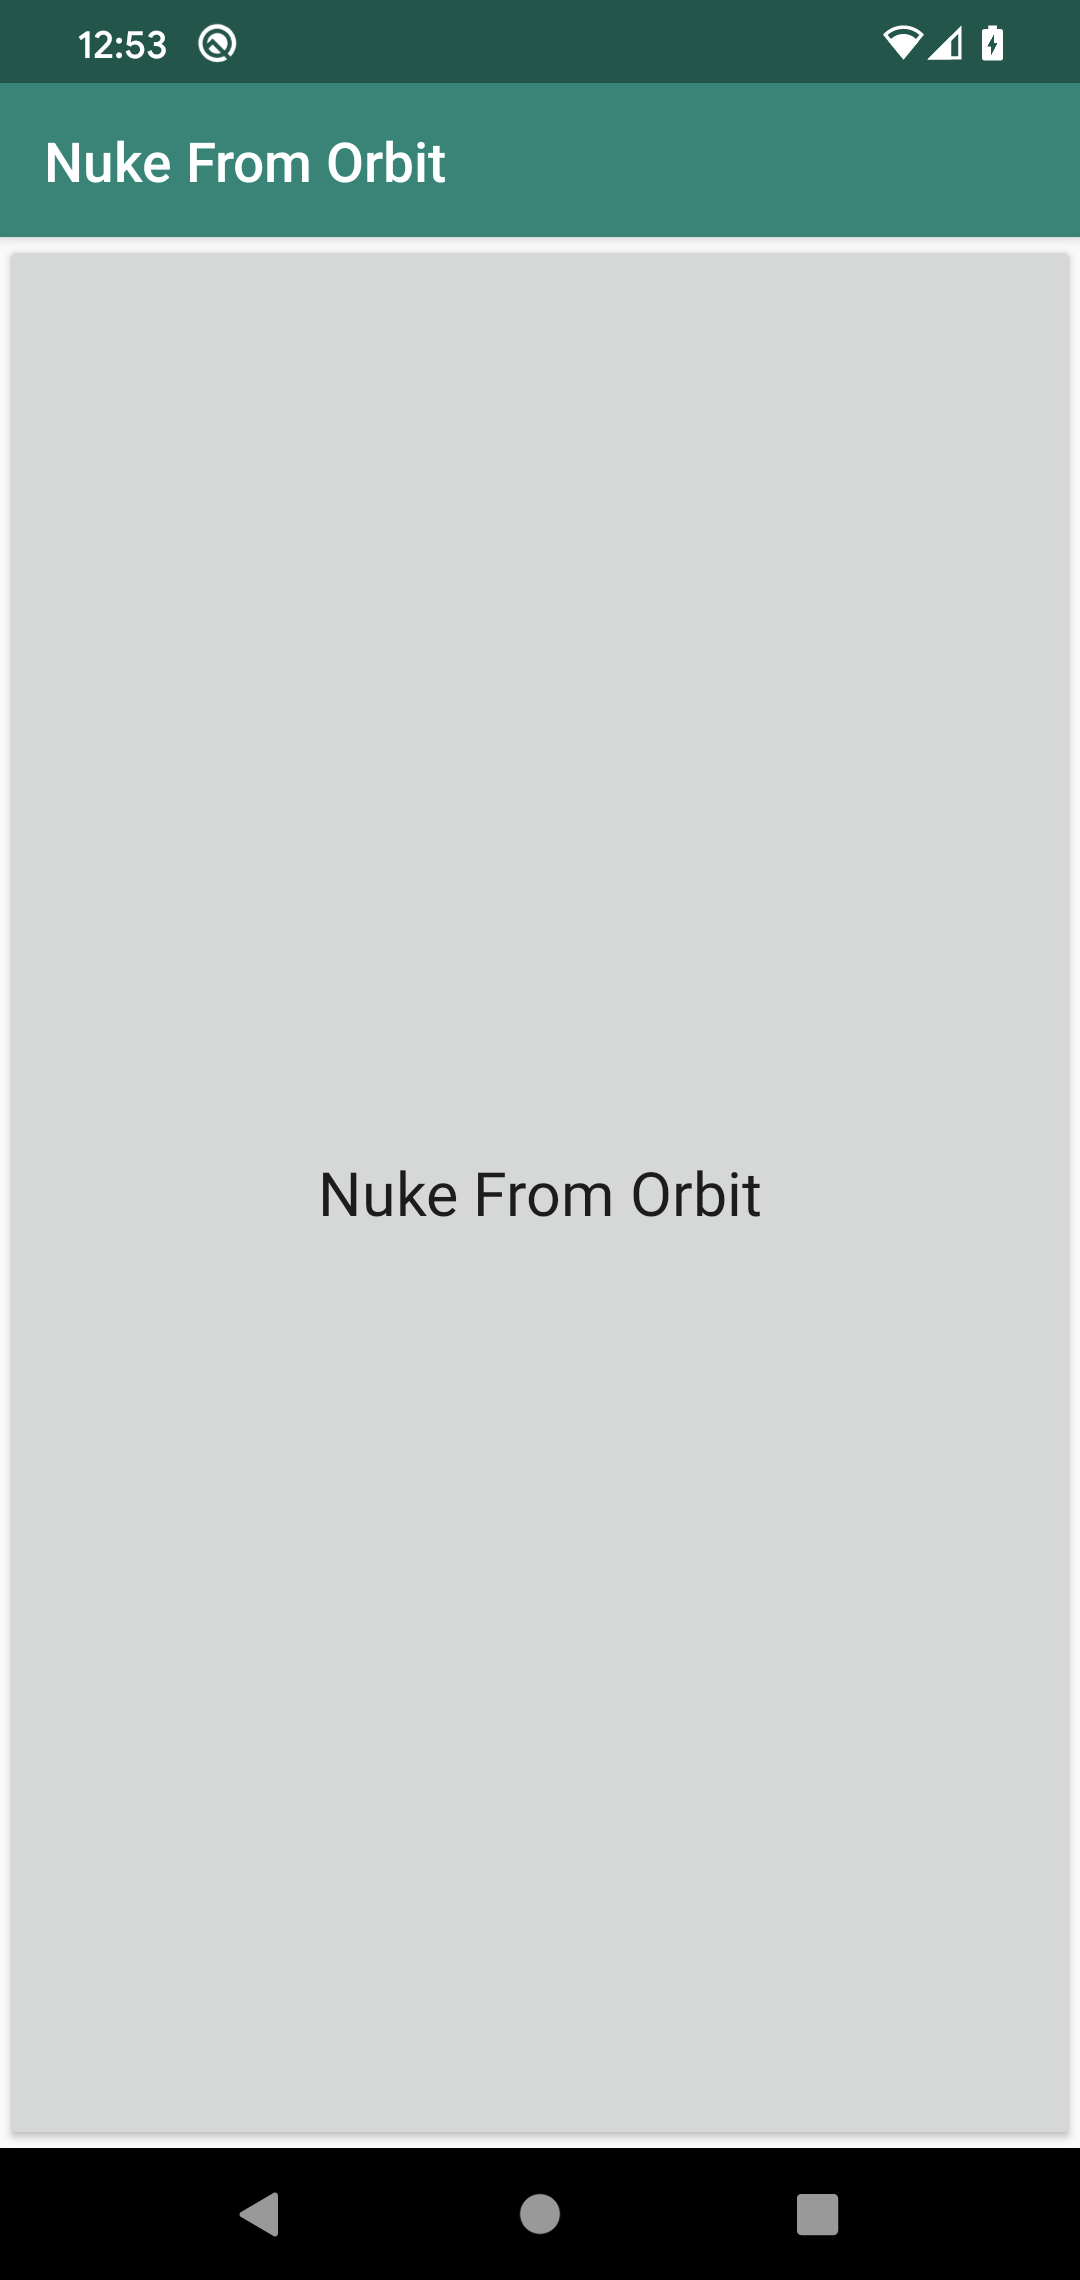
The NukeFromOrbit sample module in the Sampler and SamplerJ projects has a UI that consists of a really big button:
Clicking the button brings up the dialog shown earlier in the chapter:
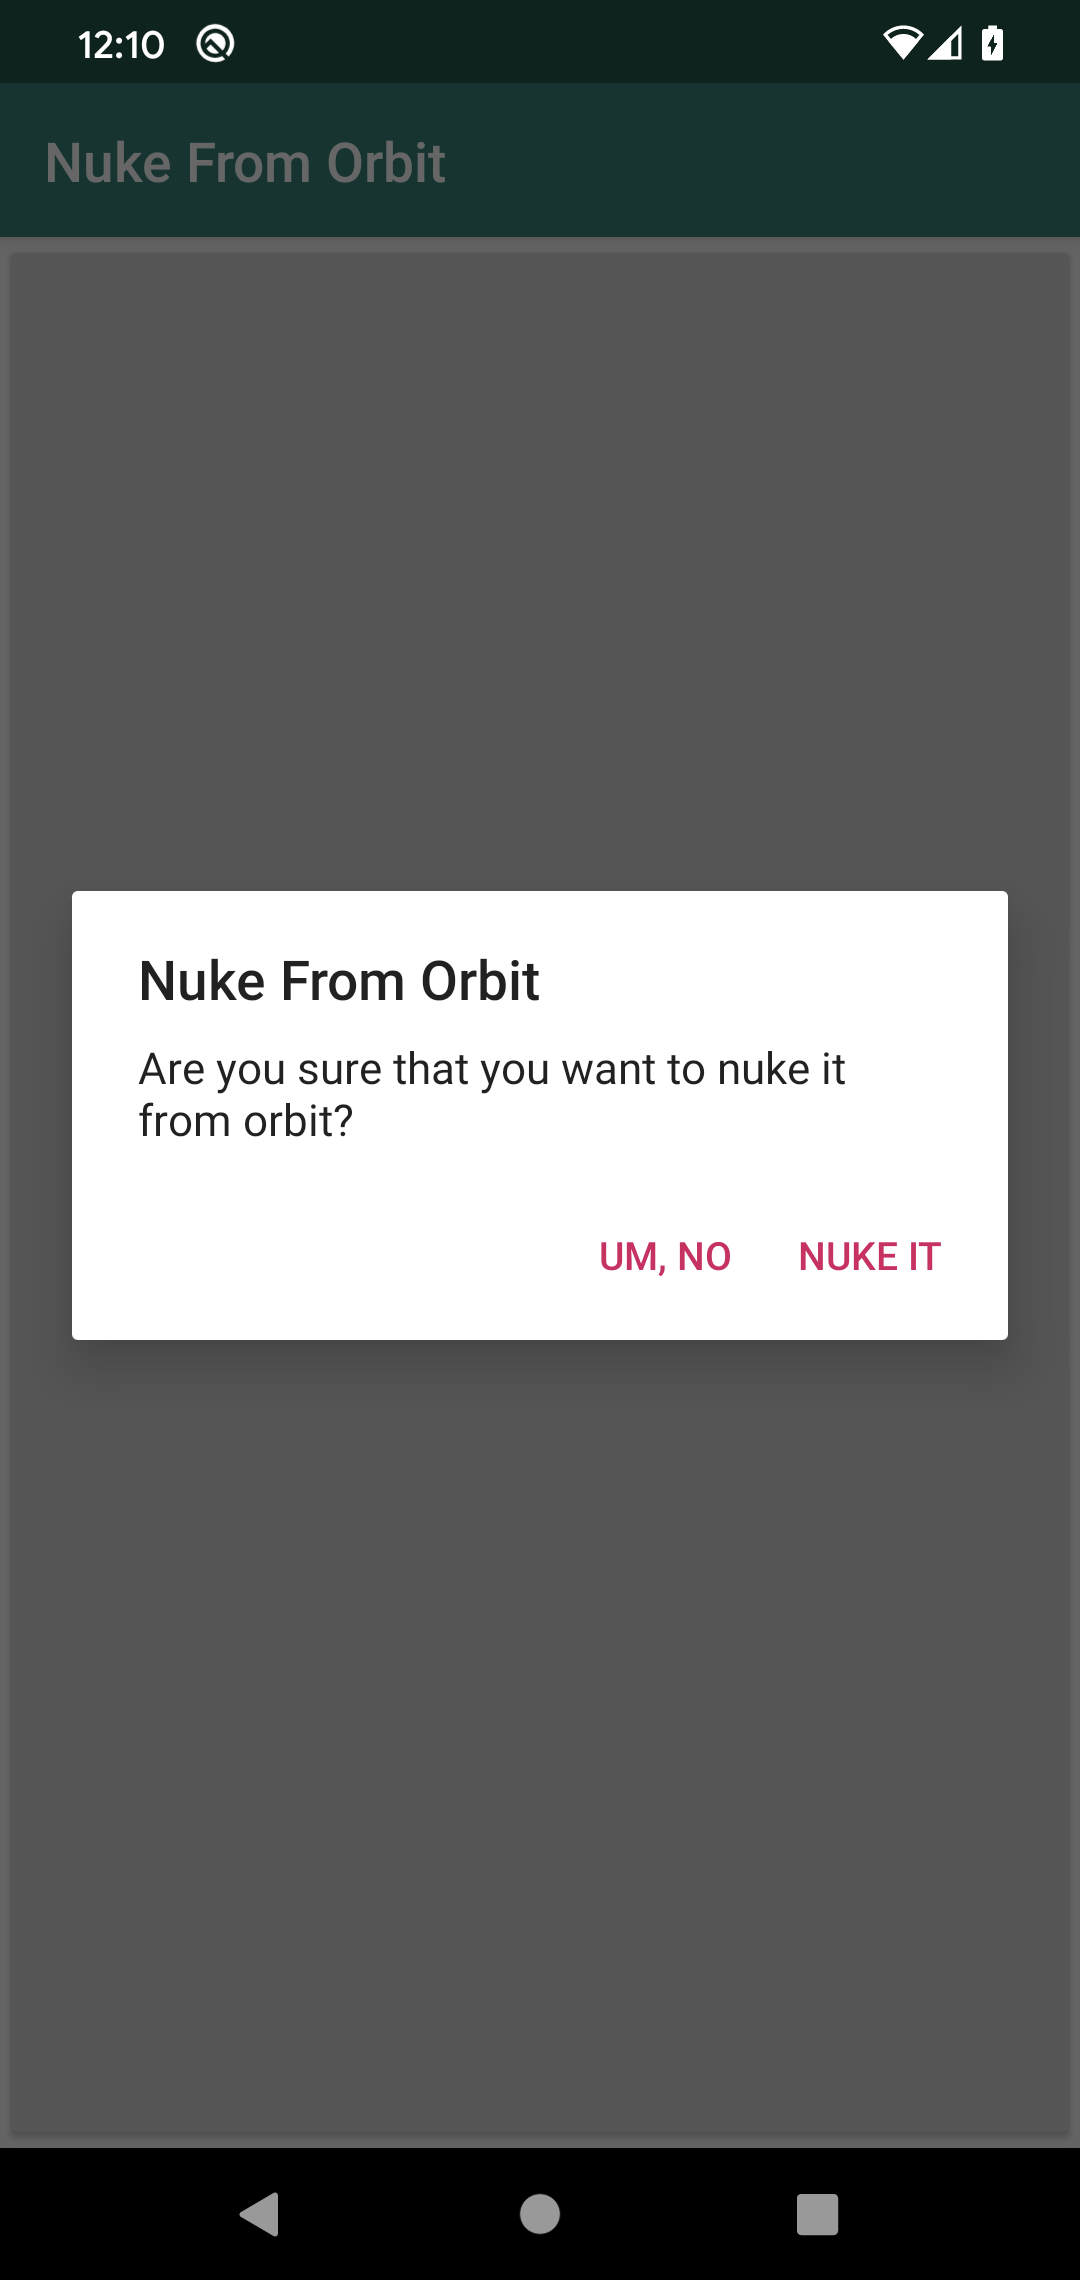
Clicking either button dismisses the dialog, but if you click the “Nuke It” button, we also display a Toast.
Defining the Dialog
This particular sample uses DialogFragment and AlertDialog to display the fragment. The apps have a ConfirmationDialogFragment that overrides onCreateDialog() and creates an AlertDialog to display:
package com.commonsware.jetpack.samplerj.dialog;

import android.app.Dialog;
import android.content.DialogInterface;
import android.os.Bundle;
import androidx.annotation.NonNull;
import androidx.annotation.Nullable;
import androidx.appcompat.app.AlertDialog;
import androidx.fragment.app.DialogFragment;
import androidx.lifecycle.ViewModelProvider;
import androidx.navigation.NavController;
import androidx.navigation.fragment.NavHostFragment;

public class ConfirmationDialogFragment extends DialogFragment {
  @NonNull
  @Override
  public Dialog onCreateDialog(@Nullable Bundle savedInstanceState) {
    final NavController navController = NavHostFragment.findNavController(this);
    final ViewModelProvider viewModelProvider = new ViewModelProvider(navController.getViewModelStoreOwner(R.id.nav_graph));
    final GraphViewModel vm = viewModelProvider.get(GraphViewModel.class);

    return new AlertDialog.Builder(requireActivity())
      .setTitle(R.string.dialog_title)
      .setMessage(R.string.dialog_message)
      .setPositiveButton(R.string.dialog_positive, (dialog, which) -> vm.onAccept())
      .setNegativeButton(R.string.dialog_negative, (dialog, which) -> vm.onDecline())
      .setOnCancelListener(dialog -> vm.onDecline())
      .create();
  }
}
package com.commonsware.jetpack.sampler.dialog

import android.app.Dialog
import android.content.DialogInterface
import android.os.Bundle
import androidx.appcompat.app.AlertDialog
import androidx.fragment.app.DialogFragment
import androidx.lifecycle.ViewModelProvider
import androidx.navigation.fragment.NavHostFragment

class ConfirmationDialogFragment : DialogFragment() {
  override fun onCreateDialog(savedInstanceState: Bundle?): Dialog {
    val navController = NavHostFragment.findNavController(this)
    val viewModelProvider =
      ViewModelProvider(navController.getViewModelStoreOwner(R.id.nav_graph))
    val vm = viewModelProvider.get(GraphViewModel::class.java)

    return AlertDialog.Builder(requireActivity())
      .setTitle(R.string.dialog_title)
      .setMessage(R.string.dialog_message)
      .setPositiveButton(R.string.dialog_positive) { _, _ -> vm.onAccept() }
      .setNegativeButton(R.string.dialog_negative) { _, _ -> vm.onDecline() }
      .setOnCancelListener { vm.onDecline() }
      .create()
  }
}To create an AlertDialog, we use an AlertDialog.Builder. This takes our activity as a constructor parameter, so we use requireActivity() to get the activity that is hosting this fragment and use it. As the name suggests, AlertDialog.Builder offers a builder-style API to create the dialog, where we can call a series of functions one after the next. Specifically we configure:
- The title, which is displayed towards the top (“Nuke From Orbit”)
- The message, which is the simplest form of “content” for the dialog, consisting of just a piece of text to display (“Are you sure that you want to nuke it from orbit?”)
- The positive button (“Nuke It”) and negative button (“Um, No”)
- A listener for if the user cancels the dialog by other means, such as pressing the system BACK button
For the buttons, in addition to the caption, we also provide a lambda expression that will be invoked if the button gets clicked. What that lambda expression does, and the rest of the stuff in onCreateDialog(), we will explore more later on.
Displaying the Dialog
The classic way of displaying a DialogFragment is to create an instance and call show() on it. This certainly works and you are welcome to use it.
However, if you are using the Navigation component, you can set up a DialogFragment as a destination in a navigation graph, simply by using a <dialog> element instead of a <fragment> element:
<?xml version="1.0" encoding="utf-8"?>
<navigation xmlns:android="http://schemas.android.com/apk/res/android"
  xmlns:app="http://schemas.android.com/apk/res-auto"
  android:id="@+id/nav_graph"
  app:startDestination="@id/mainFragment">

  <fragment
    android:id="@+id/mainFragment"
    android:name="com.commonsware.jetpack.sampler.dialog.MainFragment"
    android:label="MainFragment" >
    <action
      android:id="@+id/confirmNuke"
      app:destination="@id/confirmationDialogFragment" />
  </fragment>
  <dialog
    android:id="@+id/confirmationDialogFragment"
    android:name="com.commonsware.jetpack.sampler.dialog.ConfirmationDialogFragment"
    android:label="ConfirmationDialogFragment" />
</navigation>Here, we have ConfirmationDialogFragment set up in a graph, reachable by a confirmNuke action from MainFragment.
MainFragment — which happens to be displaying that big button — can then just navigate to ConfirmationDialogFragment without knowing or caring that this is a dialog versus some other type of destination:
    binding.nuke.setOnClickListener(v ->
      NavHostFragment.findNavController(MainFragment.this)
        .navigate(R.id.confirmNuke));
    requireBinding().nuke.setOnClickListener {
      NavHostFragment.findNavController(this@MainFragment)
        .navigate(R.id.confirmNuke)
    }
Here, we are using view binding to bind a click listener to the nuke button, so when the button is clicked, we show the dialog.
Sharing a ViewModel
Often, an activity or fragment needs a private ViewModel for managing its own data. However, sometimes, it would be useful to have shared ViewModel objects. For example, in this sample app, MainFragment needs to know whether the user clicked the positive or the negative button. This implies some amount of data-sharing between MainFragment and ConfirmationDialogFragment, and sharing a ViewModel would be one approach for that sort of sharing.
That is handled by having the right ViewModelProvider:
- An activity that creates a
ViewModelProviderviaViewModelProvider(this)will getViewModelobjects tied to the activity - A fragment that creates a
ViewModelProviderviaViewModelProvider(this)will getViewModelobjects tied to the fragment - A fragment that creates a
ViewModelProviderby passing the hosting activity to theViewModelProviderconstructor will getViewModelobjects tied to the activity… and if the activity usesViewModelProvider(this), the activity and the fragment will share thoseViewModelobjects
In Kotlin, instead of using the viewModels() property delegate, you can use activityViewModels() to get a ViewModel from the activity’s scope, sharing that ViewModel with the activity.
It is also possible to get a ViewModelProvider tied not to an activity or a fragment, but to a navigation graph. All of the destinations in that navigation graph will share ViewModel objects obtained from the graph-specific ViewModelProvider.
To do that, we:
- Obtain a
NavControllerfor the fragment, viaNavHostFragment.findNavController() - Create a
ViewModelProvider, passing in aViewModelStoreOwnerobtained from theNavController - Use that
ViewModelProviderforViewModelobjects to be shared among destinations in the navigation graph
Both MainFragment and ConfirmationDialogFragment do this via similar blocks of code:
    final NavController navController = NavHostFragment.findNavController(this);
    final ViewModelProvider viewModelProvider = new ViewModelProvider(navController.getViewModelStoreOwner(R.id.nav_graph));
    final GraphViewModel vm = viewModelProvider.get(GraphViewModel.class);
    val navController = NavHostFragment.findNavController(this)
    val viewModelProvider =
      ViewModelProvider(navController.getViewModelStoreOwner(R.id.nav_graph))
    val vm = viewModelProvider.get(GraphViewModel::class.java)
Both our MainFragment instance and our ConfirmationDialogFragment instance now share a GraphViewModel instance.
Reacting to the Dialog
But what we really want is to get the button-click events from ConfirmationDialogFragment to MainFragment. The GraphViewModel is a key piece of that, but we need some other elements as well… and we will take a look at those in an upcoming chapter.
Prev Table of Contents Next
This book is licensed under the Creative Commons Attribution-ShareAlike 4.0 International license.