Menu Resources
The next step in configuring the app bar is to set up a menu resource to reflect the clickable items that should appear in the app bar, such as toolbar buttons.
Why “Menu”?
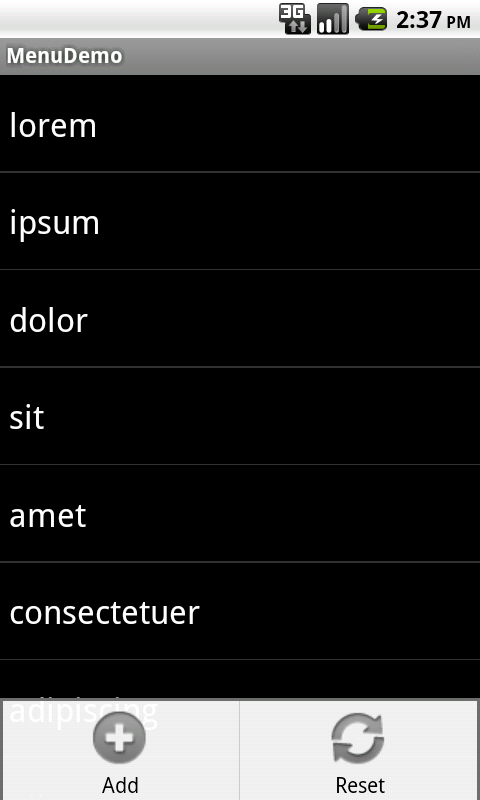
Back in the dawn of Android time, referred to by some as “2007”, we had options menus. These would rise up from the bottom of the screen based on the user pressing a MENU key:
When Google introduced the action bar pattern with Android 3.0 in 2011, they used the old options menu system and simply changed its UI. So, you will see references to an “options menu” in our work with the action bar, as this is all based on that original 2011 implementation of the action bar.
Similarly, the options menu was populated using a menu resource. The action bar adopted the menu resource and extended it for its own purposes. Today, Toolbar continues to use menu resources, even though we might not think of our work involving a “menu” anymore.
Defining Menu Resources
Menu resources are “first-class” resources, like layouts, drawables, and mipmaps. They get their own dedicated res/menu/ directory and have their own dedicated Android Studio editor.
Creating the res/menu/ Directory
However, when you create a brand-new Android Studio project, you may not have a res/menu/ directory in your module.
Since this is an ordinary directory in an ordinary filesystem, you can create this directory by any means that you like, such as your development machine’s “file manager”, or via a mkdir command on the command line.
Inside of Android Studio, you have two main options for creating this directory. The simple one is to right-click over the res/ directory of your module, then choose “New” > “Directory” from the context menu. This will pop up a dialog where you can provide your directory name — if you fill in menu and accept the dialog, it will create the menu/ subdirectory under res/ for you.
The more elaborate solution is to right-click over any directory in your module and choose “New” > “Android Resource Directory” from the context menu. This brings up a “New Resource Directory” dialog:
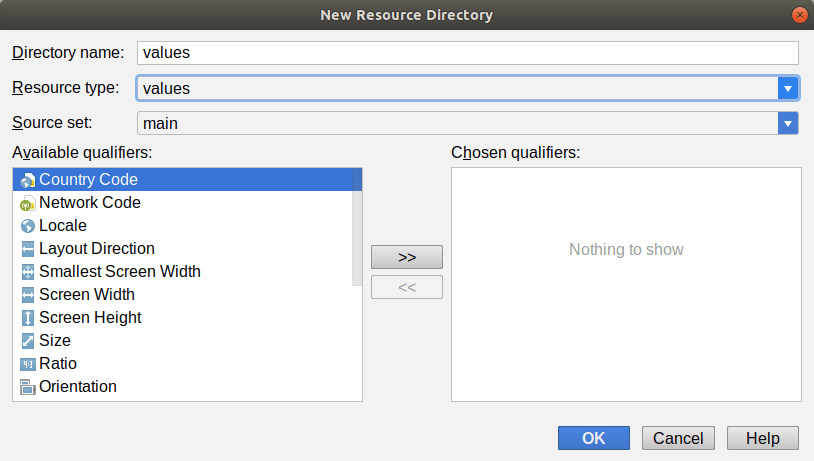
There, you can choose “menu” in the “Resource type” drop-down, then click “OK” to create the res/menu/ directory. This dialog also allows you to create directories for resource sets via the “Available qualifiers” list, and it has a few other “bells and whistles”, but in the end, it just creates a directory.
Creating the Menu Resource
Once you have the res/menu/ directory, you can create an empty menu resource.
In Android Studio, that is a matter of:
- Right-clicking over your
res/menu/directory - Choosing “New” > “Menu resource file” from the context menu, to bring up a simple “New Menu Resource File” dialog
- Entering the base name of the resource (e.g.,
actions) into the dialog - Clicking “OK” to close the dialog and create the nearly-empty resource
You will wind up with a menu resource based on your chosen name (e.g., actions.xml) with an empty <menu> root element:
<?xml version="1.0" encoding="utf-8"?>
<menu xmlns:android="http://schemas.android.com/apk/res/android">

</menu>
Adding Menu Items
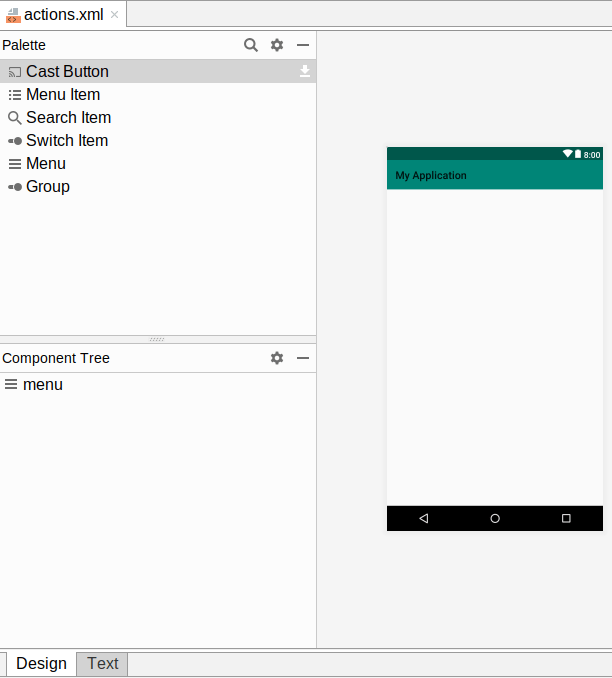
The menu resource editor works like the graphical layout editor. You can either work with the XML directly or use the drag-and-drop GUI builder. The drag-and-drop GUI builder has the same basic structure as does the layout editor, with a palette, a component tree, a preview area, and an attributes pane:
While there are several items in the “Palette” tool, mostly you will be working with “Menu Item” elements. You can drag them from the “Palette” into the “Component Tree” or preview area to add them to the menu resource:
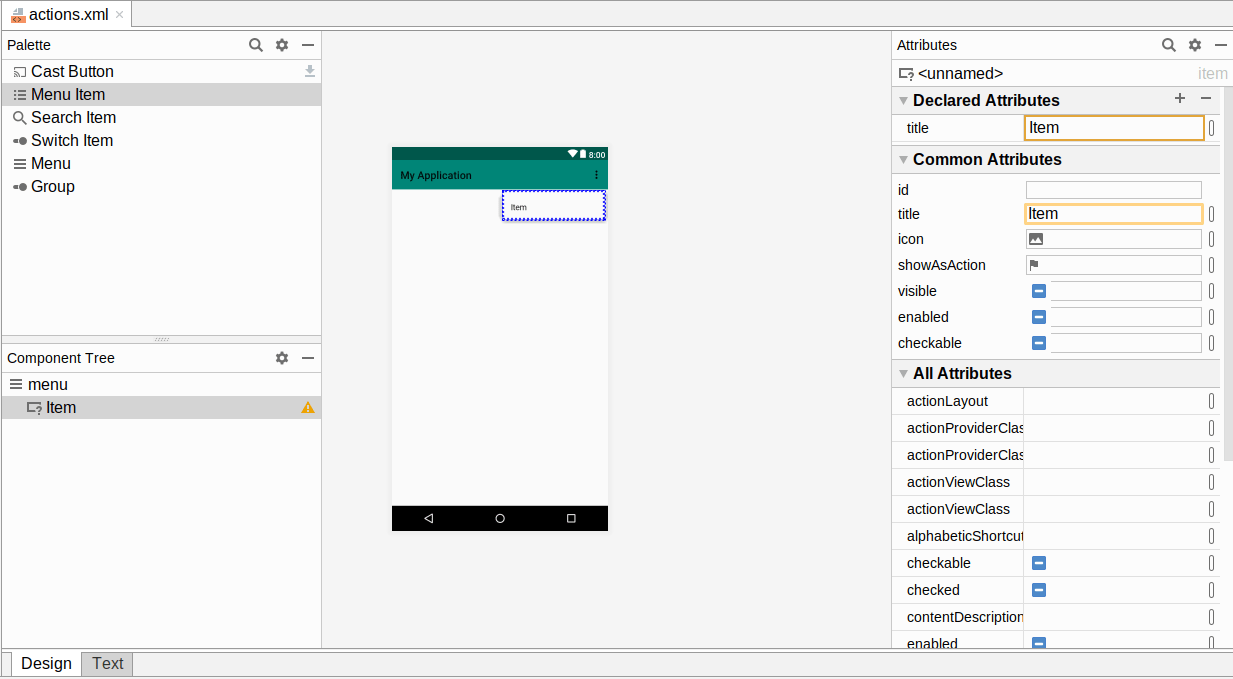
The “Attributes” pane will then allow you to manipulate the menu item’s attributes — we will explore this more in an upcoming section.
Prev Table of Contents Next
This book is licensed under the Creative Commons Attribution-ShareAlike 4.0 International license.