Stuff That Might Interest You
Then, we have some items that will not break your app but represent features that you might want to opt into, for Android 11 devices.
Wireless Debugging
Android has offered adb access over a network connection for several years, though the support on devices has been somewhat “hit or miss”, and it usually required short-term adb access via a USB cable. This feature has been overhauled in Android 11 and is now a first-class option, with improved security and (presumably) no USB cable requirement. However, it does take several steps to set up.
First, if you do not already have adb in your PATH, this would be a fine time to add it!
Next, you need to find the “Wireless Debugging” option in the Developer Options screen in the Settings app:
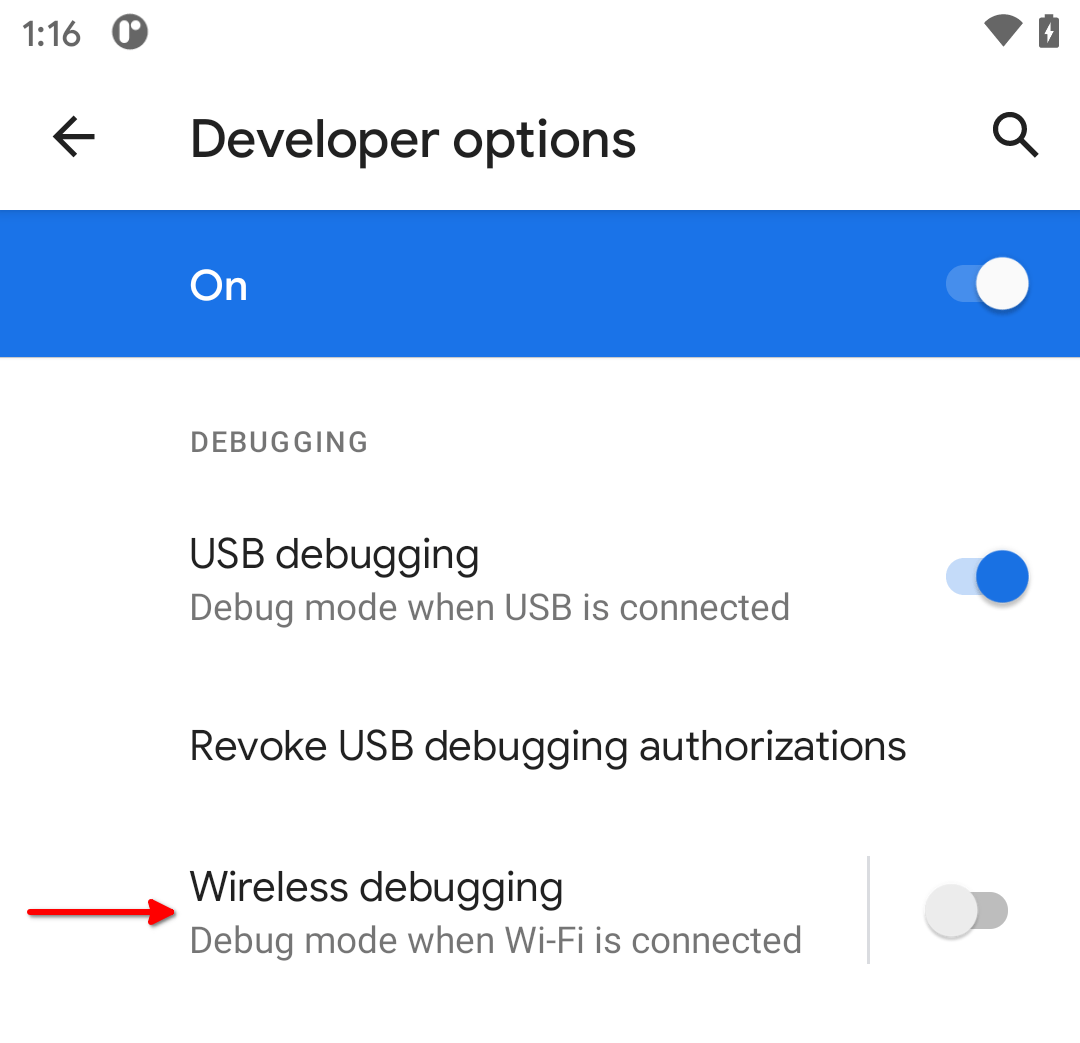
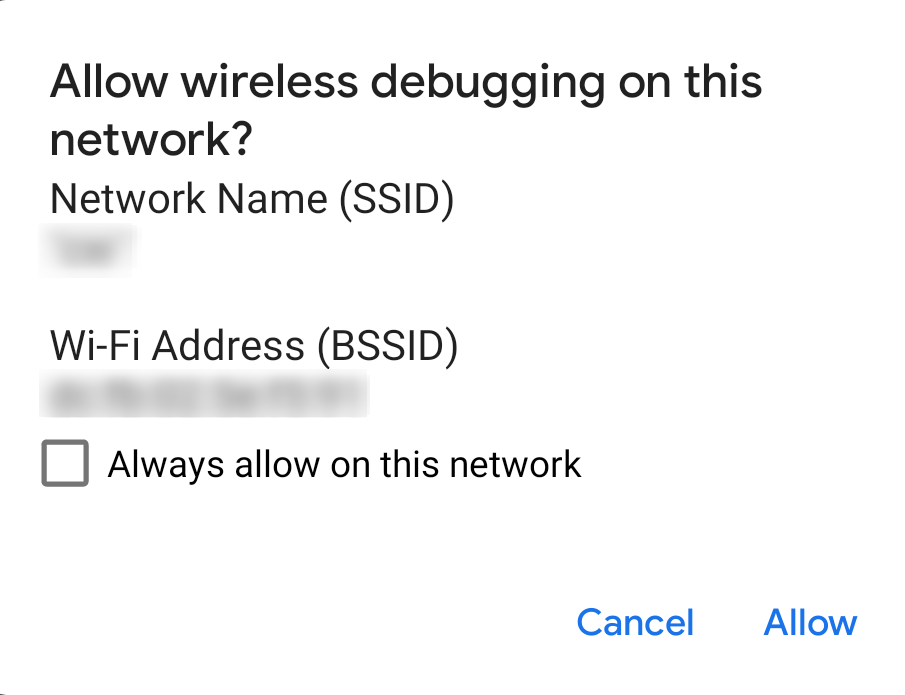
Tap on the switch to turn it on. This will bring up a dialog confirming that you want to enable this option:
After accepting the dialog, tap on the “Wireless Debugging” option itself (not the switch). This brings up the dedicated wireless debugging screen:
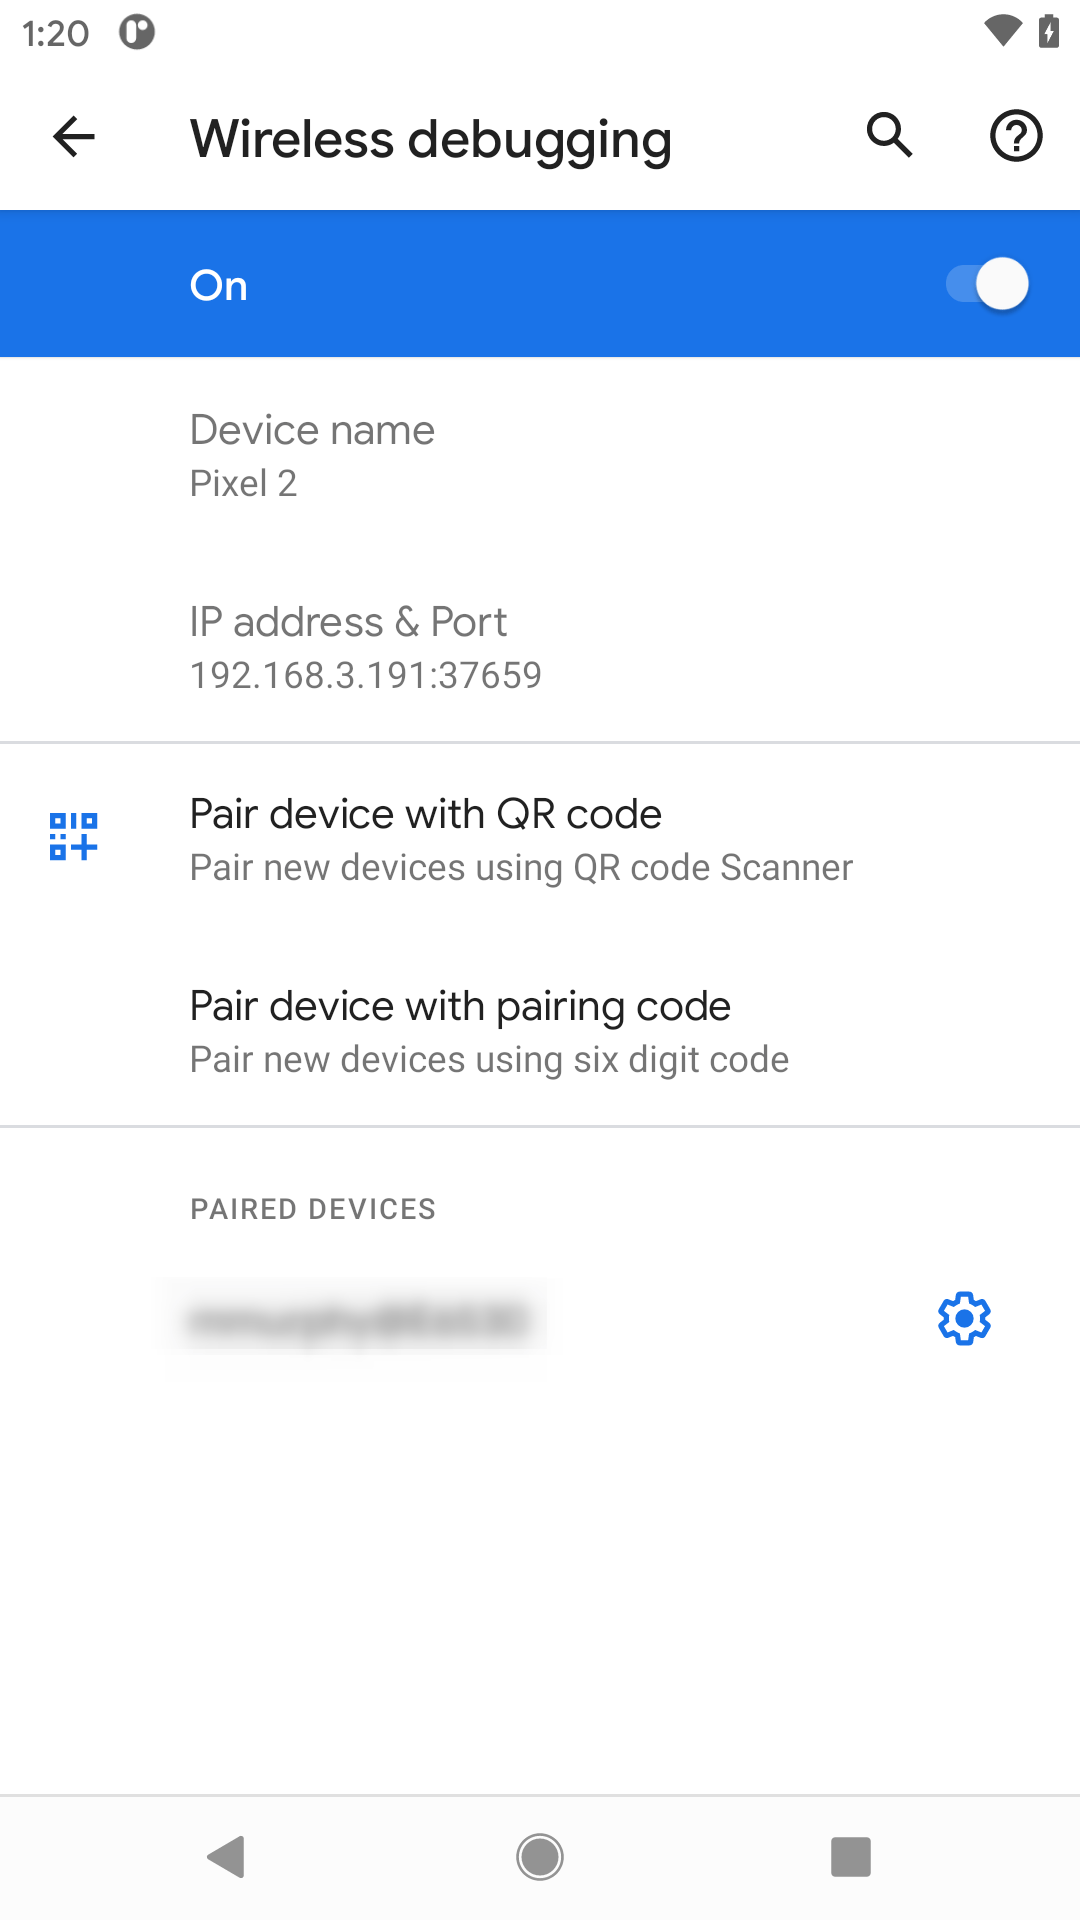
There, tap on “Pair device with pairing code”, to bring up a dialog with a pairing code and an IP address and port number:
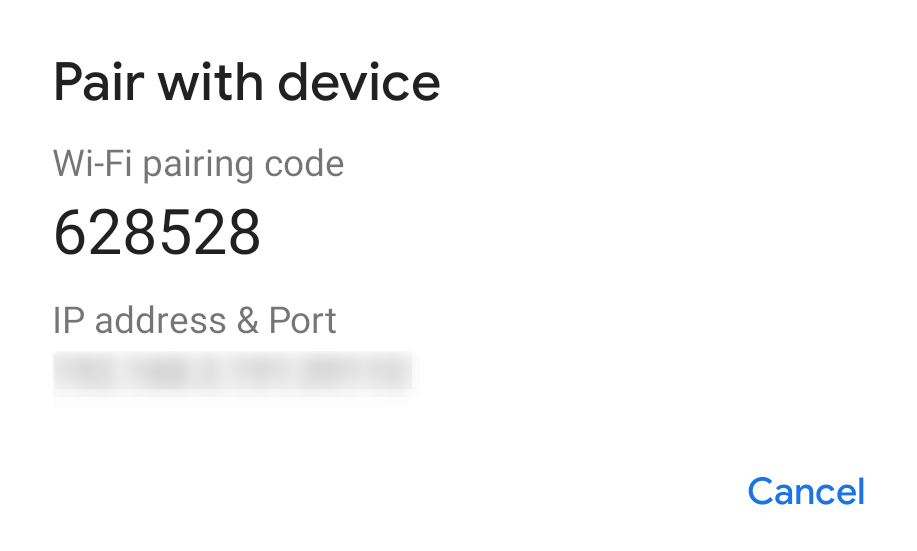
At the command line on your development machine, run adb pair ...:..., where the ...:... is the IP address and port combination shown in the pairing dialog. You will then be asked to enter the pairing code shown on the dialog. The adb pair command will tell you if this succeeds or fails.
If it succeeds, and you are running macOS, you should be done. If you are using Windows or Linux, you then need to run adb connect ...:..., where this ...:... is the IP address and port combination shown in the Wireless Debugging screen. In particular, the port number will be different than the one that you used for the pairing operation.
If that command succeeds, then you will be set up for wireless debugging, both from adb (e.g., adb logcat) and from Android Studio. Use adb disconnect ...:..., using the same IP address/port combination that you used for adb connect, to disconnect from the device from a debugging standpoint.
Night Mode Tweaks
Android 11 allows the user to schedule when to enable and disable the “dark theme” mode:
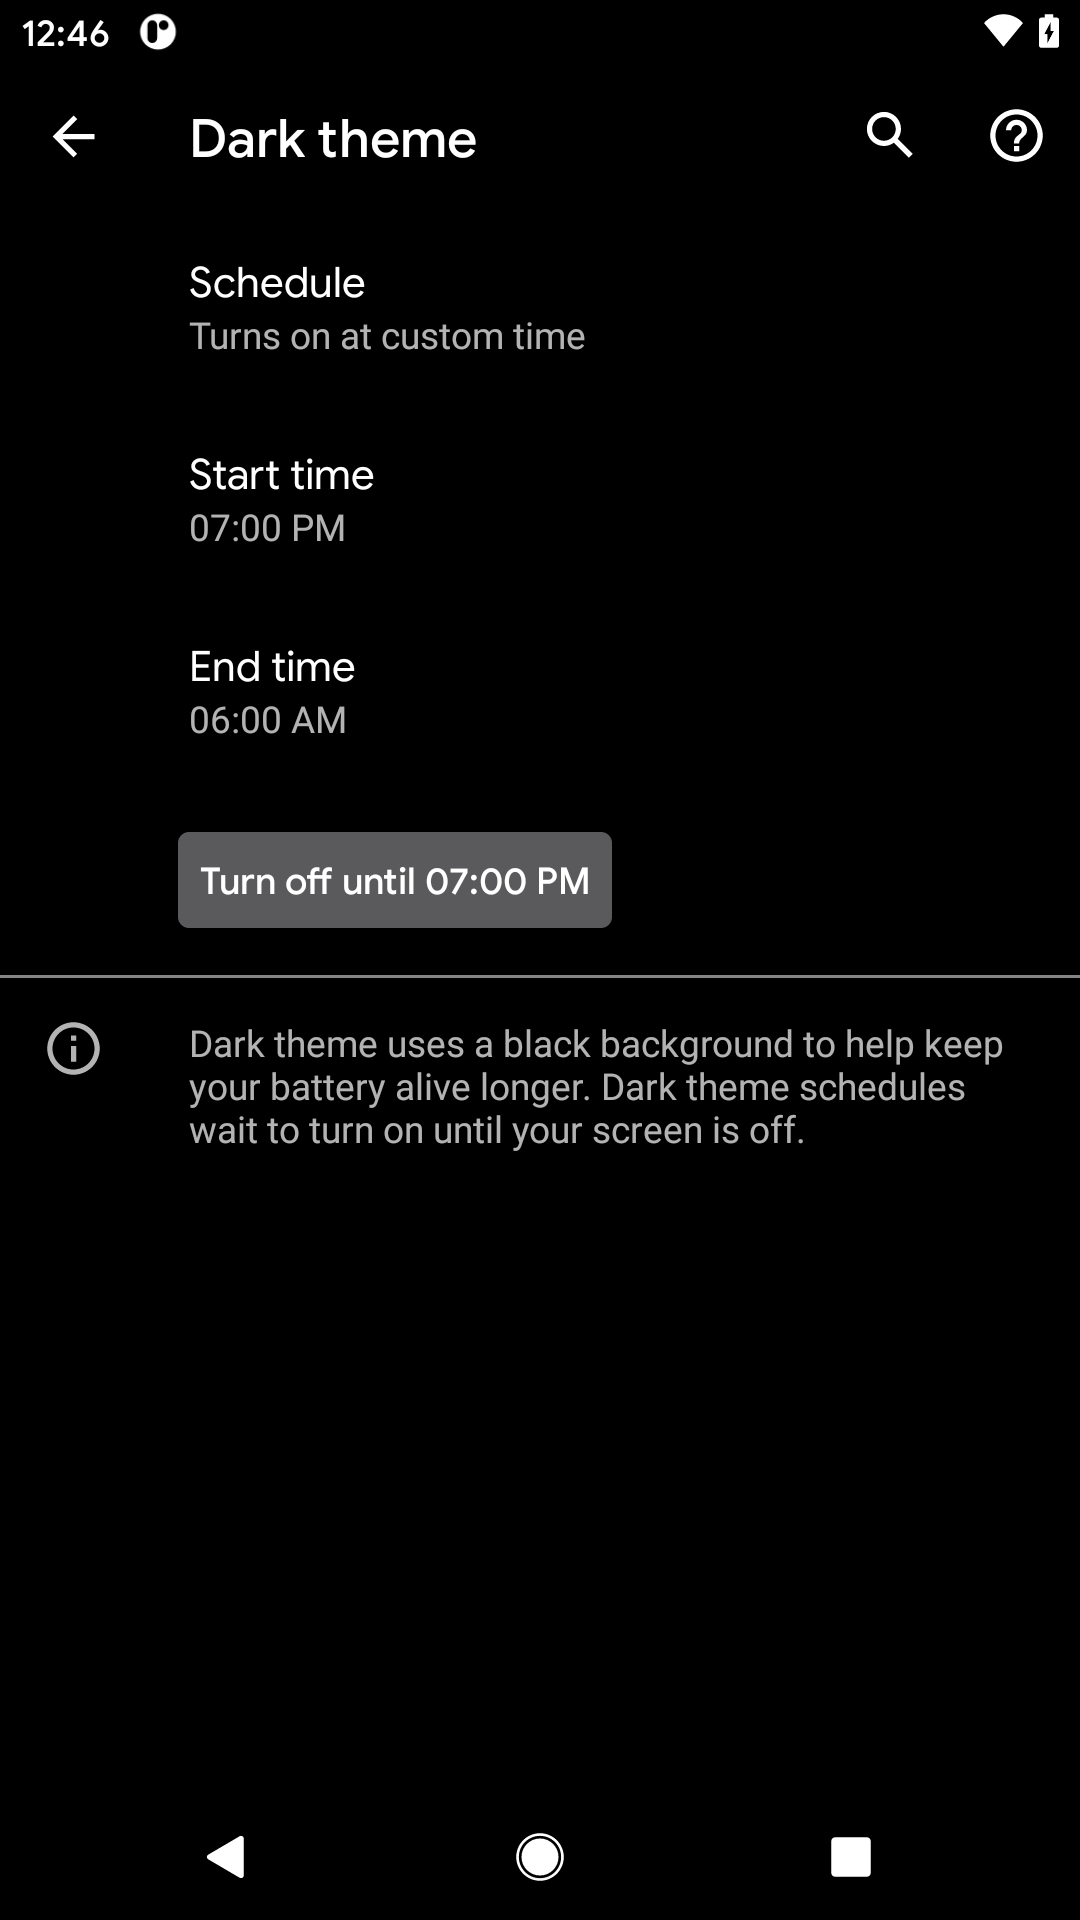
On its own, this does not affect apps. However, it does increase the likelihood that your users will be using the dark theme option, which puts increasing pressure on you to support it.
However, while Android has had support for what the SDK calls “night mode” for years, there was never a way to determine whether or not we were in night mode programmatically. If you needed that, you had to have your own boolean resources in res/values/ and res/values-night/ to distinguish between the cases.
Android 11, though, gives us isNightModeActive() on Configuration. You get a Configuration from Resources, which you can get from any Context (such as your Activity):
val mode: Boolean = resources.configuration.isNightModeActive
Since this is only available on Android 11 and higher, most likely you will wind up continuing to use the boolean-resource trick for the time being, until such time as you can raise your minSdKVersion past 29.
 You can learn more about theme support for night mode in Android 10 in the "Dark Mode" chapter of Elements of Android Q!
Shared Datasets
In principle, Android 11 allows multiple apps to share large blobs of data. Cited examples include machine learning datasets and media for playback. Through BlobStoreManager, your app can contribute such blobs to the device and indicate the level of access — such as allowSameSignatureAccess() to allow a set of apps in a suite to all access the blobs.
In practice, this feature is very poorly documented.
Per-Connection SQL
When working with SQLite, you may want some common setup for your database connections. There may be certain PRAGMA statements that you want to execute, for example. However, SQLiteDatabase can elect to disconnect and reconnect to SQLite. So, even if you try executing those statements as soon as you open a database, you may find later that you have a connection on which you did not execute those statements.
To help with this, Android 11 offers execPerConnectionSQL(). The syntax is the same as execSQL(), taking the SQL statement and an optional array of positional parameter values. And, like execSQL(), your SQL is executed immediately. However, it is also cached by the SQLiteDatabase and re-executed on any new database connection that is created.
Note that this implies that your parameters to execPerConnectionSQL() will be held onto as long as the SQLiteDatabase object is around. If you use this, be certain not to introduce a memory leak!
Dynamic Intent Filters
One of the big limitations of the manifest is that it is declared at compile time. There are very few options for changing what is in the manifest at runtime, beyond setComponentEnabledSetting() on PackageManager.
Android 11 gives us another option: we can dynamically declare MIME types to be supported by an <intent-filter>. The stated reason is to support:
virtualization apps (such as virtual machines and remote desktops) because they have no way of knowing exactly what software the user will install inside them
That is a rather esoteric scenario, and it is likely that developers will find other uses for this.
There are two steps for implementing this.
First, in one or more <intent-filter> elements, you can use android:mimeGroup, instead of android:mimeType, in a <data> element:
    <activity
      android:name=".MainActivity"
      android:launchMode="singleTop">
      <intent-filter>
        <action android:name="android.intent.action.MAIN" />

        <category android:name="android.intent.category.LAUNCHER" />
      </intent-filter>
      <intent-filter>
        <action android:name="android.intent.action.VIEW" />
        <category android:name="android.intent.category.DEFAULT" />
        <data android:mimeGroup="testMimeGroup" />
        <data android:scheme="content" />
      </intent-filter>
    </activity>
Here, we have an <activity> with two <intent-filter> elements. The second one uses android:mimeGroup="testMimeGroup" in a <data> element as part of declaring an ACTION_VIEW handler.
The second step is to define at runtime what MIME types belong to the group, using setMimeGroup() on PackageManager:
  private fun updateMimeGroup(prefs: SharedPreferences) {
    val types = prefs.getStringSet(mimeTypesKey, emptySet()).orEmpty()

    packageManager.setMimeGroup("testMimeGroup", types)
  }
This code, pulled from the DynFilter sample module in the book’s sample project, retrieves the value of a MultiSelectListPreference and uses that for the MIME types to pass to setMimeGroup(). setMimeGroup() simply takes the name of the MIME group (that you used in the android:mimeGroup attribute) and a Set of strings representing the MIME types.
When you call setMimeGroup(), Android will update its metadata for your app and cause your <intent-filter> to be valid for all of the requested MIME types. Note, though, that apps that look up matching activities via methods like queryIntentActivities() may not react to the change right away, if they cache results from before your setMimeGroup() call. However, standard system options, such as the Intent chooser, will handle the revised set of MIME types fairly quickly.
ACTION_CLEAR_APP_CACHE
There is a new Intent action, found on StorageManager: ACTION_CLEAR_APP_CACHE. Simply put, launching it with startActivityForResult() pops up a dialog to allow the user to clear “app external cache directories”:
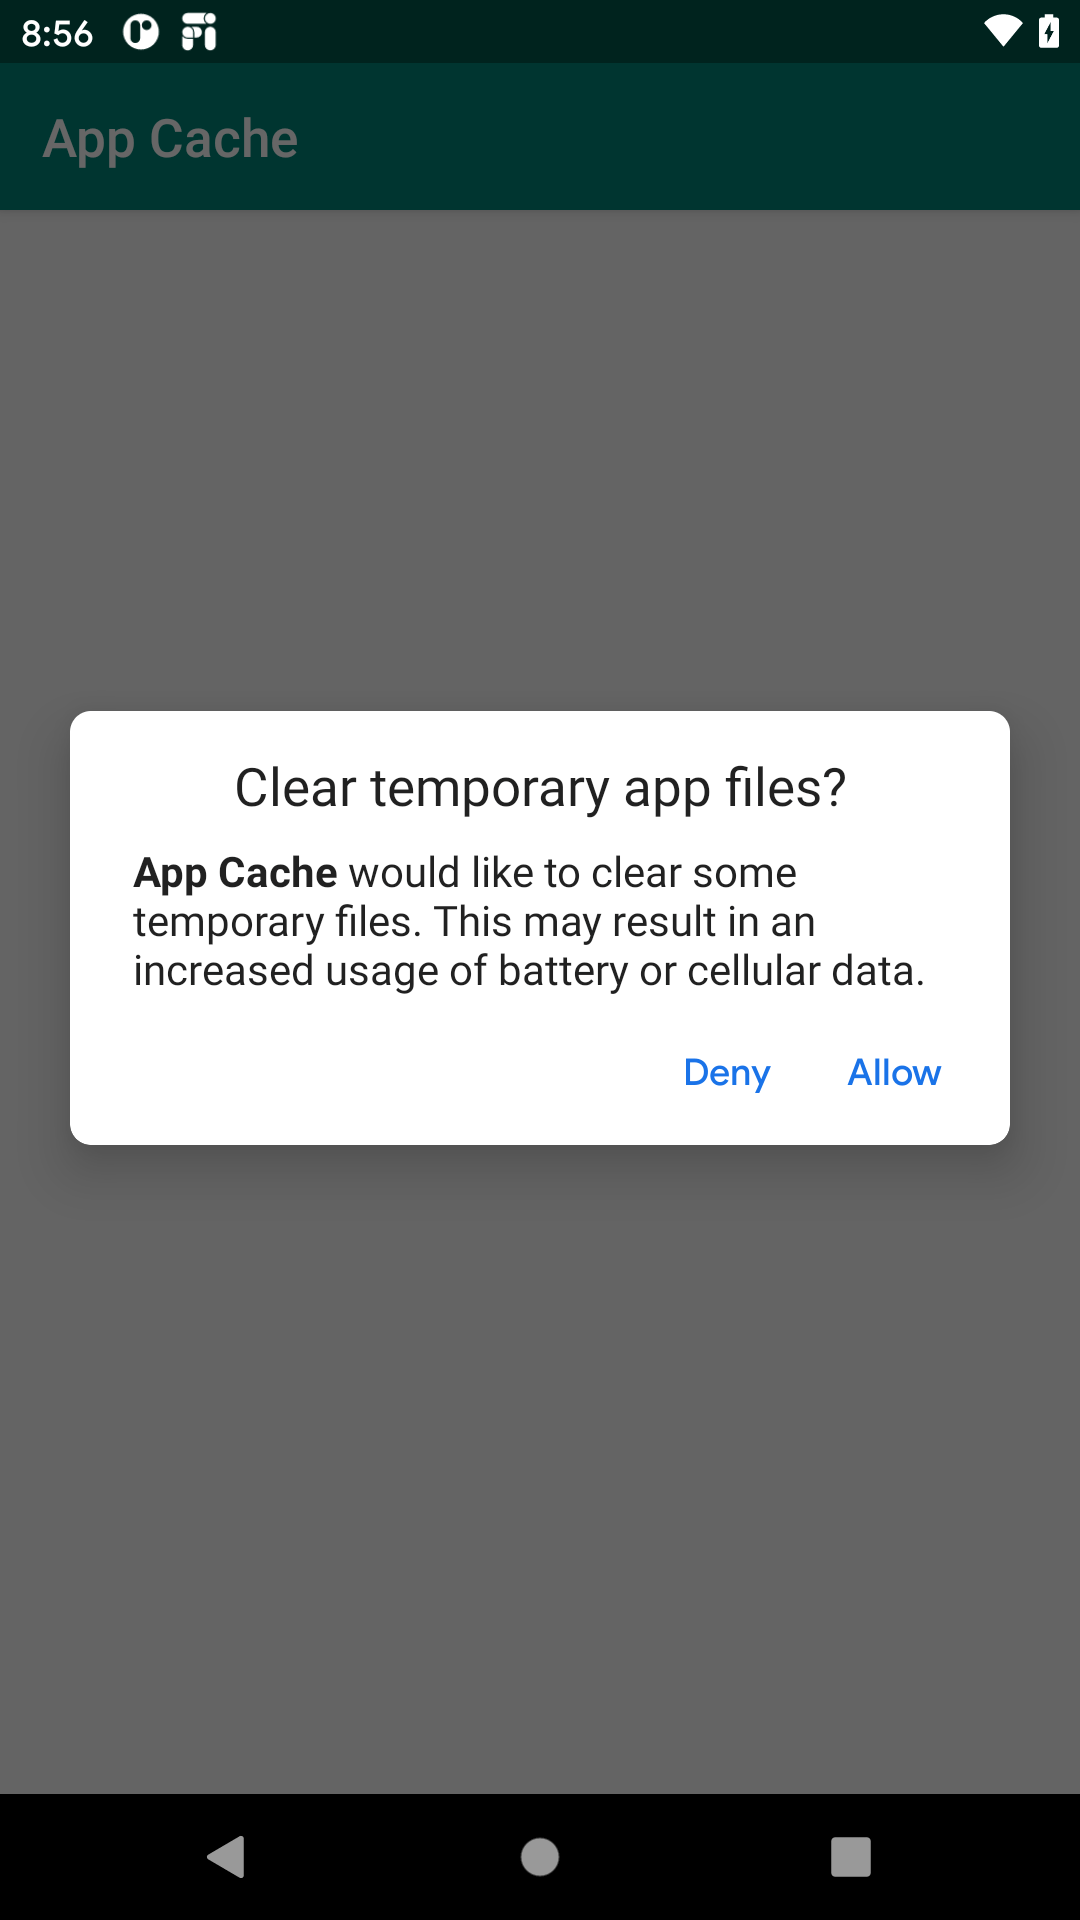
Presumably, “app external cache directories” refers to getExternalCacheDirs() for all apps.
If you get RESULT_OK in onActivityResult(), then the user accepted the dialog and cleared the caches. If you get RESULT_CANCELED, the user declined your offer.
However, note that you need to hold MANAGE_EXTERNAL_STORAGE, which is the scary new permission covered earlier in the book.
Prev Table of Contents
This book is licensed under the Creative Commons Attribution-ShareAlike 4.0 International license.