Themes and Colors
Some developers like light-colored IDEs. Others prefer dark-colored IDEs. When you install Android Studio, you typically get a choice of a theme, and you can change that choice later on in the “Appearance & Behavior” > “Appearance” category, via the “Theme” drop-down:
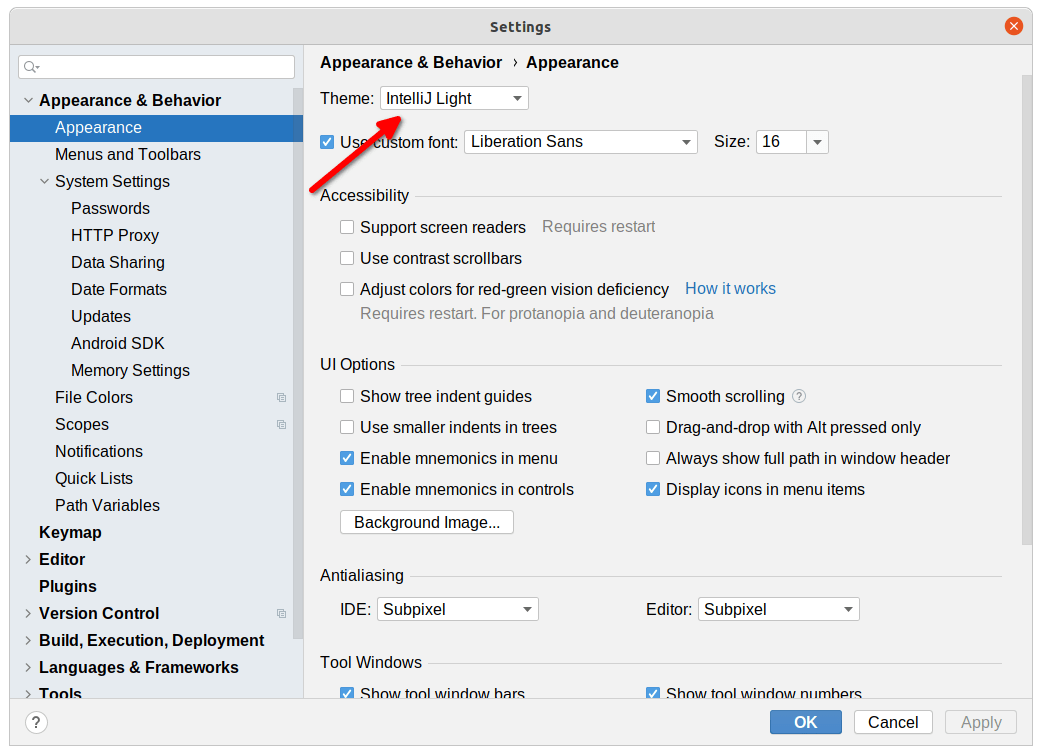
The stock light-colored theme is “IntelliJ”, named after the IntelliJ IDEA tool that Android Studio itself is based upon.
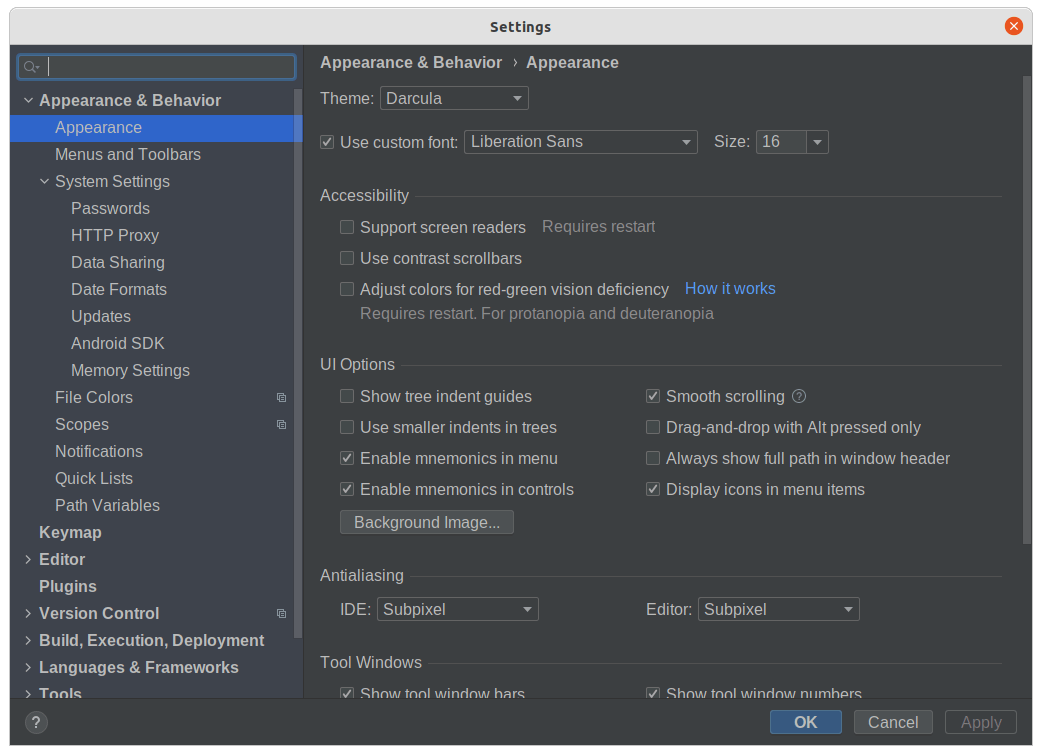
The stock dark-colored theme is “Darcula”, named after a fictional character with a couple of letters transposed in the name:
For your code in your editor, you can further customize the colors via the “Editor” > “Color Scheme” set of categories, particularly the “General” category:

The gear icon to the side of these drop-downs lets you create your own theme based on one of the stock ones (e.g., the “MLM” color scheme shown here). In the “General” category, you can customize colors for individual GUI elements, such as how errors and warnings are highlighted.
Prev Table of Contents Next
This book is licensed under the Creative Commons Attribution-ShareAlike 4.0 International license.