Examining Your Database
Your primary way of interacting with your database will be through your app. After all, that is likely to be the primary way that your users will interact with your database.
During development, though, it may be useful to peek at what is in the database. You have a few options for doing that.
Android Studio’s Database Inspector
A leading candidate, starting with Android Studio 4.1, is Android Studio itself. There is a “Database Inspector” tool that you can use, though how you get to it varies by Android Studio version:
- For 4.1.x and 4.2.x, look for the “Database Inspector” tool, by default docked on the bottom edge
- For Arctic Fox, look for the “App Inspection” tool, by default docked on the bottom edge — “Database Inspector” is a tab in the resulting UI:
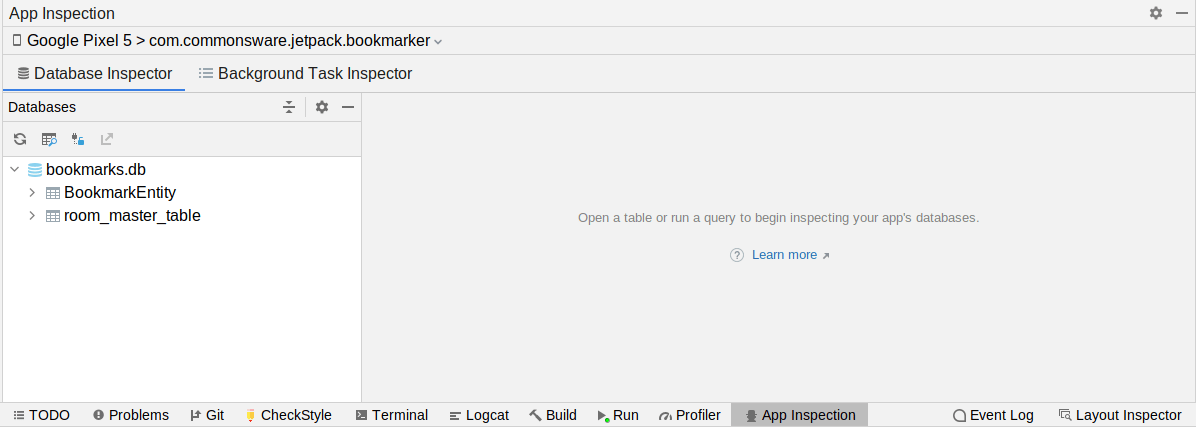
In the strip just below the title, you will see the particular app that App Inspection is offering to inspect. You can switch to something else by clicking on that entry and choosing the desired device (or emulator) and process from drop-down menus.
Database Inspector appears to look for databases in the stock location that Room and most other apps place them — in this case, it shows bookmarks.db in the tree on the left. Inside, it shows two tables, BookmarkEntity (that we defined) and room_master_table (that Room creates in any database that it manages). Folding open any table gives you some details of the structure:
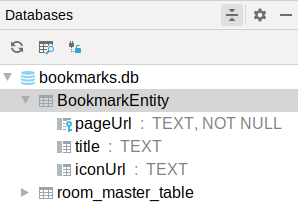
BookmarkEntity Table
In the toolbar above that tree, the toolbar button that looks like a grid with a magnifying glass will open a tab for you to be able to execute queries against the selected database:
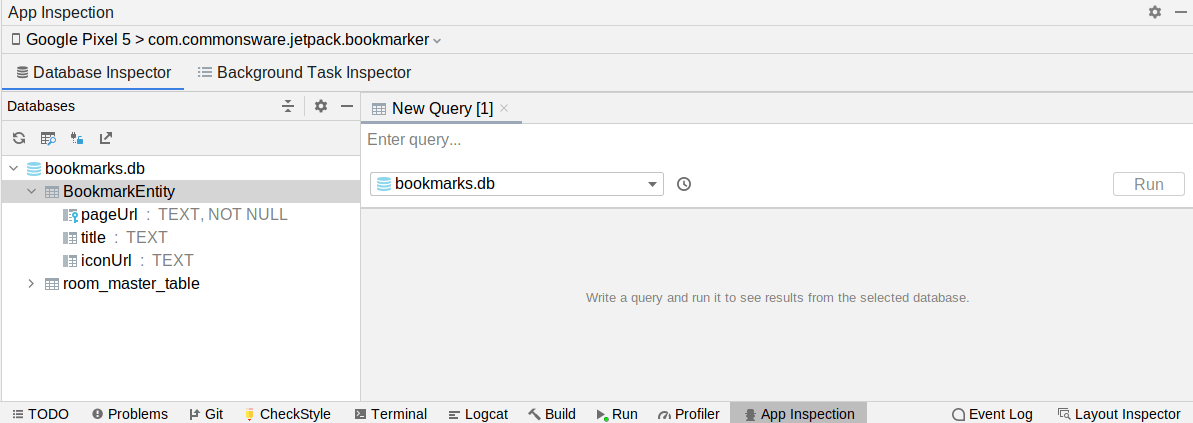
The drop-down towards the upper-left of the tab controls the database, and the field to the right is where you can enter a SQL expression. Clicking the “Run” button then executes your SQL expression, with a grid showing you the results:
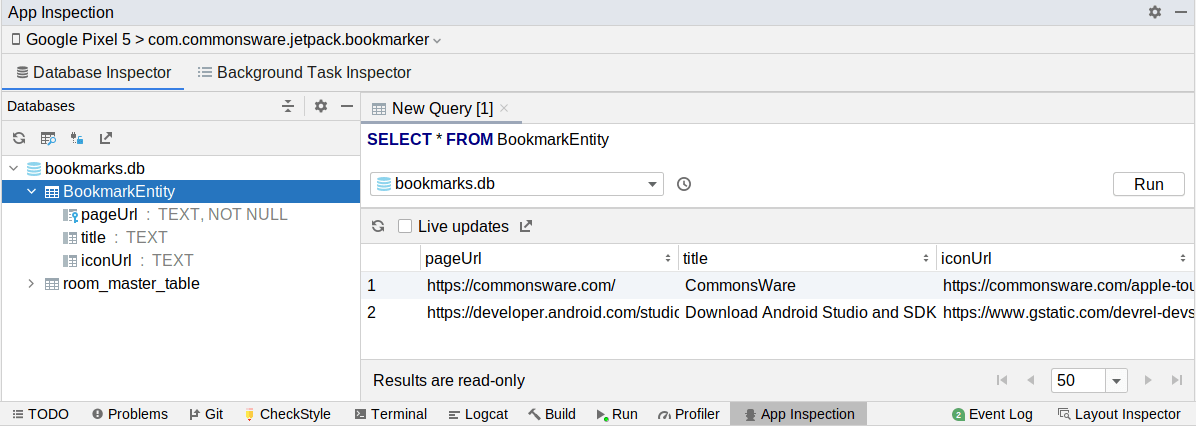
If you make changes to the database via your app, you can update the Database Inspector output, either by clicking the “Refresh table” button or checking the “Live updates” checkbox. The latter will auto-refresh the query results based on database operations that your app performs.
Note that Database Inspector seems slow to start up and identify databases. Once those steps are completed, it runs reasonably quickly.
Other Options
Database Inspector is not your only option!
There are libraries that embed a tiny server in your debug builds, then offer some sort of client to work with that server. Facebook’s Flipper is one example, built on top of Facebook’s experiences with the Stetho predecessor. Stetho integrated with Chrome Dev Tools; Flipper comes with its own desktop client. With either tool, you can arrange to inspect your databases, akin to Database Inspector, without necessarily having Android Studio installed.
Other libraries are designed to expose debugging capabilities within your own app, and that may include access to your databases.
Also, SQLite is a very popular database file format, and there are many tools for working with them, such as DB Browser for SQLite. You can find your database using the Device File Explorer:
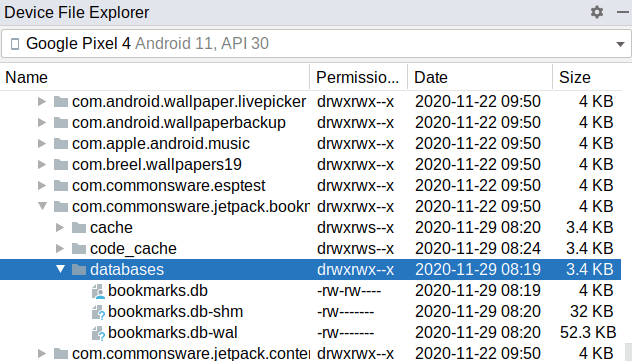
The default location for Room databases is in a databases/ directory for your app’s portion of internal storage. Sometimes, you will see just the database file. Other times, such as is shown above, you will see three files:
- The database itself
- A file with the same name as the database and a
-shmsuffix - A file with the same name as the database and a
-walsuffix
To work with DB Browser for SQLite or similar tools, you will need to select all three of those files (if they all exist) and save them all to the same directory on your development machine.
 You can learn more about examining your database using Database Inspector and other tools in the "SQLite Clients" chapter of Elements of Android Room!
Prev Table of Contents Next
This book is licensed under the Creative Commons Attribution-ShareAlike 4.0 International license.