Step #5: Defining Our Navigation Graph
The Navigation component uses navigation resources to define navigation graphs. A navigation graph simply states what screens there are, how they are implemented (e.g., as fragments), and how they are connected. A navigation graph is stored in a XML file as a navigation resource, in a res/navigation/ directory in your module.
We need to create a stub navigation graph for our app to begin using the Navigation component.
With that in mind, right-click over the res/ directory in your module and choose “New” > “Android resource file” from the context menu. This will bring up a dialog that allows you to define a resource type and file in one shot:
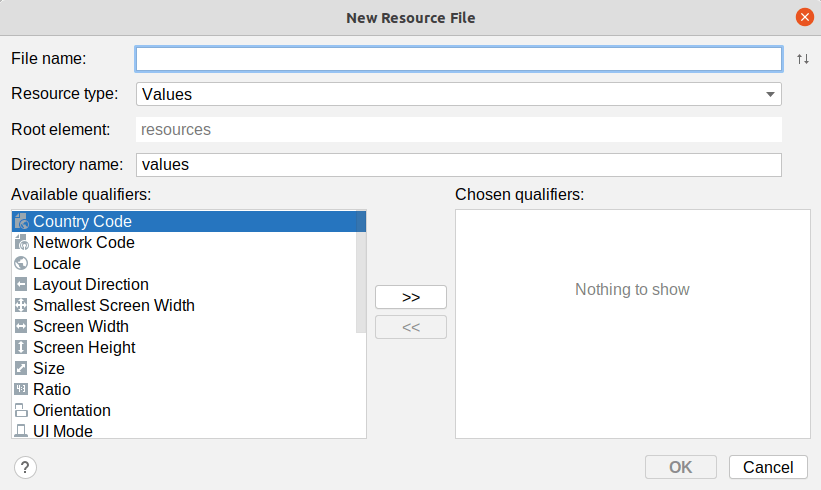
Fill in nav_graph.xml for the filename. Choose “Navigation” for the “Resource Type”. Then, click OK to create a res/navigation/ directory and a nav_graph.xml file in it.
As with layout and menu resources, the editor for navigation resources contains multiple views, controlled by toolbar buttons. The two main views are the one that shows the raw XML (“Code”) and the one that shows a graphical navigation designer (“Design”).
If you click on “Code” to view the raw XML, you will see that our XML is pretty empty:
<?xml version="1.0" encoding="utf-8"?>
<navigation xmlns:android="http://schemas.android.com/apk/res/android"
  xmlns:app="http://schemas.android.com/apk/res-auto"
  android:id="@+id/nav_graph">

</navigation>
To add RosterListFragment as our one-and-only screen, click the “Design” button to switch to the graphical designer view. There, click the toolbar button that looks like a document with a green + sign in the lower-right corner:

This will drop down a list of possible “destinations”, and RosterListFragment will be among them:
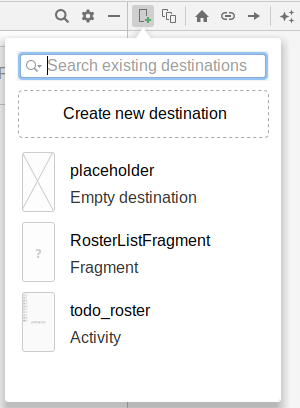
Click on RosterListFragment in the drop-down list. That will add it as a destination to our navigation graph:
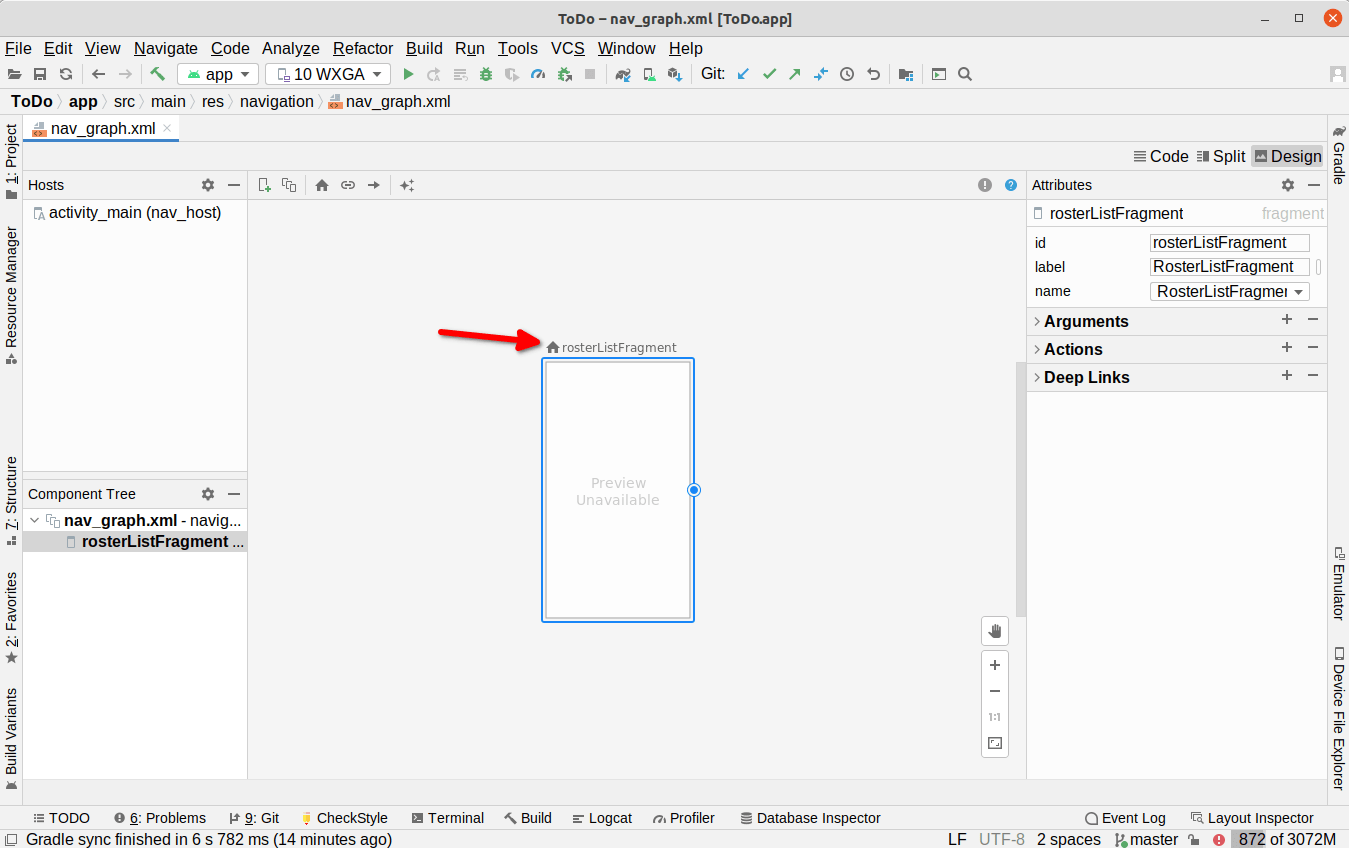
The little house icon above the preview rectangle marks this destination as the “home”. It is where this navigation graph will start, when we begin using it to navigate screens in our app.
We will have several changes to make to this in later tutorials, but this will suffice for now.
Prev Table of Contents Next
This book is licensed under the Creative Commons Attribution-ShareAlike 4.0 International license.