Step #2: Adding a RecyclerView
In that toolstrip, click the “Design” button, to switch to the design view. Then, in the “Palette” area, switch to “Common” category:
Drag a RecyclerView out of the “Palette” and drop it in the preview area:
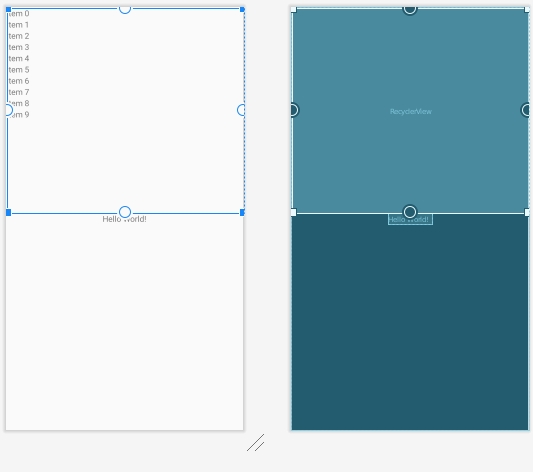
This will take up the top or bottom half of the layout, or possibly the full layout, or possibly just the middle of the layout, depending on where you drop it.
Unfortunately, the Android Studio layout editor has many issues, including making the RecyclerView too big to manipulate. Grab a corner of the RecyclerView and drag it inwards to shrink it a bit. Then, drag the RecyclerView away from the edge a bit, to give you room to maneuver on all four sides:
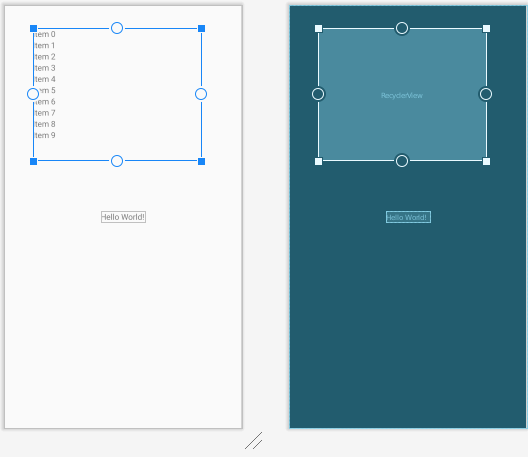
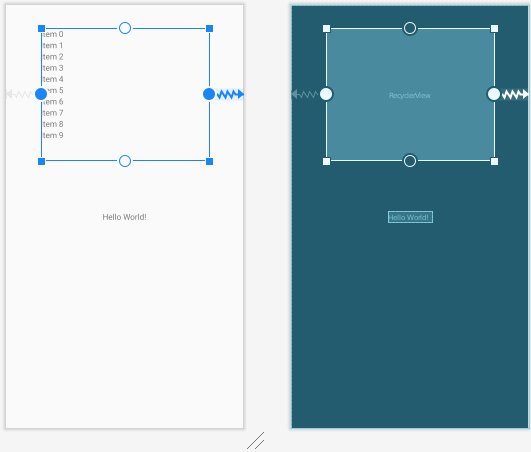
Hover your mouse over the left edge of the RecyclerView preview rectangle, find the dot towards the center of the left edge, and drag it to connect with the left edge of the preview area, which will connect it to that side of the ConstraintLayout:
Repeat that process on the right side:
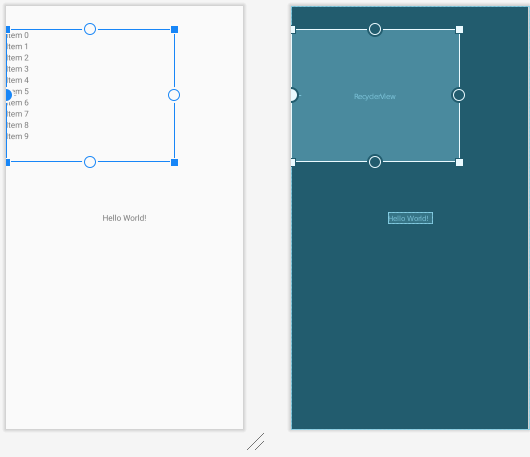
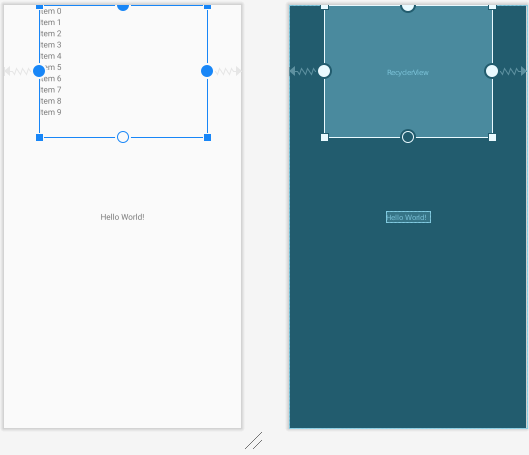
Repeat that process on the top side:
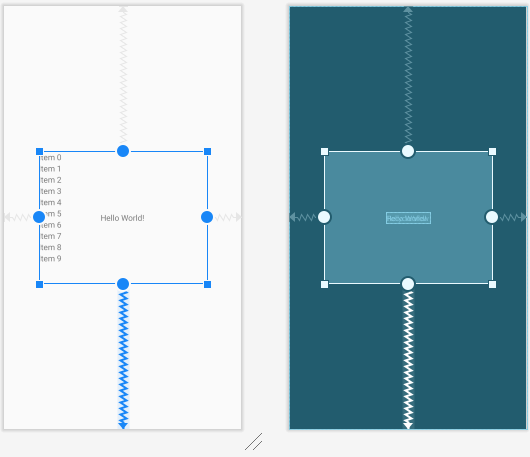
Repeat that process on the bottom side:
In the “Attributes” pane on the right side of the Layout Designer, change the layout_width and layout_height values each to match_constraint (a.k.a., 0dp) from their current fixed values:
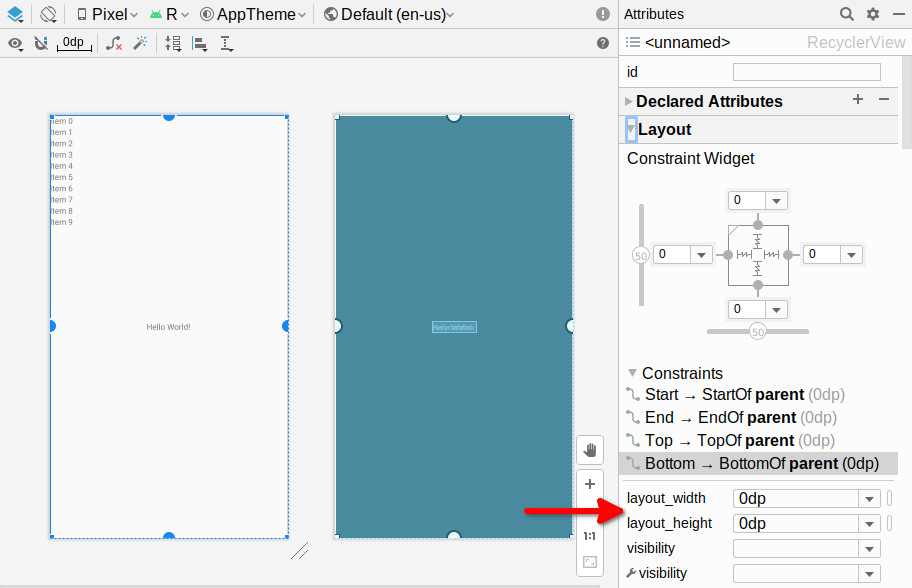
Now, you should see our RecyclerView fill the entire space. More importantly, we taught the RecyclerView to fill the entire space, no matter what the screen size is. Before, the RecyclerView would have some fixed size, regardless of whether the screen is larger or smaller than that size.
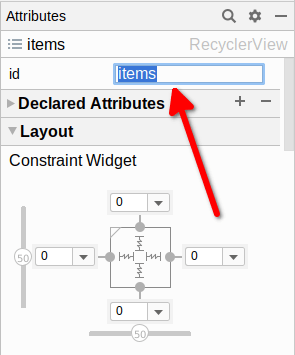
Back in the “Attributes” pane, give the RecyclerView an ID of items, via the field at the top:
Prev Table of Contents Next
This book is licensed under the Creative Commons Attribution-ShareAlike 4.0 International license.