Step #5: Navigating to Our Preference Screen
Now, we need to arrange to display that PrefsFragment. The first step is yet another app bar item, because we love app bar items!
Right-click over res/drawable/ in the project tree and choose “New” > “Vector Asset” from the context menu. This brings up the Vector Asset Wizard. There, click the “Icon” button and search for settings:
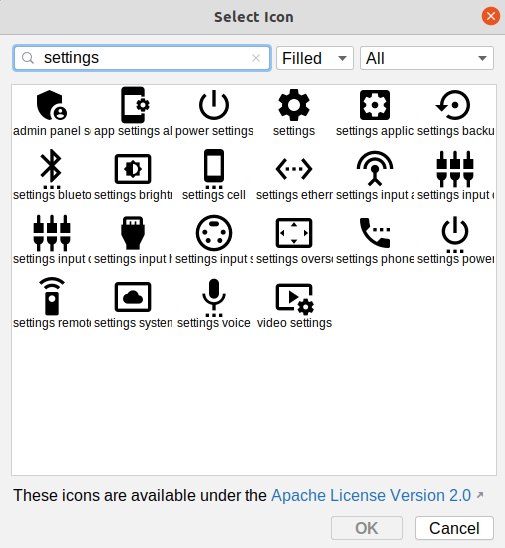
Choose the “settings” icon and click “OK” to close up the icon selector. Change the icon’s name to ic_settings. Then, click “Next” and “Finish” to close up the wizard and set up our icon.
If the icon selector did not open, that may be due to this Arctic Fox bug. Instead, just close up the Vector Asset wizard, and download this file into res/drawable instead. That is the desired icon, already set up for you.
Open up the res/menu/actions.xml resource file, and switch to the “Design” sub-tab. Drag a “Menu Item” from the “Palette” view into the Component Tree, slotting it before the existing “about” item.
In the Attributes view for this new item, assign it an ID of “settings”. Then, choose “never” for the “showAsAction” option. Next, click on the “O” button next to the “icon” field. This will bring up an drawable resource selector. Click on ic_settings in the list of drawables, then click OK to accept that choice of icon.
Then, click the “O” button next to the “title” field. As before, this brings up a string resource selector. Click on “Add new resource” > “New string Value” in the drop-down towards the top. In the dialog, fill in settings as the resource name and “Settings” as the resource value. This time, we are not using the menu_ prefix, as we are going to use this string somewhere else. Click OK to close the dialog.
Next, in the “All Attributes” section of the “Attributes” pane, find the orderInCategory attribute and set it to 90. This will place it ahead of the “About” item (whose orderInCategory is set to 100). And, both will appear after the items added by the fragments.
Then, switch back to the res/navigation/nav_graph.xml resource. Click on the prefsFragment item and in the “Label” field fill in @string/settings. This will have the title of our screen (as shown in our toolbar) match the menu item that we just added.
Finally, in MainActivity, replace the current onOptionsItemSelected() function with this:
  override fun onOptionsItemSelected(item: MenuItem) = when (item.itemId) {
    R.id.about -> {
      startActivity(Intent(this, AboutActivity::class.java))
      true
    }
    R.id.settings -> {
      findNavController(R.id.nav_host).navigate(R.id.editPrefs)
      true
    }
    else -> super.onOptionsItemSelected(item)
  }
This adds a new branch for the R.id.settings case. There, we retrieve our NavController via findNavController() and ask to navigate using our new editPrefs action.
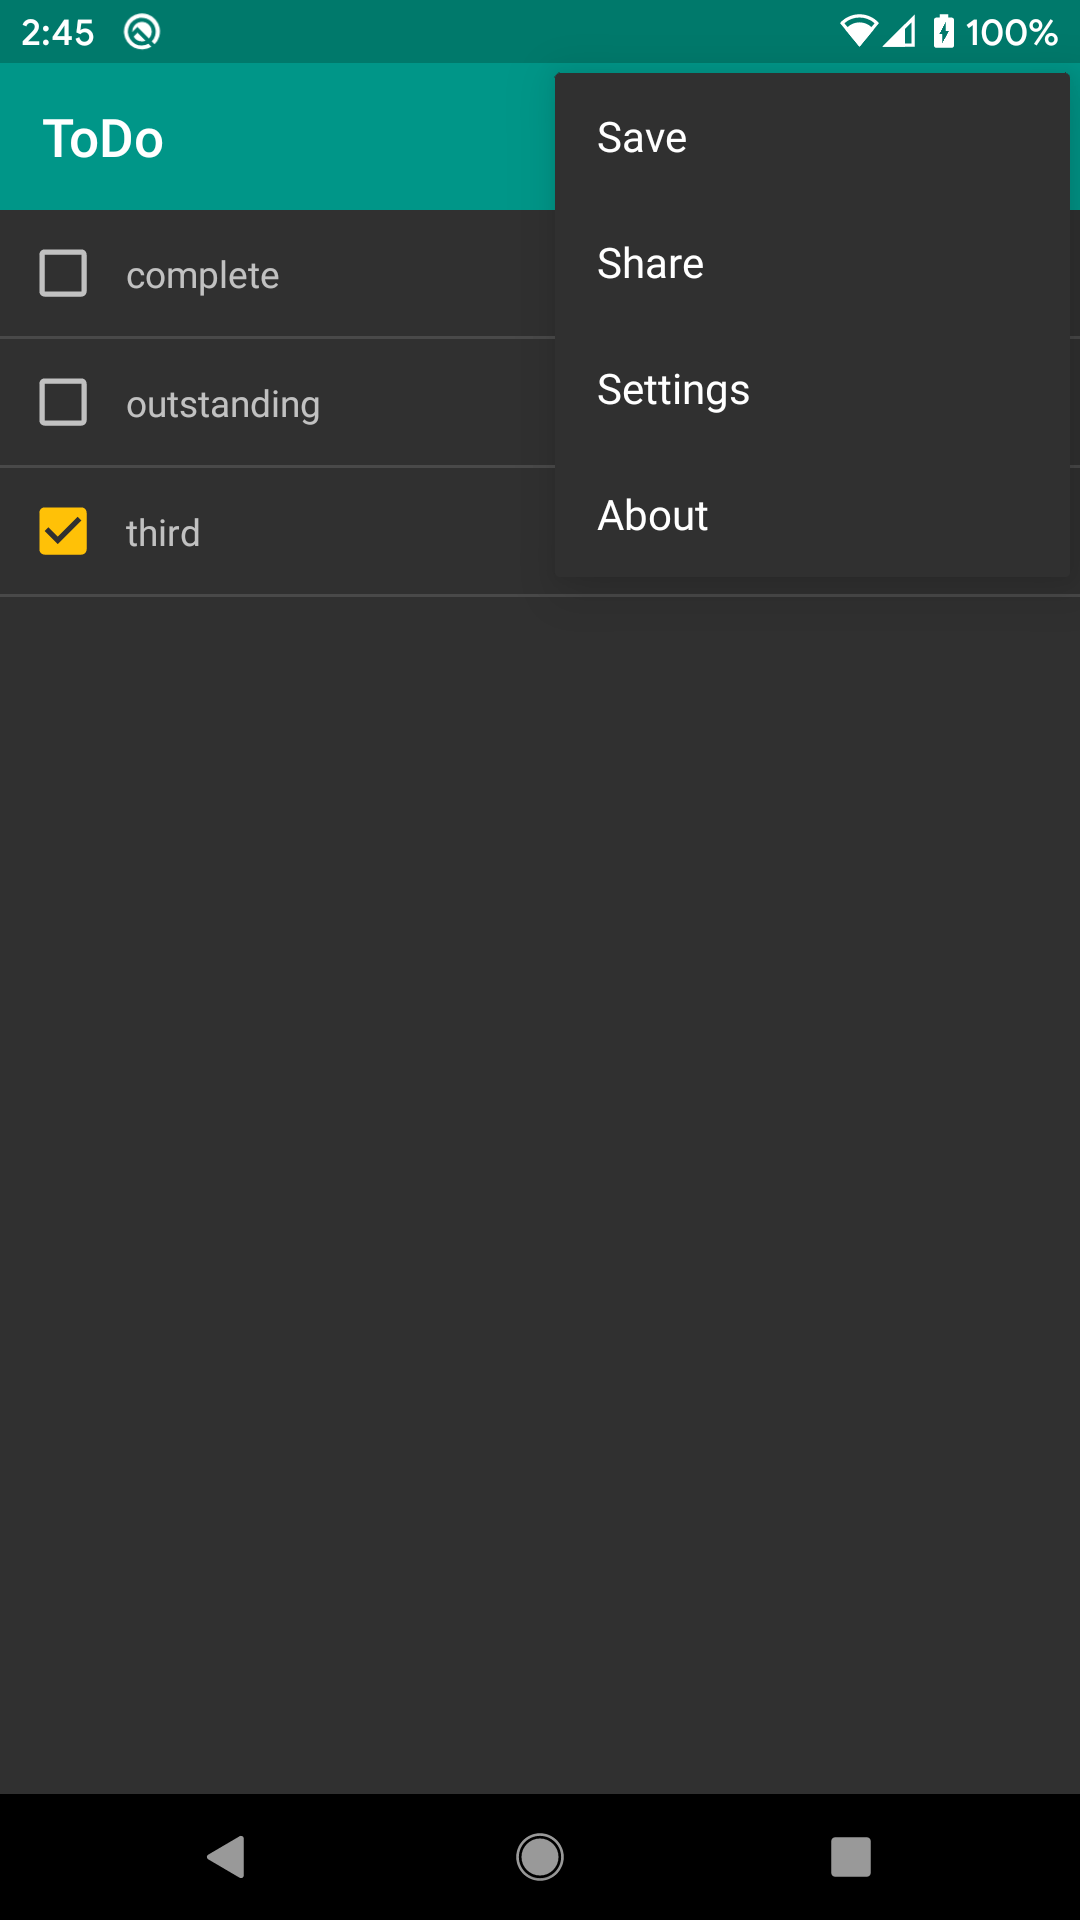
At this point, if you run the project, you should see the new Settings app bar item:
Clicking that will bring up the fairly boring PrefsFragment:
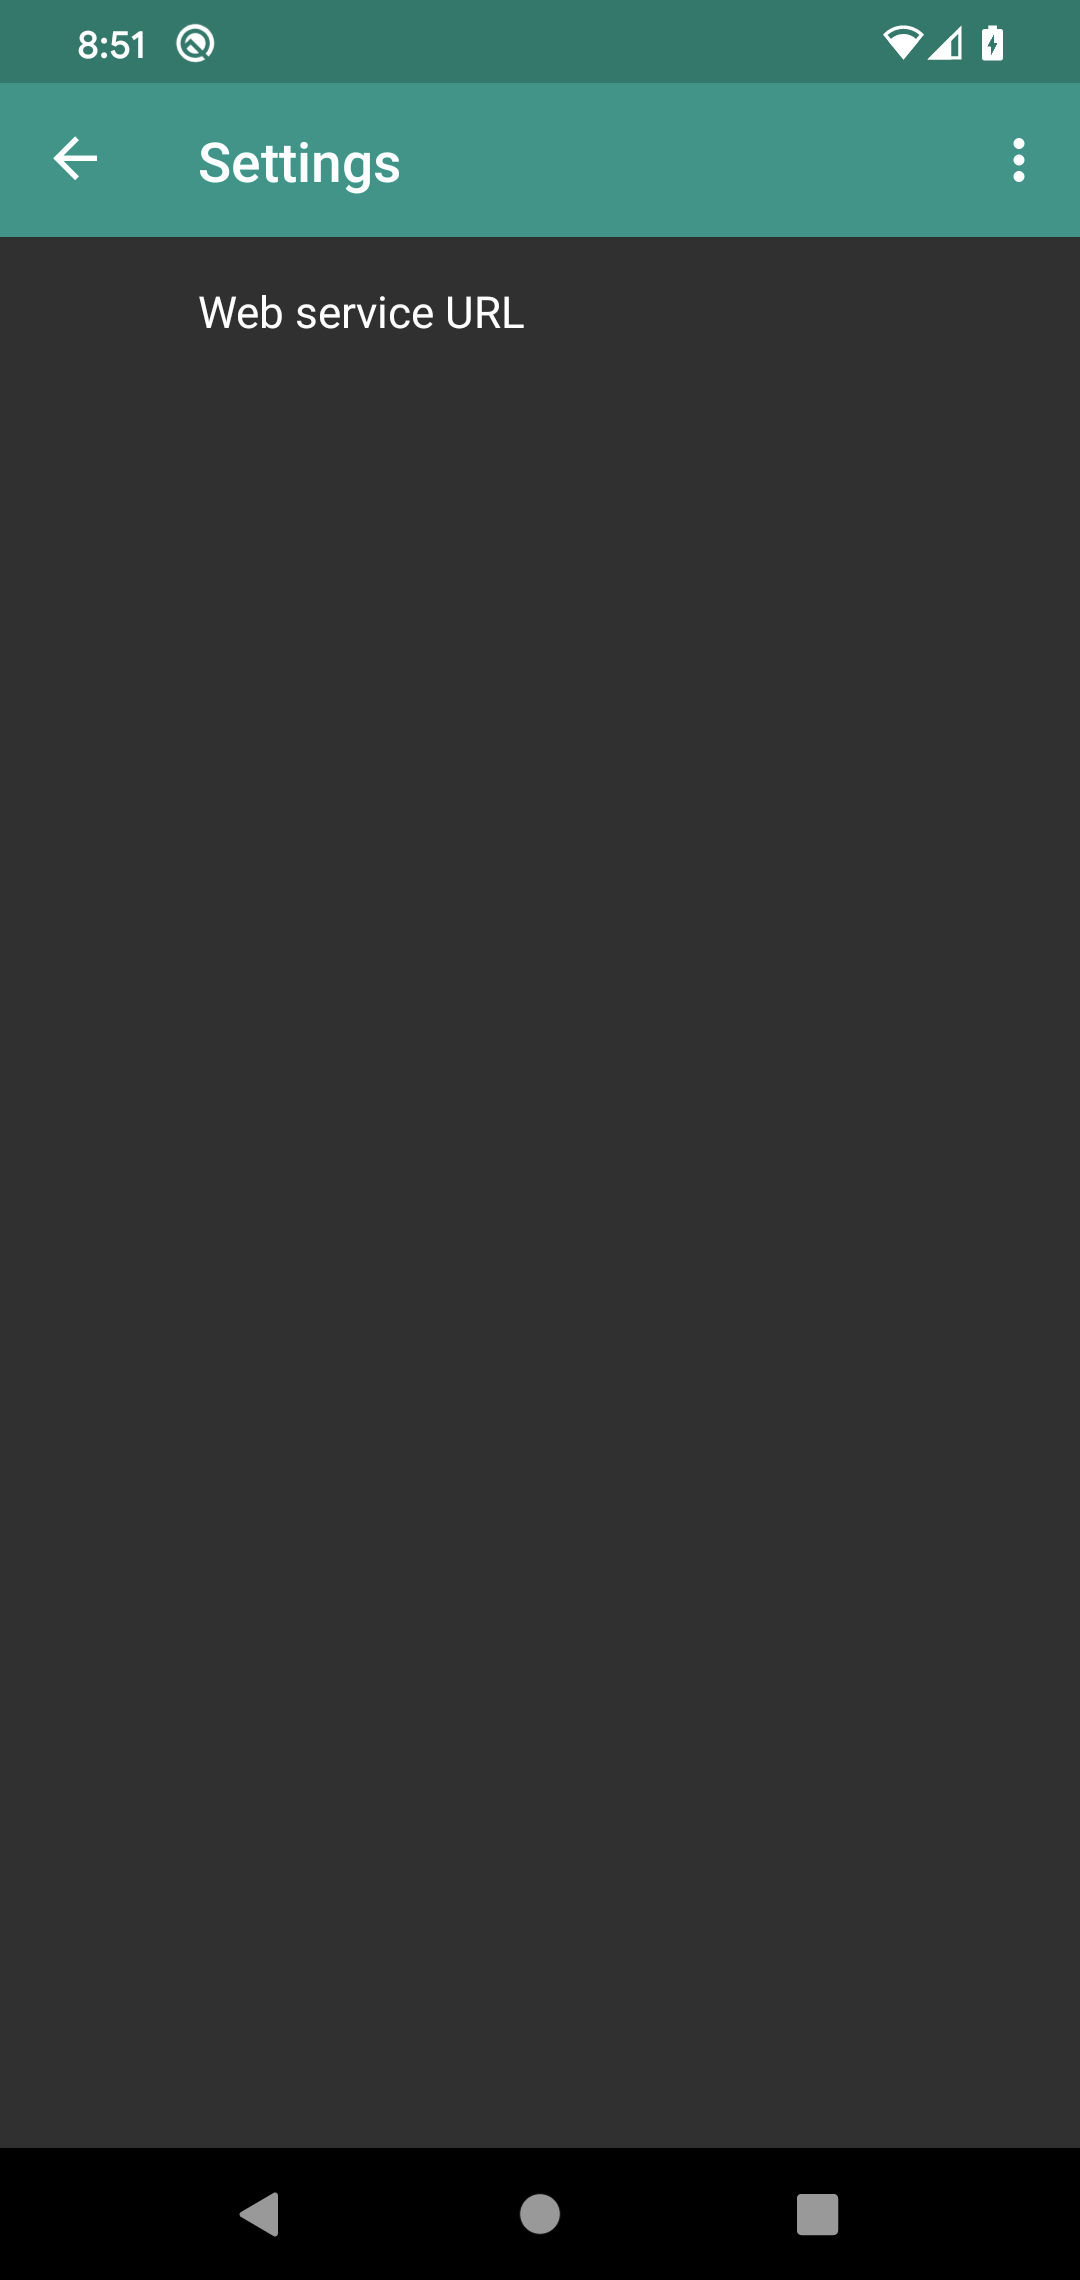
PrefsFragment
Tapping on the “Web service URL” row will bring up a dialog with a field containing our default value:
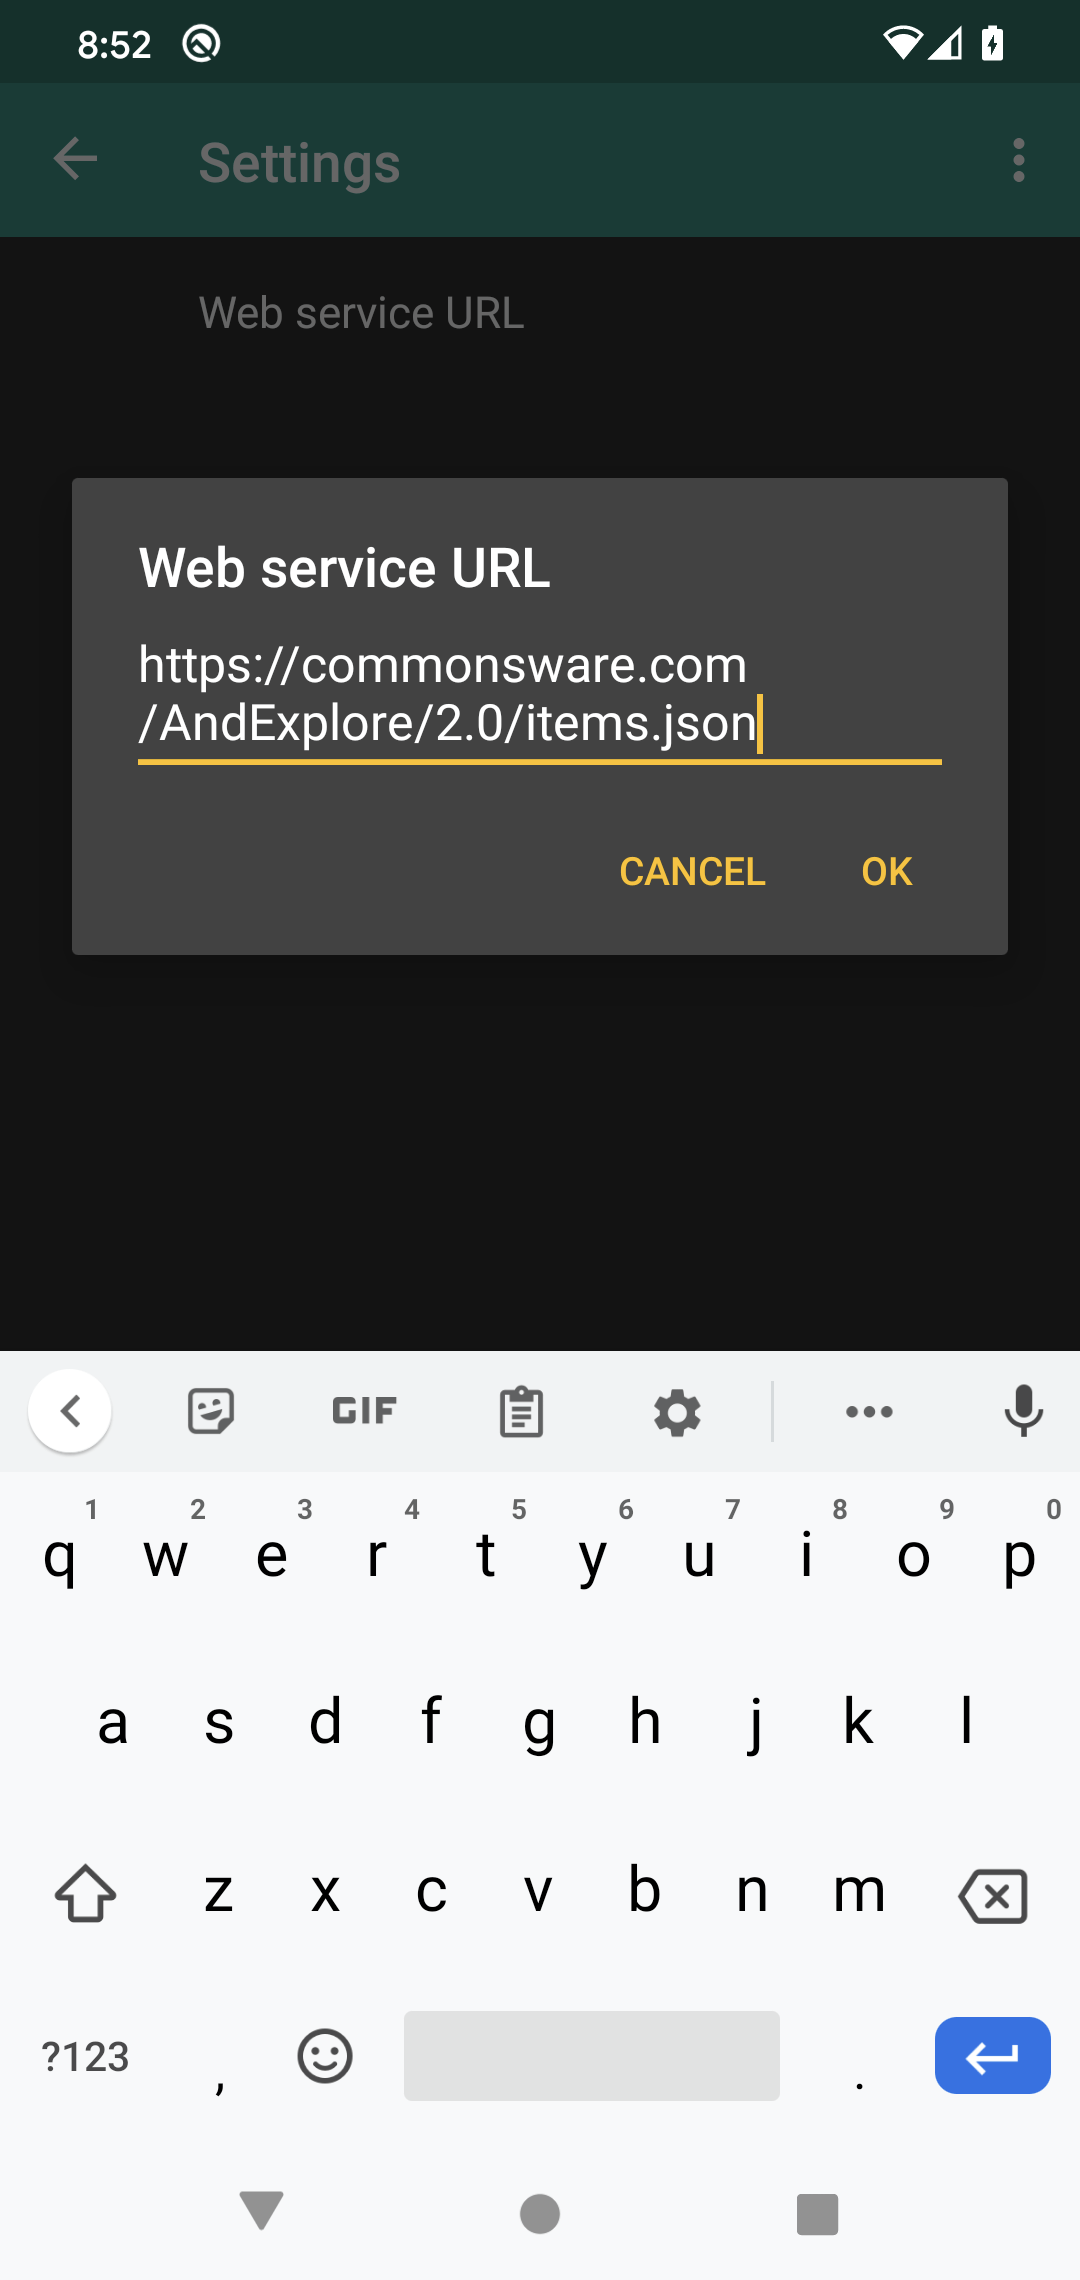
EditTextPreference Dialog
Right now, leave the value alone — just click BACK a few times to exit back to the main screen.
Prev Table of Contents Next
This book is licensed under the Creative Commons Attribution-ShareAlike 4.0 International license.