Step #2: Defining a Preference Screen
Like our FileProvider configuration from the preceding tutorial, a PreferenceScreen is defined as an XML resource in res/xml/. So, right-click over res/xml/ and choose “New” > “XML resource file” from the context menu. Fill in prefs for the name and leave the “Root element” alone. Then, click “OK” to create the resource.
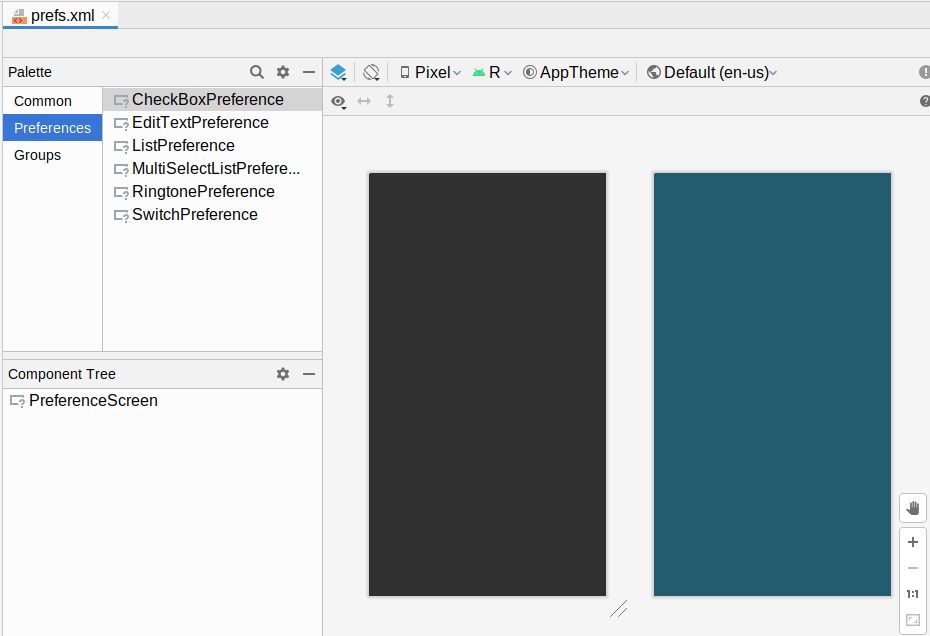
Android Studio will bring up another graphical resource editor, this time set up to define preferences:
Unfortunately, the Android Studio preference resource editor does not work all that well. So, switch over to the XML editor and replace your current XML with:
<?xml version="1.0" encoding="utf-8"?>
<PreferenceScreen xmlns:android="http://schemas.android.com/apk/res/android"
  xmlns:app="http://schemas.android.com/apk/res-auto">

  <EditTextPreference
    android:key="@string/web_service_url_key"
    android:selectAllOnFocus="true"
    android:title="@string/pref_url_title"
    app:defaultValue="@string/web_service_url_default" />
</PreferenceScreen>The root element is a PreferenceScreen, which mostly contains different types of preferences.
Our one-and-only preference is an EditTextPreference. This will provide a PreferenceScreen entry that pops up a dialog with a field when the user taps on it. The user can adjust the preference value by typing in that field.
There are four attributes on our EditTextPreference. One of these — android:selectAllOnFocus — is actually an attribute available for EditText, indicating that the contents of the field should be selected automatically once the field gets the focus. This is a useful feature of an EditText for fields where you expect the user to replace the entire value much more often than they edit the existing value. EditTextPreference itself has a feature where it will accept many EditText attributes on the EditTextPreference element.
The other three attributes are ones that you will find on most preferences:
-
android:keyis the identifier of the preference. Unlikeandroid:id, though, it can be whatever string you want — it is not limited to@+id:/...syntax. -
android:titleis what the user sees on the screen when this preference is shown in thePreferenceScreen -
app:defaultValueis the default value to show in the field, if the user has not filled in their own value yet
To make this work, though, we need to add three more string resource. Edit your res/values/strings.xml file and add:
  <string name="pref_url_title">Web service URL</string>
  <string name="web_service_url_key">webServiceUrl</string>
  <string name="web_service_url_default">https://commonsware.com/AndExplore/2.0/items.json</string>
Prev Table of Contents Next
This book is licensed under the Creative Commons Attribution-ShareAlike 4.0 International license.