Sharing the Report
We have the HTML form of our to-do list, and, on some devices, we can view it automatically in a Web browser.
However, for getting the report off of the device, the user has only clunky options:
- The user could copy the report from wherever they stored it to wherever they want, but that requires launching other apps or using desktop software in many cases
- If a Web browser appeared to view the report, it might have a “share” option that the user could use, but not all devices will have a compatible browser
Ideally, our app would have its own “share” option, so the report can be handed to any app that can share HTML. In this tutorial, we will add such an option to our app bar.
This is a continuation of the work we did in the previous tutorial. The book’s GitLab repository contains the results of the previous tutorial as well as the results of completing the work in this tutorial.
Step #1: Adding a Share App Bar Item
Right now, it may seem like Android app development is just a series of app bar items, with little bits of code between them. This is a gross exaggeration, as there is quite a bit of Android development that does not involve creating app bar items.
That being said… we need to create another app bar item.
Right-click over res/drawable/ in the project tree and choose “New” > “Vector Asset” from the context menu. This brings up the Vector Asset Wizard. There, click the “Icon” button and search for share:
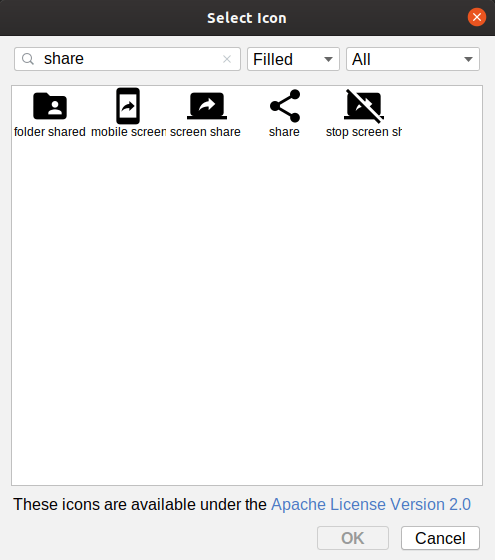
Choose the “share” icon and click “OK” to close up the icon selector. Change the icon’s name to ic_share. Then, click “Next” and “Finish” to close up the wizard and set up our icon.
If the icon selector did not open, that may be due to this Arctic Fox bug. Instead, just close up the Vector Asset wizard, and download this file into res/drawable instead. That is the desired icon, already set up for you.
Open up the res/menu/actions_roster.xml resource file, and switch to the graphical designer. Drag an “Item” from the “Palette” view into the Component Tree, slotting it after the existing “save” item:
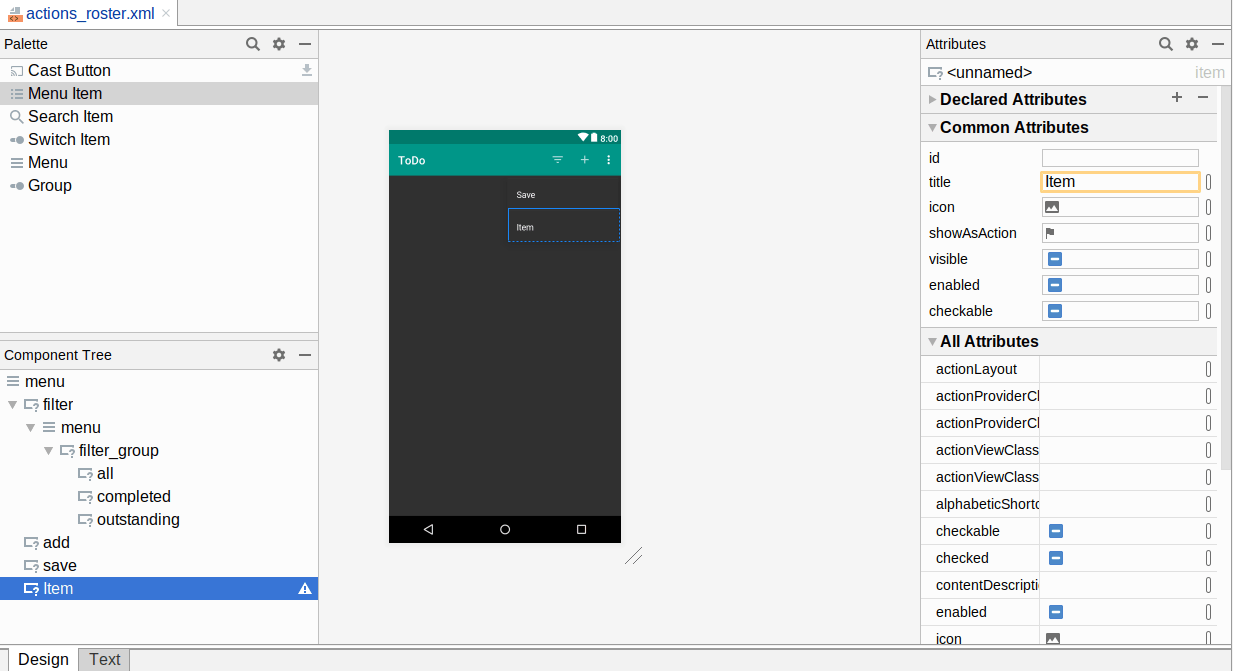
In the Attributes view for this new item, assign it an ID of “share”. Then, choose both “ifRoom” and “withText” for the “showAsAction” option. Next, click on the “O” button next to the “icon” field. This will bring up an drawable resource selector. Click on ic_share in the list of drawables, then click OK to accept that choice of icon.
Then, click the “O” button next to the “title” field. As before, this brings up a string resource selector. Click on “Add new resource” > “New string Value” in the drop-down towards the top. In the dialog, fill in menu_share as the resource name and “Share” as the resource value. Click OK to close the dialog and complete the configuration of this app bar item.
Prev Table of Contents Next
This book is licensed under the Creative Commons Attribution-ShareAlike 4.0 International license.