Step #2: Making a Save
Now, we need to respond to that action item click by asking the user where we should save the Web page generated from the filtered to-do items. To accomplish that, we are going to use the Storage Access Framework, which provides us with UI akin to the “file open” and “file ‘save as’” dialogs that you see in desktop operating systems.
ACTION_CREATE_DOCUMENT is an Intent action that, as the name suggests, guides the user to create a new document for your use. In modern editions of the Jetpack, that Intent is wrapped up in an “activity result” request that will give us a Uri pointing to where that document resides.
Up in your list of properties for RosterListFragment (before the onCreate() function), add this new property:
  private val createDoc =
    registerForActivityResult(ActivityResultContracts.CreateDocument()) {
    }
registerForActivityResult() tells the Jetpack “hey, we want to register a way to make a request and get a response”. The request is in the form of an ActivityResultContract instance, in this case ActivityResultContracts.CreateDocument. CreateDocument maps to ACTION_CREATE_DOCUMENT, and it will request that the user choose a place on their device (or in their cloud storage) to create a new document. We get a Uri pointing to that new document in the lambda expression that we provide to registerForActivityResult().
Next, add this saveReport() function to RosterListFragment:
  private fun saveReport() {
    createDoc.launch("report.html")
  }
Here, we call launch() on the createDoc that we just created. launch() says “OK, let’s make an actual request”, and for our case, that will ask the user to pick the place to create the document. We supply report.html as the default name to use for this new document, though the user might change that name.
Then, add another branch to the when in onOptionsItemSelected() in RosterListFragment, to call saveReport() if the user clicks the “Save” action bar item:
      R.id.save -> {
        saveReport()
        return true
      }
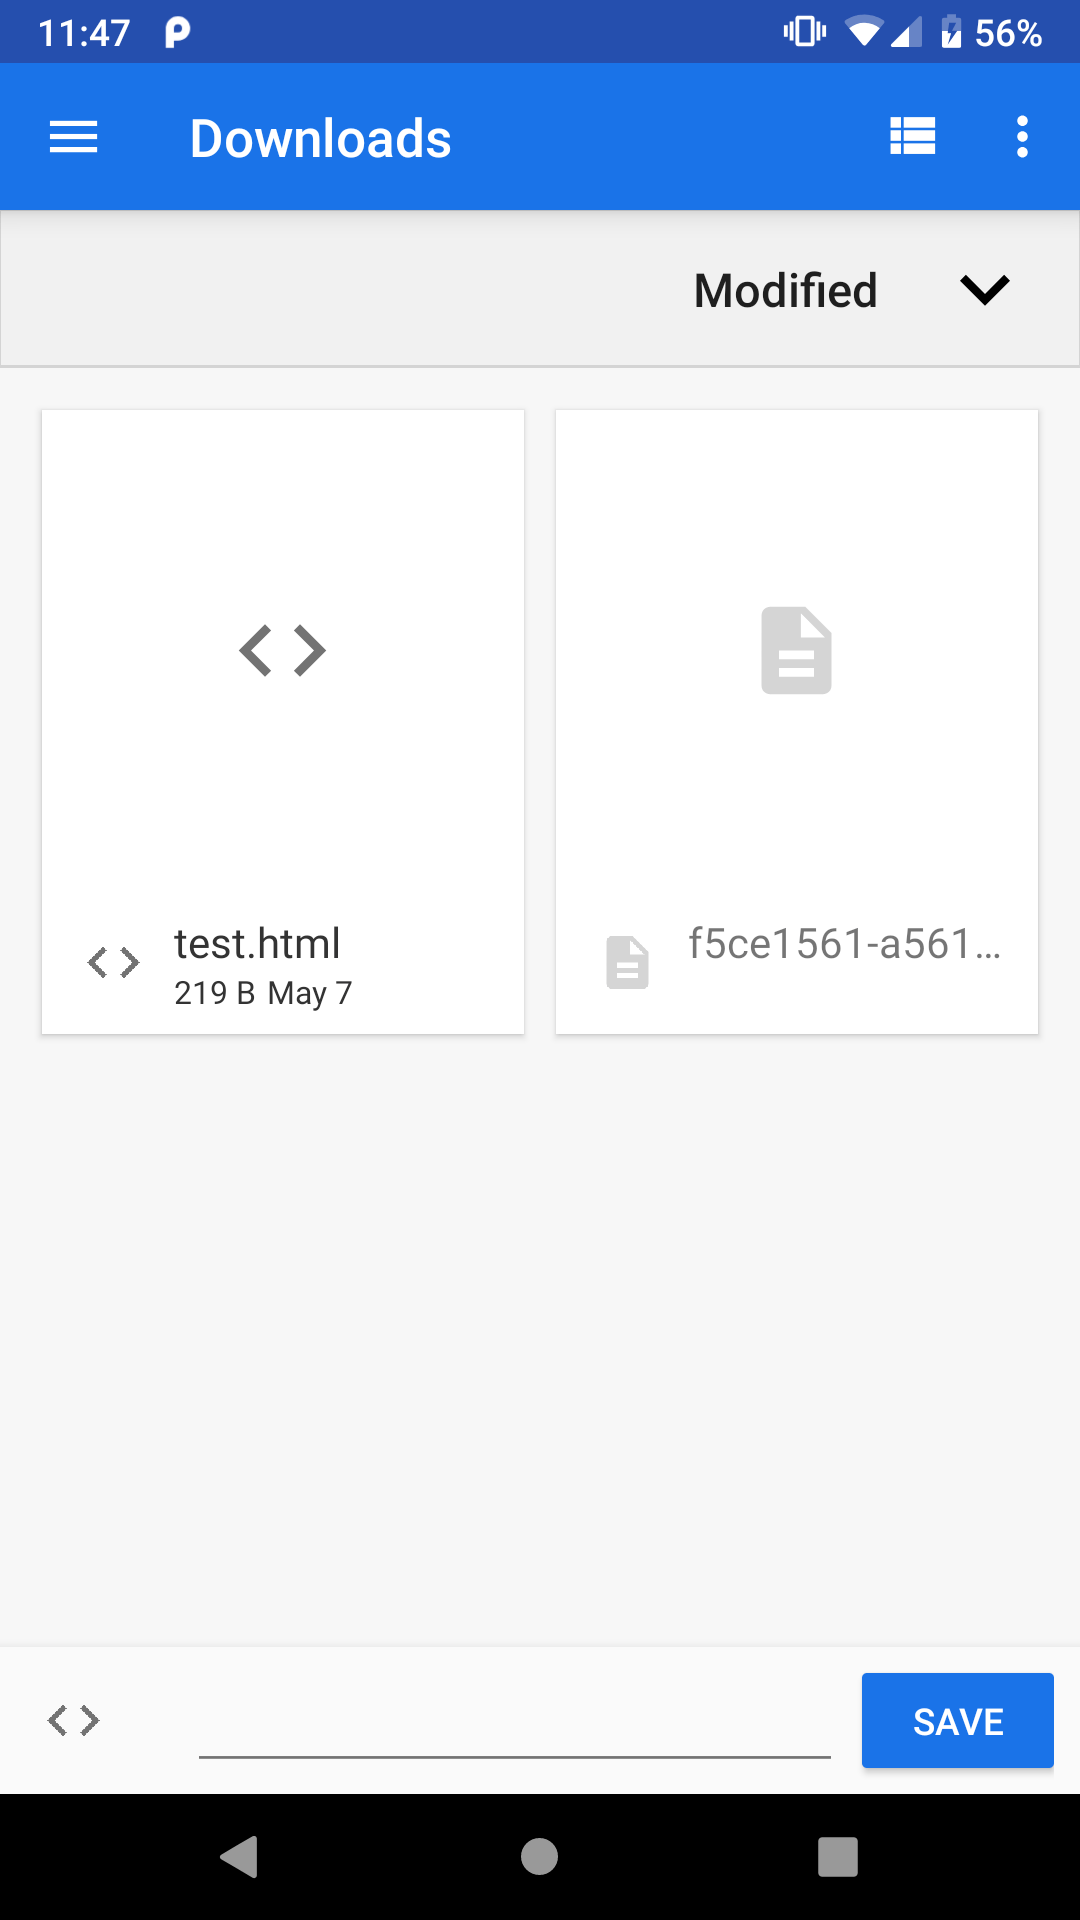
If you run this on your device or emulator and click that “Save” item, you should be presented with a screen where you can choose where to save the content:
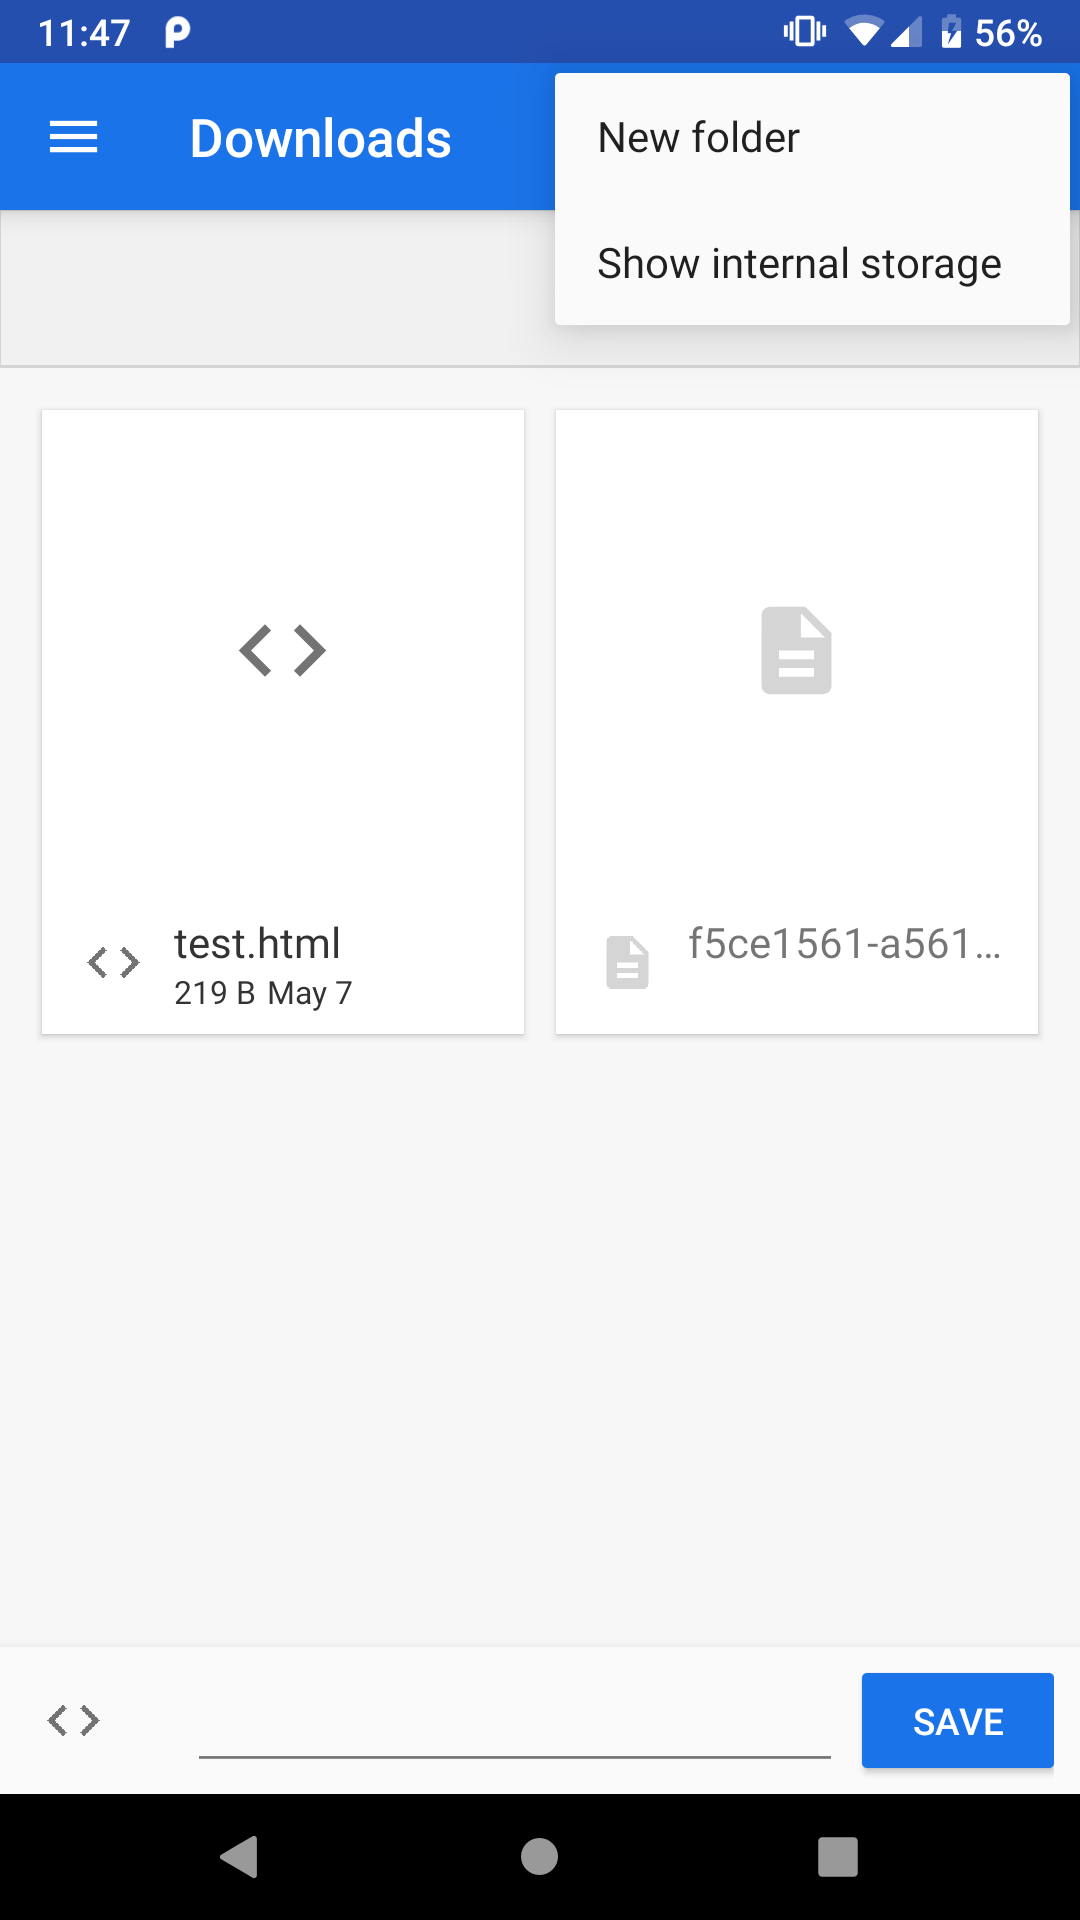
The user can choose “Show internal storage” from the overflow menu to add more options of where to save the content:
If your device happened to show the “Save” item in the overflow, you might have noticed that “About” appeared before “Save”:
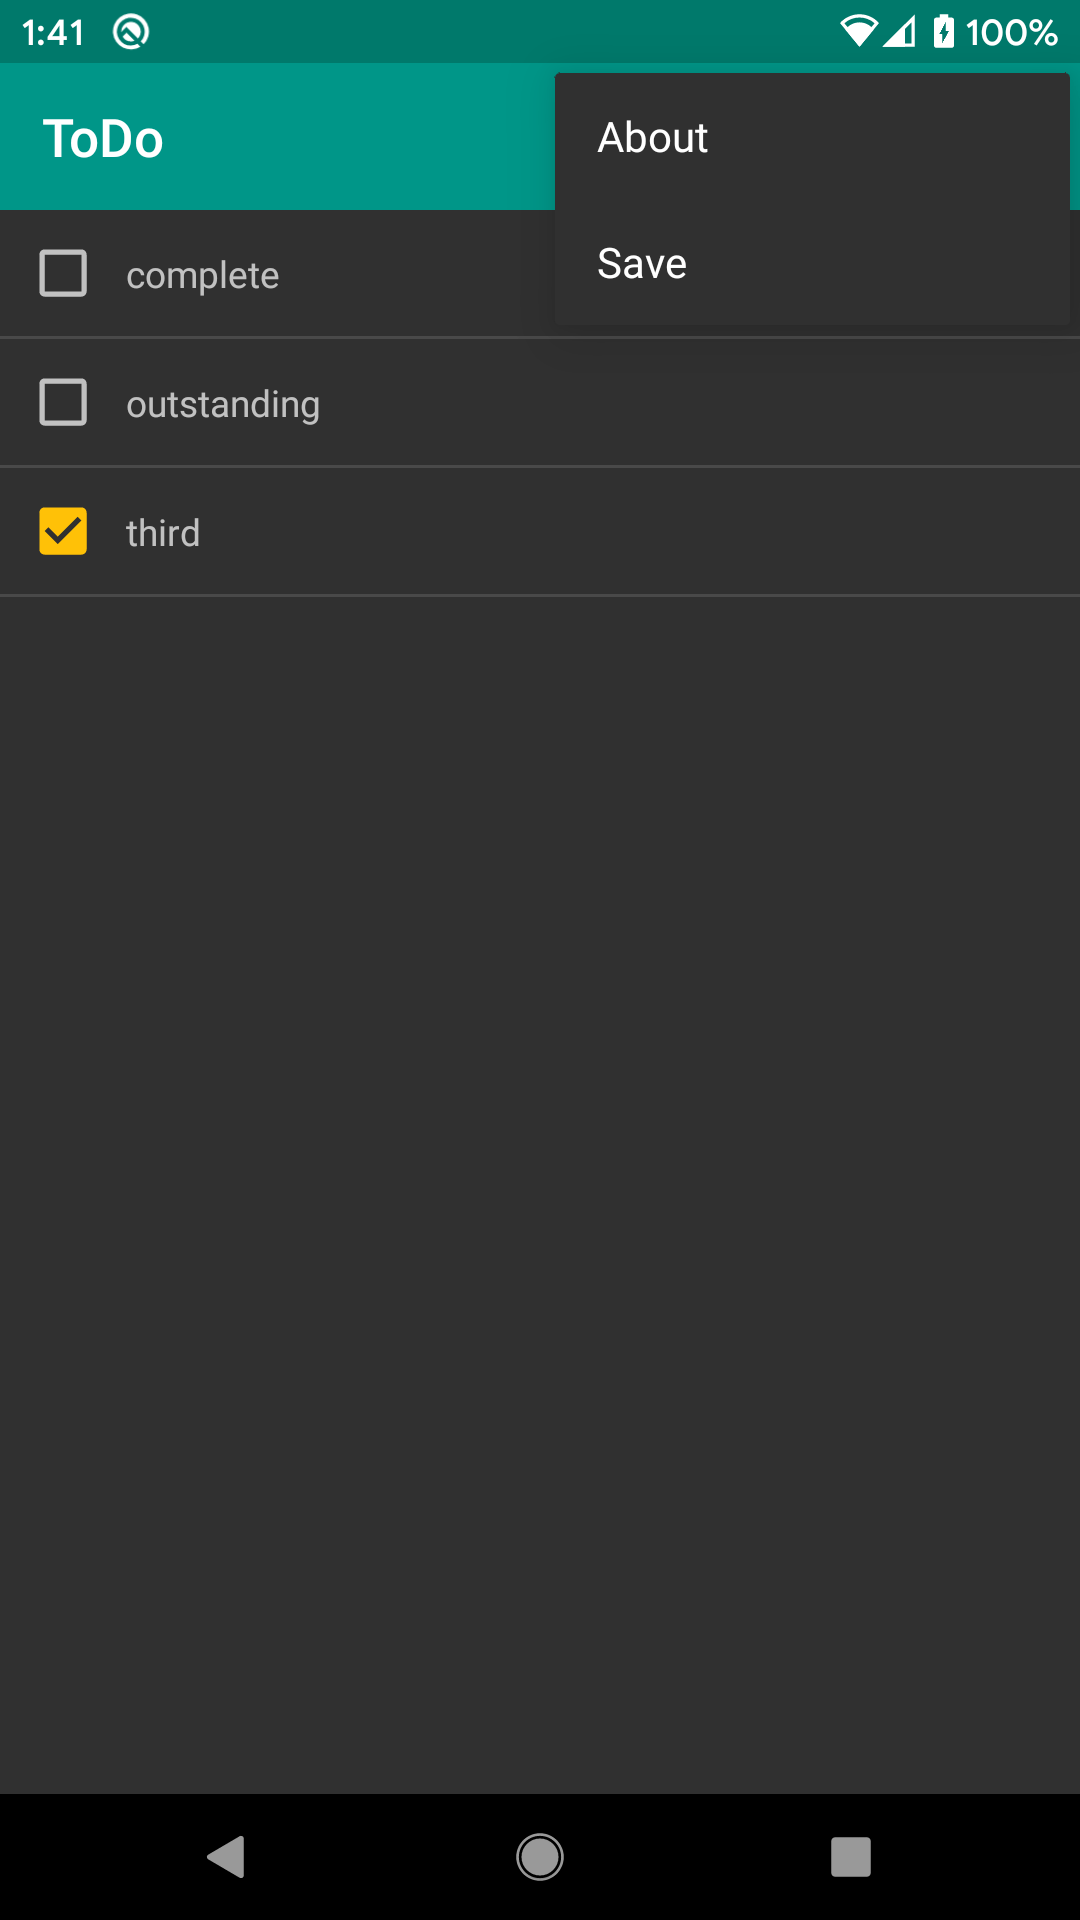
Ideally, “About” would be last, as it is the least important of our overflow items. To fix this, open res/menu/actions.xml — the resource file containing the “About” item. Then, in the full list of the Attributes pane for the “About” item, set “orderInCategory” to 100. Each item is placed into a category; we are just using the default category for everything, as menu categories are rarely used. Higher numbers for “orderInCategory” appear later in the overflow, and so we are pushing the “About” item down by setting its “orderInCategory” value to 100.
Now, “Save” appears before “About”:

Prev Table of Contents Next
This book is licensed under the Creative Commons Attribution-ShareAlike 4.0 International license.