Refactoring Our Code
Right now, all of our code resides in a single package: com.commonsware.todo. For tiny apps, that is reasonable. The more complex your app gets, the more likely it is that you will want to organize the classes into sub-packages. We will be adding many more classes to the app, so now seems like a good time to refactor the code and set up some sub-packages.
Fortunately, Android Studio makes this very easy!
This is a continuation of the work we did in the previous tutorial. The book’s GitLab repository contains the results of the previous tutorial as well as the results of completing the work in this tutorial.
Step #1: Creating Some Packages
First, we should set up the packages into which we want to reorganize the classes.
Right-click over the com.commonsware.todo package and choose “New” > “Package” from the context menu. In the field, fill in repo and press Enter or Return to create the package.
Do that again, but this time fill in ui.display. This creates a package (ui) and a sub-package (display) in one shot.
Do that again, but this time fill in ui.edit.
Now, right-click over the com.commonsware.todo.ui package and choose “New” > “Package” from the context menu. Enter roster in the field and click OK. Since we started from the com.commonsware.todo.ui package, roster becomes a sub-package of that, a peer of the display and edit ones.
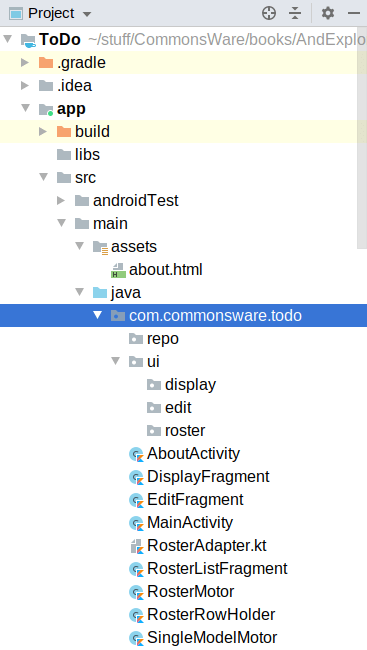
At this point, your project tree should resemble:
Prev Table of Contents Next
This book is licensed under the Creative Commons Attribution-ShareAlike 4.0 International license.