Step #3: Adding an Add App Bar Item
We need to add another app bar item, this one in the roster fragment, to allow the user to add a new to-do item.
Right-click over res/drawable/ in the project tree and choose “New” > “Vector Asset” from the context menu. This brings up the Vector Asset Wizard. There, click the “Clip Art” button and search for add:
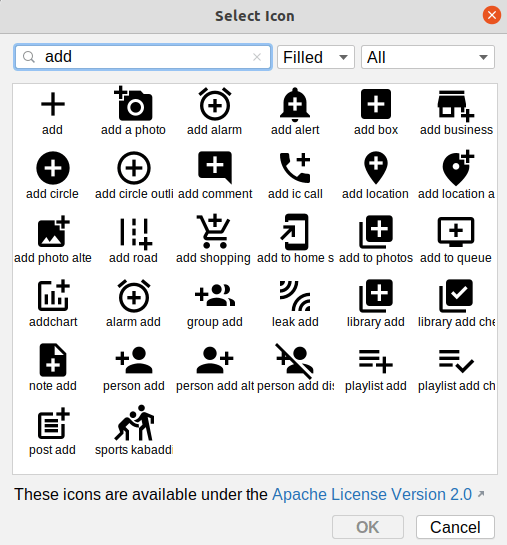
(we really like to add things in Android…)
Choose the “add” icon and click “OK” to close up the icon selector. Change the name to ic_add. Then, click “Next” and “Finish” to close up the wizard and set up our icon.
If the icon selector did not open, that may be due to this Arctic Fox bug. Instead, just close up the Vector Asset wizard, and download this file into res/drawable instead. That is the desired icon, already set up for you.
While it feels like we keep adding app bar items, we have never added one directly to the RosterListFragment. All previous app bar items were added to the other fragments or to MainActivity. So, we need to set up a new menu resource and the corresponding Kotlin code.
Right-click over the res/menu/ directory and choose New > “Menu resource file” from the context menu. Fill in actions_roster.xml in the “New Menu Resource File” dialog, then click OK to create the file to open it in the menu editor.
In the Palette, drag a “Menu Item” into the preview area. In the Attributes pane, fill in add for the “id”. Then, choose both “ifRoom” and “withText” for the “showAsAction” option. Next, click on the “O” button next to the “icon” field. This will bring up an drawable resource selector. Click on ic_add in the list of drawables, then click OK to accept that choice of icon.
Then, click the “O” button next to the “title” field. As before, this brings up a string resource selector. Click on “+”, then click on “String Value” in the resulting drop-down. In the dialog, fill in menu_add as the resource name and “Add” as the resource value. Click OK to close the dialog and complete the configuration of this app bar item.
Add this onCreate() function to RosterListFragment, to indicate that this fragment wishes to participate in the app bar:
  override fun onCreate(savedInstanceState: Bundle?) {
    super.onCreate(savedInstanceState)

    setHasOptionsMenu(true)
  }
Next, add this onCreateOptionsMenu() function to RosterListFragment, to inflate our newly-created menu resource:
  override fun onCreateOptionsMenu(menu: Menu, inflater: MenuInflater) {
    inflater.inflate(R.menu.actions_roster, menu)

    super.onCreateOptionsMenu(menu, inflater)
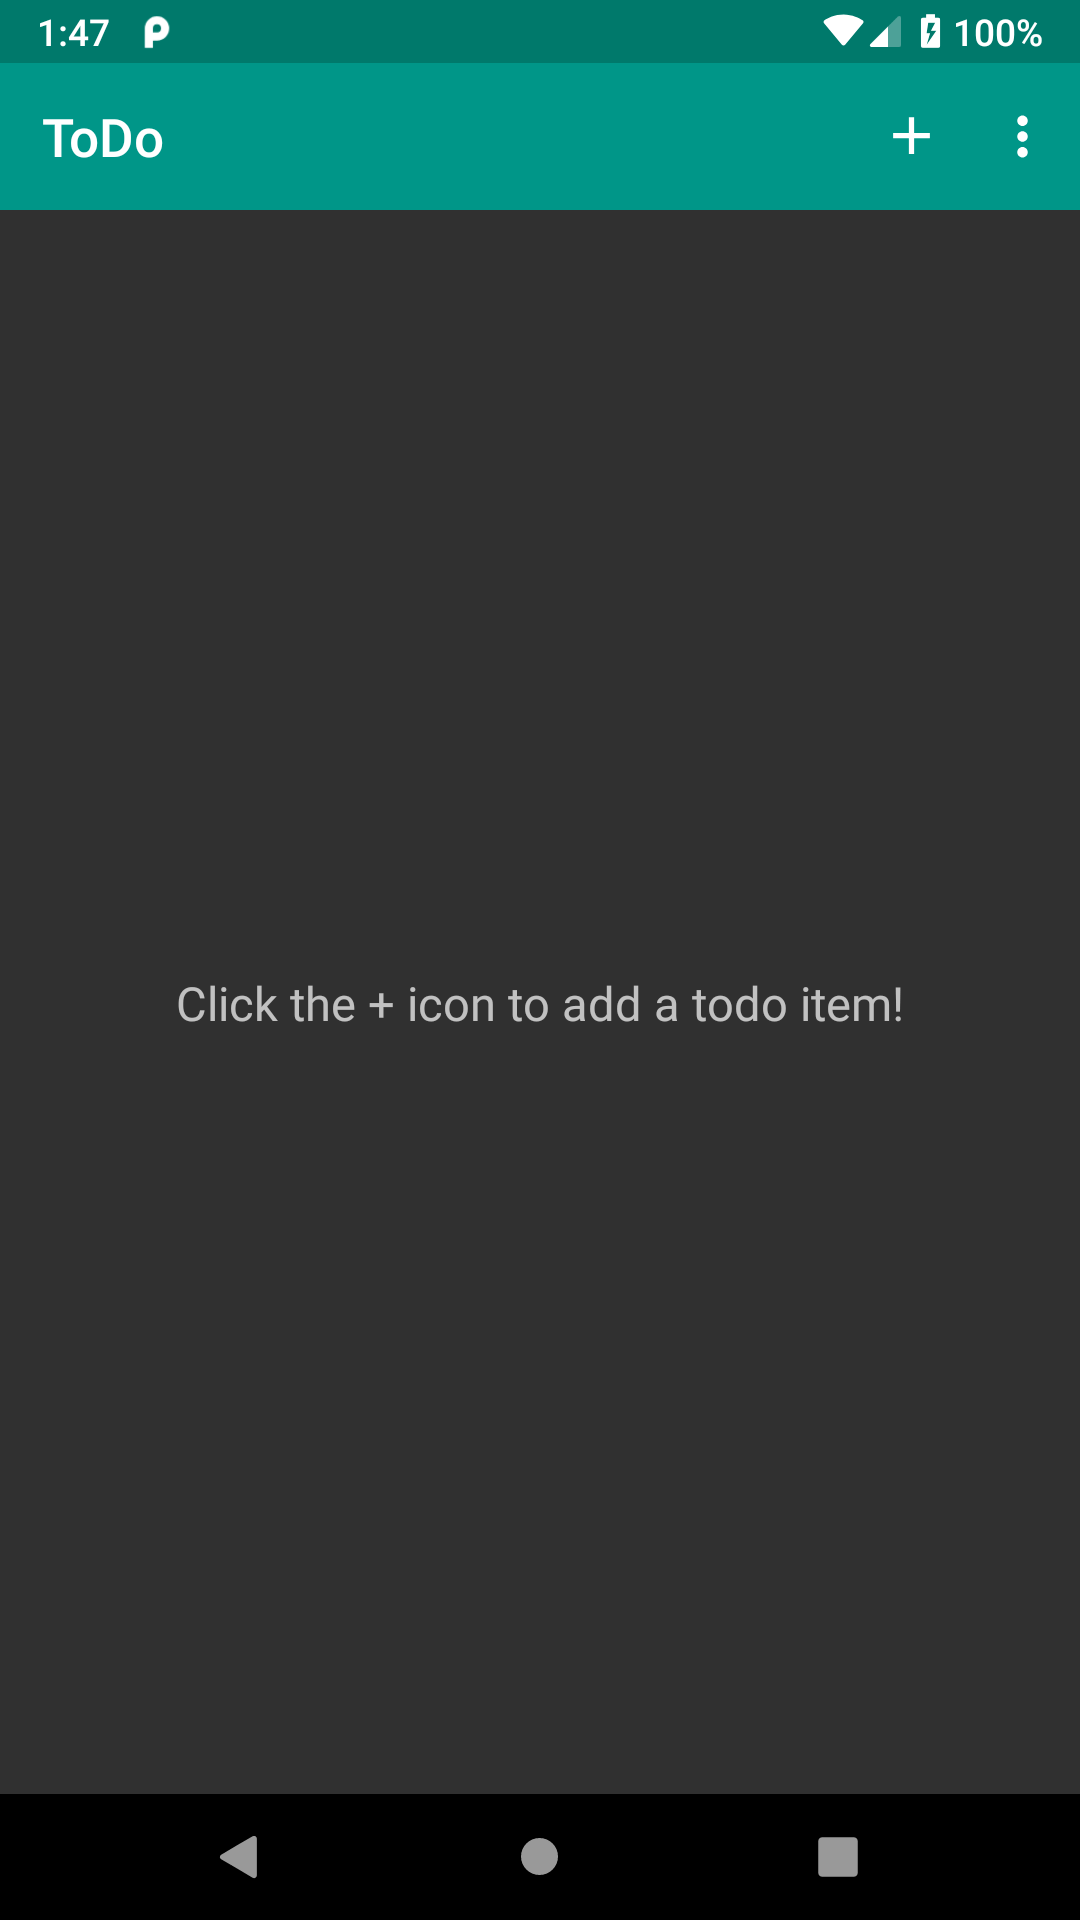
Finally, open up the res/values/strings.xml resource file. You should find a string resource named msg_empty in there, with a value of placeholder text. Replace that value with Click the + icon to add a todo item!.
Now, when you run the app, not only do you get the “add” app bar item, but the empty view text is more useful:
Prev Table of Contents Next
This book is licensed under the Creative Commons Attribution-ShareAlike 4.0 International license.