Step #2: Setting Up the Emulator AVD
Your first decision to make is whether or not you want to bother setting up an emulator image right now. If you have an Android device, you may prefer to start testing your app on it, and come back to set up the emulator at a later point. In that case, skip to Step #3.
The Android emulator can emulate one or several Android devices. Each configuration you want is stored in an “Android virtual device”, or AVD. The AVD Manager is where you create these AVDs. To open the AVD Manager in Android Studio, choose Tools > AVD Manager from the main menu.
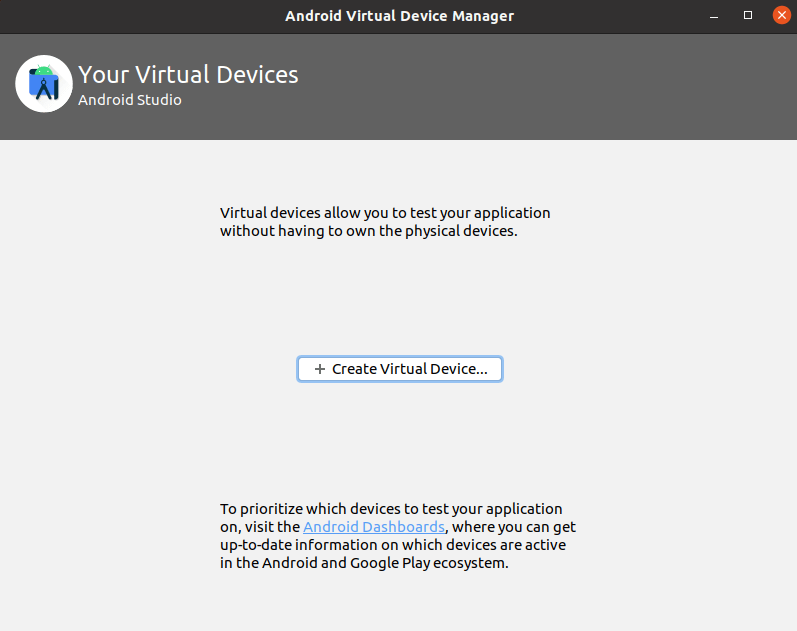
By default, you have no AVDs to use:
To create an AVD, click the “Create Virtual Device” button, which brings up a “Virtual Device Configuration” wizard:
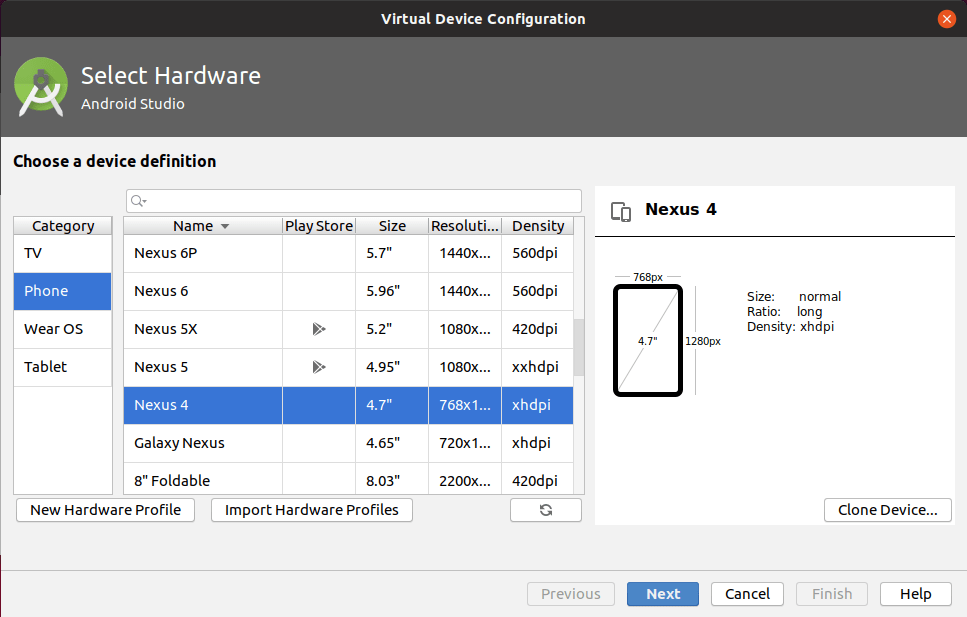
The first page of the wizard allows you to choose a device profile to use as a starting point for your AVD. The “New Hardware Profile” button allows you to define new profiles, if there is no existing profile that meets your needs.
Since emulator speeds are tied somewhat to the resolution of their (virtual) screens, you generally aim for a device profile that is on the low end but is not completely ridiculous. For example, a 1280x768 or 1280x720 phone would be considered by many people to be fairly low-resolution. However, there are plenty of devices out there at that resolution (or lower), and it makes for a reasonable starting emulator.
If you want to create a new device profile based on an existing one — to change a few parameters but otherwise use what the original profile had — click the “Clone Device” button once you have selected your starter profile.
However, in general, at the outset, using an existing profile is perfectly fine. The Nexus 4 image is a likely choice to start with.
Clicking “Next” allows you to choose an emulator image to use:
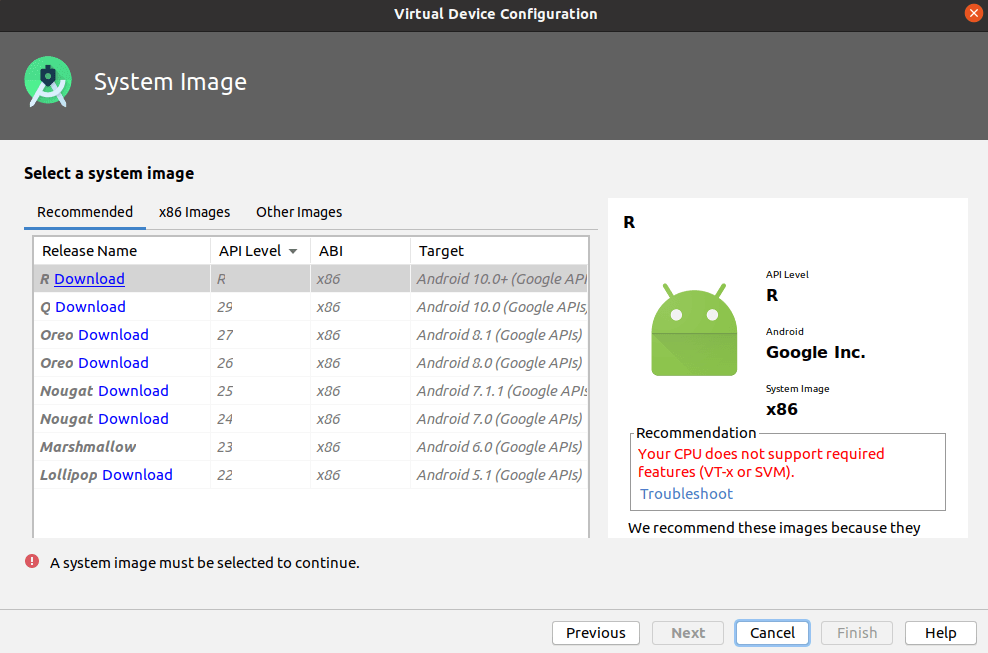
The emulator images are spread across three tabs:
- “Recommended”
- “x86 Images”
- “Other Images”
For the purposes of the tutorials, you do not need an emulator image with the “Google APIs” — those are for emulators that have Google Play Services in them and related apps like Google Maps. However, in terms of API level, you can choose anything from API Level 21 (Android 5.0) on up.
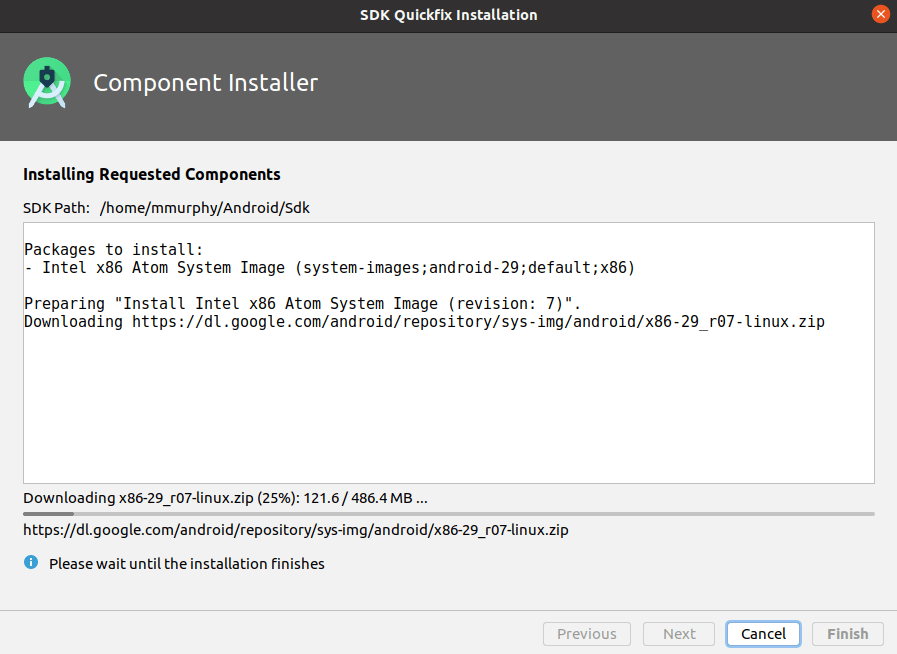
It is best to use one of the x86 images for the best emulator performance. On the “x86 Images” tab, you should see some entries with a “Download” link, and you might see others without it. The emulator images with “Download” next to them will trigger a one-time download of the files necessary to create AVDs for that particular API level and CPU architecture combination, after another license dialog and progress dialog:
Once you have identified the image that you want — and have downloaded it if needed — click on one of them in the wizard. Clicking “Next” allows you to finalize the configuration of your AVD:
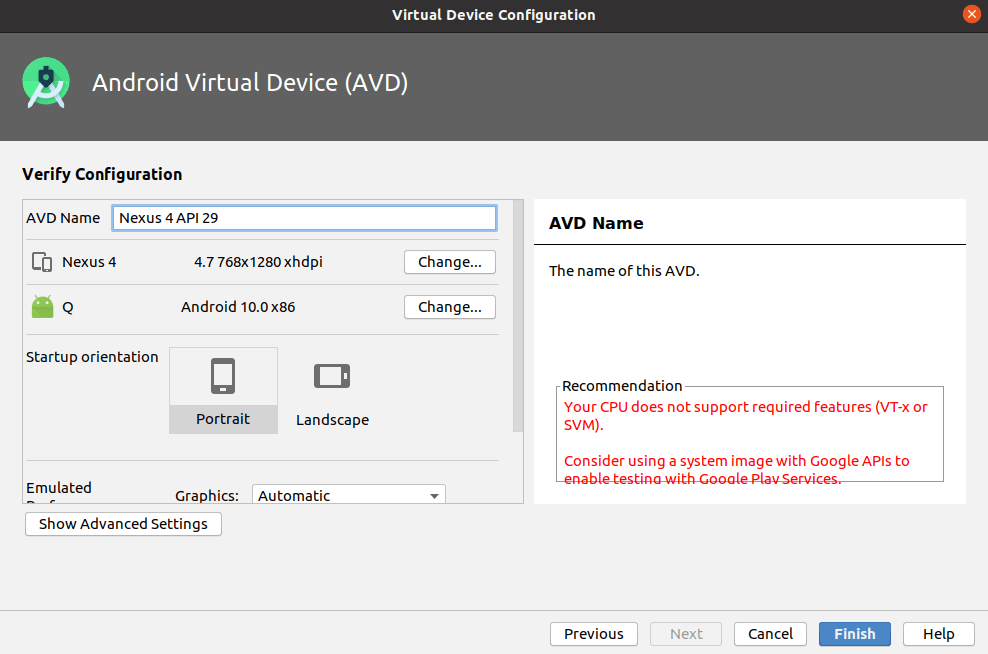
If you get the “Recommendation” box with the red “Your CPU does not support required features…” message, your development machine is not set up to support this type of emulator image. For example, you may need to enable virtualization extensions in your PC’s BIOS, as was noted in the previous tutorial.
A default name for the AVD is suggested, though you are welcome to replace this with your own value. However, that name must be something valid: only letters, numbers, spaces, and select punctuation (e.g., ., _, -, (, )) are supported.
The rest of the default values should be fine for now.
Clicking “Finish” will return you to the main AVD Manager, showing your new AVD. You can then close the AVD Manager window.
If you also have a physical device that you want to use for testing, continue with Step #3. Otherwise, feel free to skip to Step #4.
Prev Table of Contents Next
This book is licensed under the Creative Commons Attribution-ShareAlike 4.0 International license.