Step #9: Adding the Notes Field
The other widget is another EditText, this time for the notes.
Switch back to the graphical designer in the layout editor. In the “Palette” pane, in the “Text” category, drag a “Multiline Text” widget into the design area. Using the grab handles, set up constraints to:
- Tie the bottom, start, and end sides of the
EditTextto the bottom, start, and end sides of theConstraintLayout - Tie the top of the
EditTextto the bottom of the previousEditText
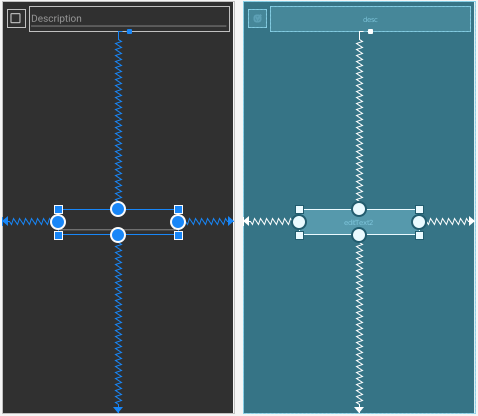
Then, set both the “layout_height” and “layout_width” attributes to match_constraint:
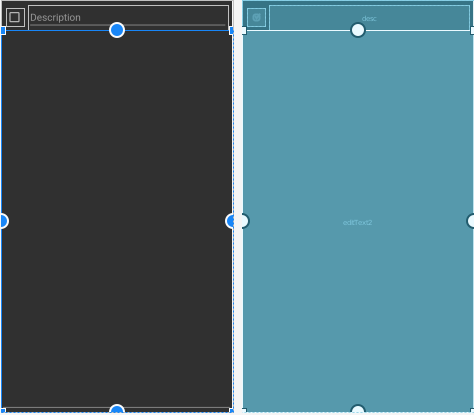
In the “Layout” section of the “Attributes” pane, give it 8dp of margin on all four sides, via the drop-downs.
Next, switch to the “Code” view, and change the android:id value for this new <EditText> to be @+id/notes. Afterwards, switch back to the “Design” view.
Click the “O” button for the “hint” attribute in the Attributes pane. Create a new string resource using the drop-down menu. Give the resource a name of notes and a value of Notes. Then, click OK to define the string resource and apply it to the hint.
Prev Table of Contents Next
This book is licensed under the Creative Commons Attribution-ShareAlike 4.0 International license.