Step #4: Showing the App Bar Item
We also need to take steps to arrange to show this app bar item on DisplayFragment. Previously, we defined an app bar item that would be available to the entire activity. Now we want one that will be for just this one fragment. The way to do that is to have the fragment itself add this item to the app bar — Android will only show this item when the fragment itself is visible.
Add this onCreate() method to DisplayFragment:
  override fun onCreate(savedInstanceState: Bundle?) {
    super.onCreate(savedInstanceState)

    setHasOptionsMenu(true)
  }
onCreate() is called when the fragment is created, and here we indicate that we want to add items to the app bar, via setHasOptionsMenu(true).
Next, add this onCreateOptionsMenu() method to DisplayFragment:
  override fun onCreateOptionsMenu(menu: Menu, inflater: MenuInflater) {
    inflater.inflate(R.menu.actions_display, menu)

    super.onCreateOptionsMenu(menu, inflater)
  }
Here, we use a MenuInflater to “inflate” the menu resource and add its item to the app bar. Plus, we chain to the superclass, in case the superclass wants to add things to the app bar as well.
If you run the app and tap on a to-do item in the list, you should see the new app bar item on the DisplayFragment:
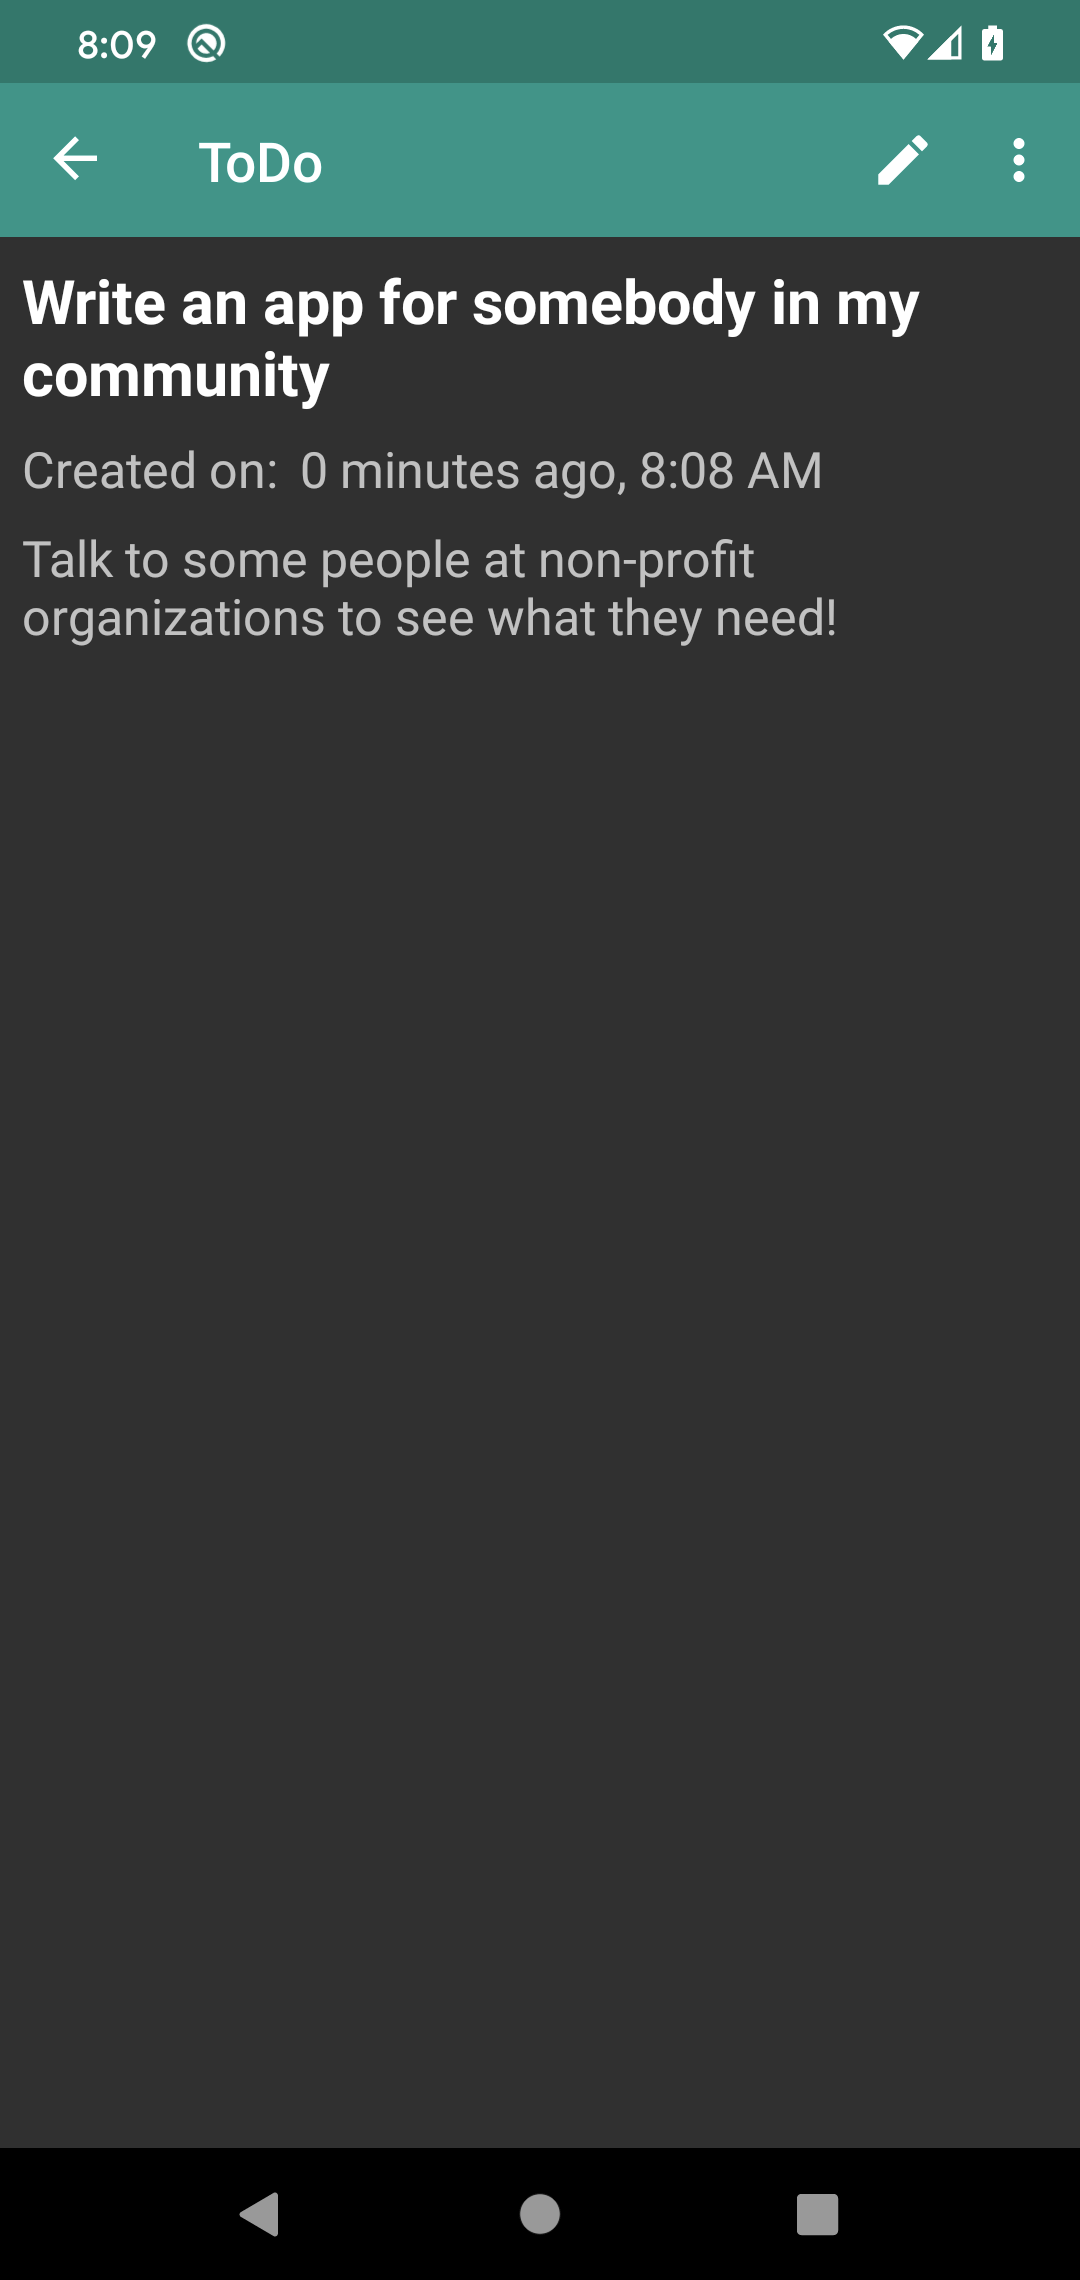
This is in addition to the overflow menu, which still has our “About” item. By having our activity’s Toolbar serve as the app bar, the activity and the currently-visible fragment(s) can all contribute items.
Prev Table of Contents Next
This book is licensed under the Creative Commons Attribution-ShareAlike 4.0 International license.