Step #2: Updating the Navigation Graph
We need to add this new fragment to our navigation graph, so we can navigate to it.
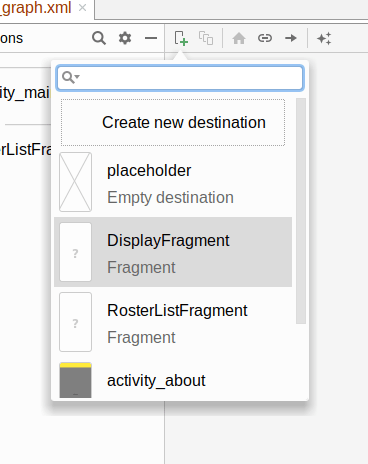
Open up the res/navigation/nav_graph.xml resource. In the graphical design view, once again click the new-destination toolbar button (rectangle with green plus). This will drop down a list of candidate fragments, and DisplayFragment should be among them:
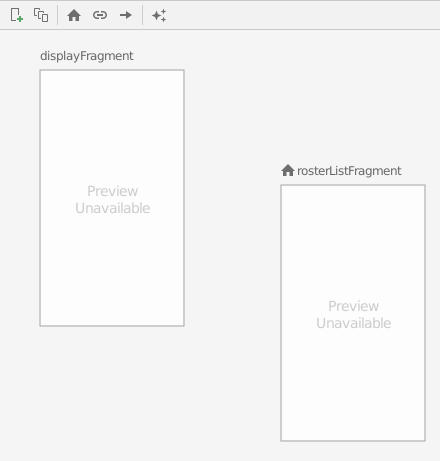
Choose DisplayFragment, and you should see it appear in your editor:
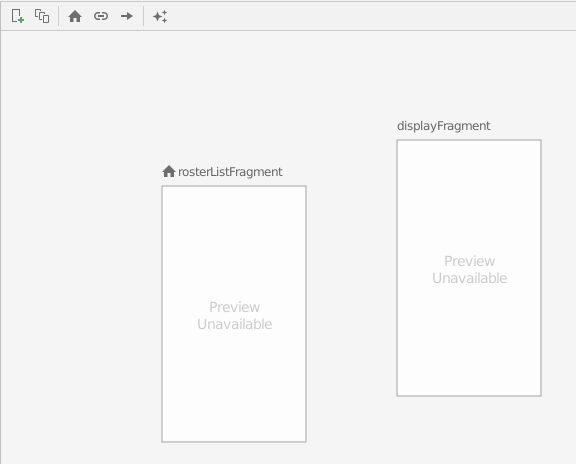
If, as in the screenshot shown above, displayFragment shows up to the left of rosterListFragment, drag it more to the right:
Then, click on rosterListFragment, and drag the circle that appears on the right over to displayFragment, creating an arrow:
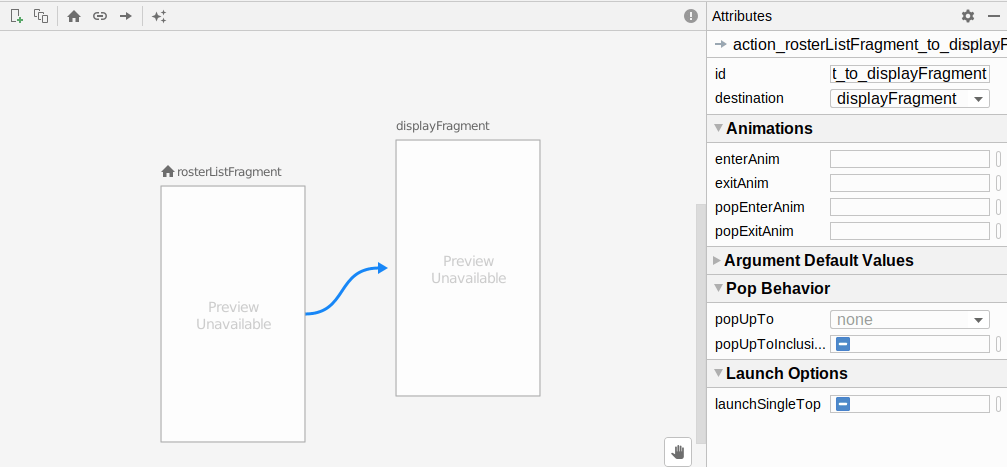
This sets up an “action”. It indicates that we want to be able to navigate from our RosterListFragment to our DisplayFragment.
Now, we need to adjust some attributes of our navigation graph.
Click on the rosterListFragment, so its attributes appear in the “Attributes” pane. Replace its current “Label” with @string/app_name, so we use our existing app name string resource.
Then, click on displayFragment and do the same thing: replace its current “Label” with @string/app_name.
Finally, click on the arrow connecting the two destinations. This allows us to modify attributes of the action itself. It has a generated ID of @+id/action_rosterListFragment_to_displayFragment, which is fine but rather long. Change it to @+id/displayModel.
At this point, the XML of the navigation resource should look like:
<?xml version="1.0" encoding="utf-8"?>
<navigation xmlns:android="http://schemas.android.com/apk/res/android"
  xmlns:app="http://schemas.android.com/apk/res-auto"
  android:id="@+id/nav_graph.xml"
  app:startDestination="@id/rosterListFragment">

  <fragment
    android:id="@+id/rosterListFragment"
    android:name="com.commonsware.todo.RosterListFragment"
    android:label="@string/app_name">
    <action
      android:id="@+id/displayModel"
      app:destination="@id/displayFragment" />
  </fragment>
  <fragment
    android:id="@+id/displayFragment"
    android:name="com.commonsware.todo.DisplayFragment"
    android:label="@string/app_name" />
</navigation>
Prev Table of Contents Next
This book is licensed under the Creative Commons Attribution-ShareAlike 4.0 International license.