Step #2: Adding a Toolbar and a WebView
In addition to a new AboutActivity Kotlin class and manifest entry, the new-activity wizard created an activity_about layout resource for us, alongside the existing activity_main layout. Open activity_about into the graphical layout editor.
As we did in the previous tutorial, in the “Palette”, choose the “Containers” category, and drag a Toolbar into the preview area:
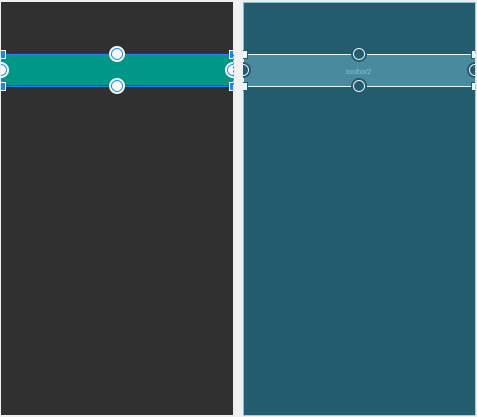
Toolbar
Using the corner (square) handles, drag the ends of the Toolbar in from the left and right edges of the layout, so you have room to maneuver. Then, use the grab handles on the start, top, and end sides and connect them to the start, top, and end sides of the ConstraintLayout that is the root of our layout:

Toolbar
Then, in the “Attributes” pane, set the layout_width to be match_constraint (a.k.a., 0dp) and the layout_height to be wrap_content.
We want the id to be toolbar. If it shows up as toolbar2, change it to be toolbar.
Next, switch back to the “Design” view. In the “Palette”, choose the “Widgets” category, and drag a WebView into the preview area:
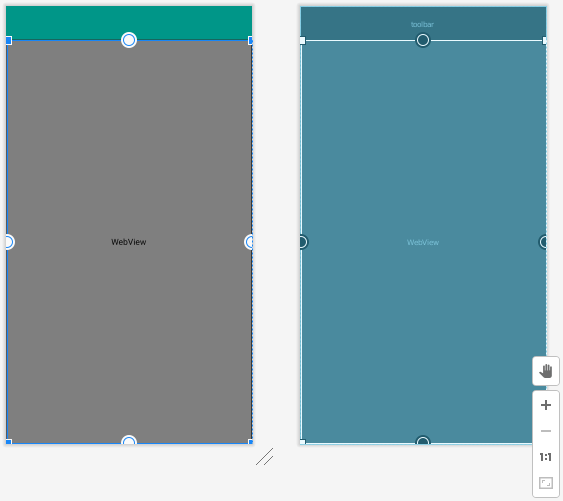
Toolbar and
WebView
However, while the WebView might seem like it is set to fill all of the available space, the design tool probably just assigned it some hard-coded values, ones that make it difficult to work with. So, once again, use the corner handles to resize the WebView to be a bit smaller, and drag it away from the edges:
WebView
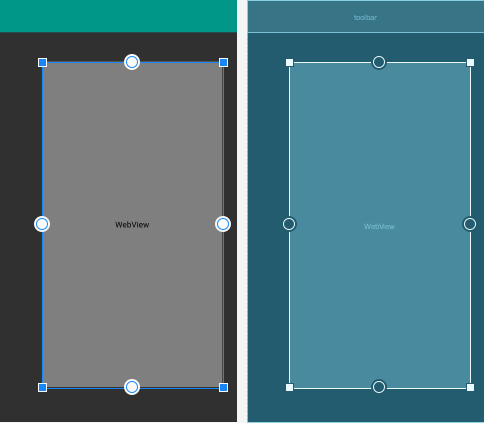
Then, drag the grab handles from the start, bottom, and end of the WebView and attach them to the corresponding sides of the ConstraintLayout. Also, drag the grab handle from the top of the WebView and connect it to the bottom of the Toolbar:
WebView
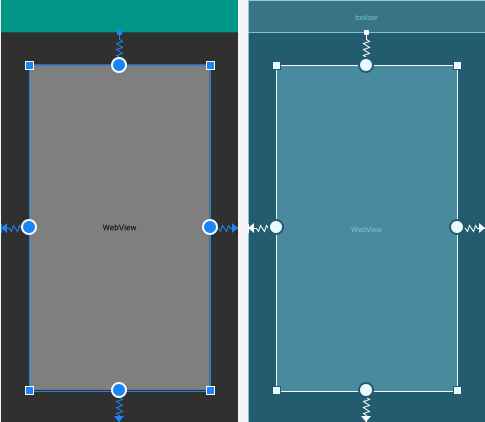
Then, go back to the “Attributes” pane and set the ID to about, the “layout_width” and “layout_height” each to match_constraint (a.k.a., 0dp), to have the WebView fill all of the available space:
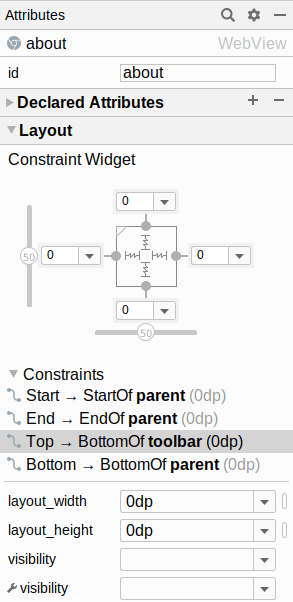
WebView Attributes
Prev Table of Contents Next
This book is licensed under the Creative Commons Attribution-ShareAlike 4.0 International license.