BiometricPrompt and Weak Biometrics
BiometricPrompt is the framework class responsible for authenticating the user, in-app, based on how the user has secured their device. Through BiometricPrompt, your app can re-confirm that the person using the app is authorized to use the device, in case somebody else took the device from its normal user.
There is some history behind BiometricPrompt:
- The original focus was on
KeyguardManagerand the entry of PINs or passwords (“device credentials”) -
FingerprintManagerfocused on fingerprints; part of the reason for the change toBiometricPromptwas to support other forms of biometrics besides fingerprints
Android 11 now divides the biometric options into “strong” and “weak”. Fingerprints are strong; face recognition is weak. When you set up your BiometricPrompt, you can indicate what authenticators are considered to be acceptable, so you can opt into supporting weak biometrics if you choose to.
The SecureCheq sample module in the book’s sample project is an updated version of a sample from Elements of Android Q that re-authenticates the user when they tap a large fingerprint icon:
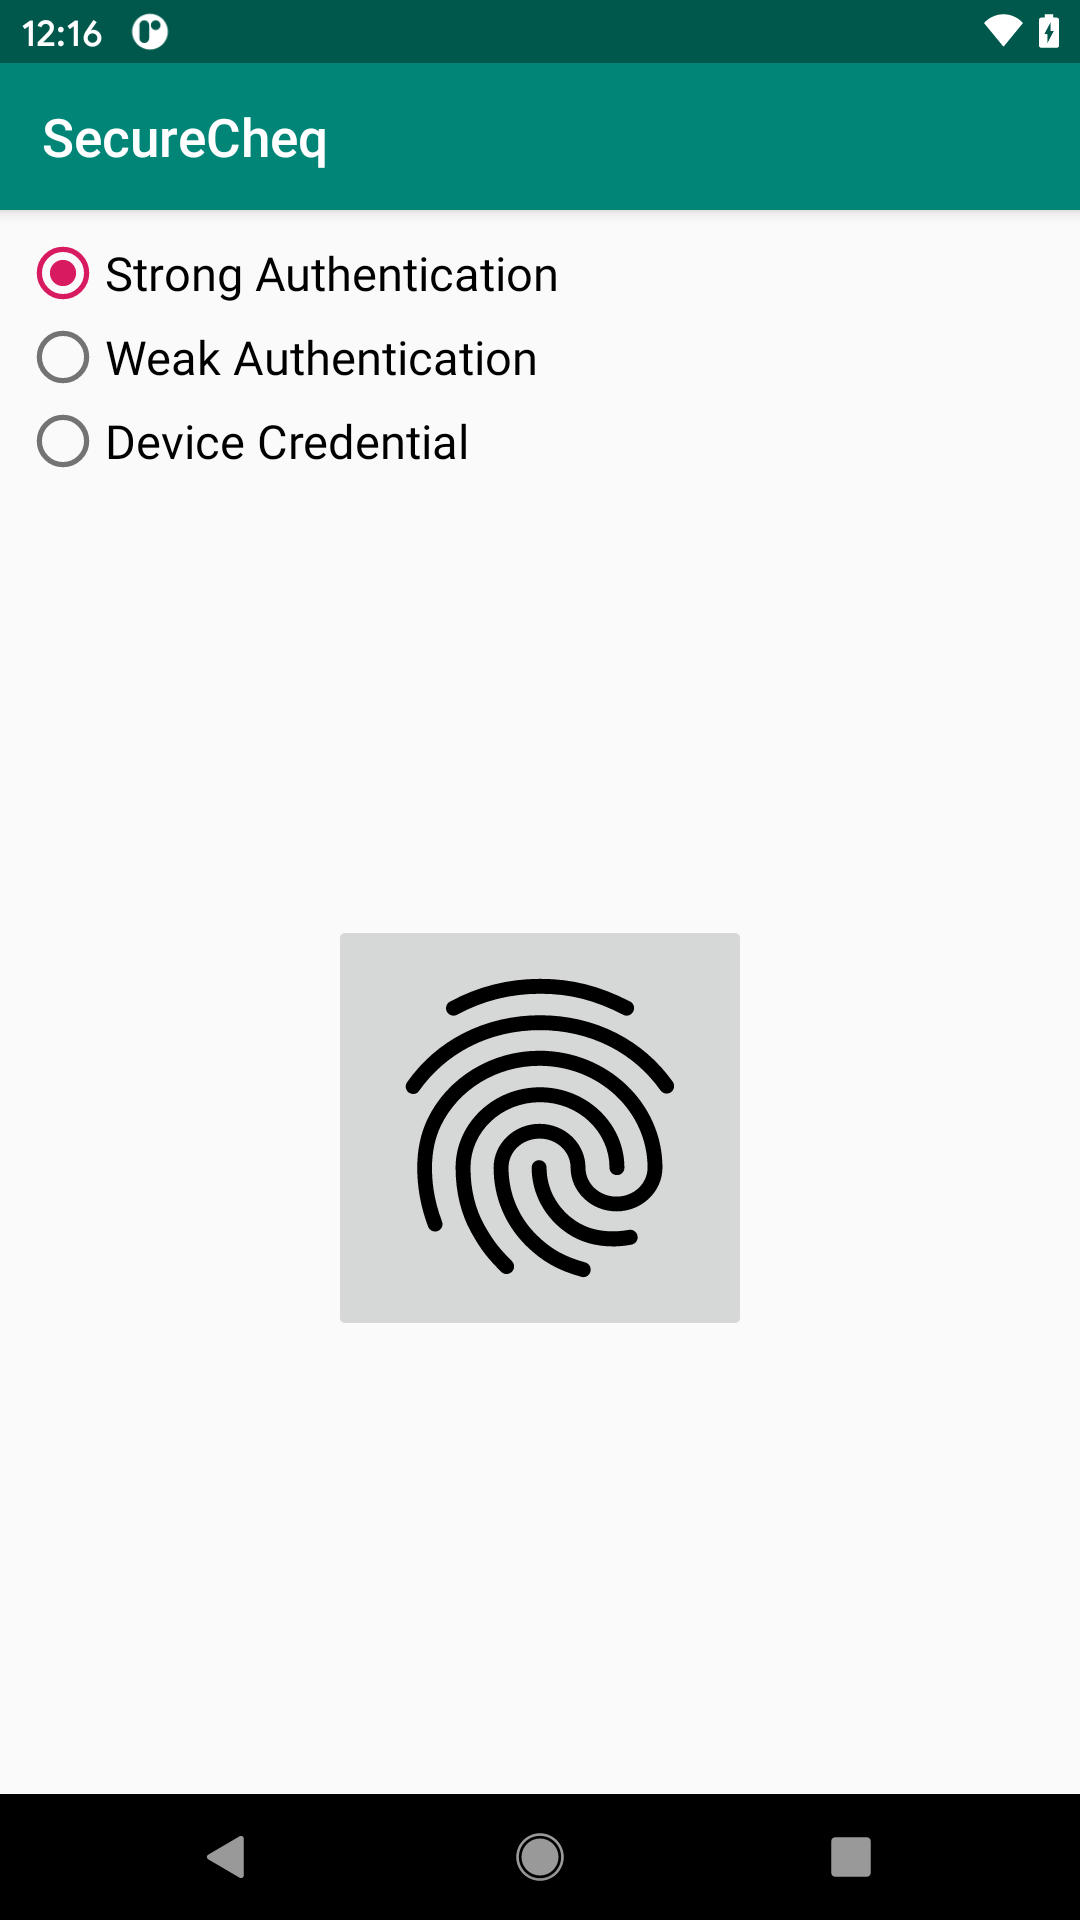
New to the RSampler project’s edition of SecureCheq is the RadioGroup at the top, allowing the user to choose an authenticator. This, in turn, maps to a BiometricManager.Authenticators constant:
BIOMETRIC_STRONGBIOMETRIC_WEAKDEVICE_CREDENTIAL
setAllowedAuthenticators(), called on a BiometricPrompt.Builder, lets you specify which of those three options you support. The method accepts a vararg, so you can pass as many of these authenticator options as you wish. This sample only passes in one, based on the selected radio button:
    val prompt = BiometricPrompt.Builder(this)
      .setTitle("This is the title")
      .setDescription("This is the description")
      .setSubtitle("This is the subtitle")
      .apply {
        when {
          Build.VERSION.SDK_INT > 29 && strong.isChecked ->
            setAllowedAuthenticators(BiometricManager.Authenticators.BIOMETRIC_STRONG)
          Build.VERSION.SDK_INT > 29 && weak.isChecked ->
            setAllowedAuthenticators(BiometricManager.Authenticators.BIOMETRIC_WEAK)
          Build.VERSION.SDK_INT > 29 ->
            setAllowedAuthenticators(BiometricManager.Authenticators.DEVICE_CREDENTIAL)
          Build.VERSION.SDK_INT > 28 -> {
            setDeviceCredentialAllowed(true)
          }
          else -> {
            setNegativeButton(
              getString(R.string.btn_negative),
              mainExecutor,
              DialogInterface.OnClickListener { _, _ ->
                fingerprint.setImageDrawable(off)
                Toast.makeText(
                  this@MainActivity,
                  R.string.msg_negative,
                  Toast.LENGTH_LONG
                ).show()
              })
          }
        }
      }
      .build()
However, since this app supports older versions, we have a few possible patterns:
- On Android 11, we call
setAllowedAuthenticators()with the user-selected authenticator - On Android 10, we instead call
setDeviceCredentialAllowed(true), which roughly equates to passingBiometricManager.Authenticators.DEVICE_CREDENTIALtosetAllowedAuthenticators() - On Android 9.0, we settle for configuring a “negative” button that the user can click to exit the biometric prompt
What you get depends on the authenticator and the user’s device. So, for example, if the device is set up for fingerprints, and the user chooses “Strong Authentication”, the fingerprint dialog appears. That dialog is now protected using FLAG_SECURE, blocking people (such as book authors) from taking screenshots.
If, on the other hand, the device is not set up for fingerprints, even BIOMETRIC_STRONG falls back to DEVICE_CREDENTIAL, and the user is prompted for their PIN or password.
Right now, the author of this book does not have an Android 11-equipped device that offers weak authentication options (e.g., face recognition). This section will be updated later in 2020 with more details on how that works with the new BiometricPrompt.
Prev Table of Contents Next
This book is licensed under the Creative Commons Attribution-ShareAlike 4.0 International license.