Button: Reacting to Input
Android has a Button widget, which is your classic push-button “click me and something cool will happen” widget. As it turns out, Button is a subclass of TextView, so everything discussed in the preceding section in terms of formatting the face of the button still holds.
A Sample Button
Our next sample app — SimpleButton — has a similar activity_main layout as the SimpleText app had:
<?xml version="1.0" encoding="utf-8"?>
<Button android:id="@+id/showElapsed"
  xmlns:android="http://schemas.android.com/apk/res/android"
  xmlns:tools="http://schemas.android.com/tools"
  android:layout_width="wrap_content"
  android:layout_height="wrap_content"
  android:textSize="@dimen/hello_size"
  tools:text="123 seconds since started!" />
The primary difference is that this is a Button widget instead of a TextView widget. Also:
- The
android:idis nowshowElapsed - We skip the
paddingandtextStyle, to adopt the standard look for buttons - We skip the
android:textthat normally would be here, as we are going to provide the text at runtime via our Java or Kotlin code - We have a
tools:textattribute… which raises a question
Hey, What Is That tools: Thing?
You will notice that our Button element has a tools:text attribute.
Attributes in the tools: namespace are suggestions to the development tools and have no impact on the behavior of your app when it runs. They are here to help make Android Studio work a bit better, particularly with respect to the graphical layout editor.
Normally, we have an android:text attribute on TextView and subclasses, and that provides the text. Here, though, we skip that attribute, as we are going to provide the text at runtime. However, that makes the graphical layout editor less useful:
- The caption of the
Buttonshows up blank - Since the width and height of the
Buttonare eachwrap_content, the graphical layout editor does not know how big to make theButton
tools:text says, “hey, Android Studio! use this for the Button caption for the graphical layout editor!”. This value will not show up when you run the app; it will only appear in the IDE. Typically, you set tools:text to either:
- A reasonable value, to see what that looks like
- Some extreme value, such as a really long string, to see what that looks like, in case you find that you need to adjust the GUI design to deal with that
Android Studio Graphical Layout Editor
The Button widget is available in the “Buttons” portion of the Palette in the Android Studio graphical layout editor:
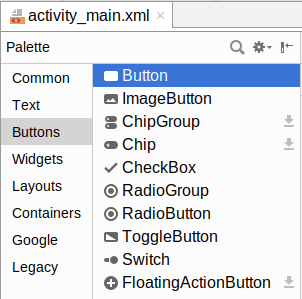
You can drag that Button from the palette into a layout file in the main editing area to add the widget to the layout. The Attributes pane will then let you adjust the various attributes of this Button. Since Button inherits from TextView, most of the options are the same (e.g., “Text”).
Tracking Button Clicks Using View Binding
In the SimpleButton sample, we want to show the time since the activity was displayed in the button caption. Tapping the button should update the caption to show the now-current elapsed time.
This implies that:
- We can find out when the button is clicked, and
- We can set the
android:textattribute at runtime with a generated value
Updating the caption of the Button is a matter of calling setText() on the Button with the desired caption. However, there are a few approaches for doing that, as well as for finding out about the button clicks. The recommended current approach for getting access to the Button widget, for general-purpose use, is to use “view binding”.
With view binding, the Android build tools code-generate a Java class for you, based on each one of your layout resources. That class not only helps you set up the layout, but it gives you fields for accessing each of the named widgets within that layout.
Both the SamplerJ/SimpleButton Java edition and the Sampler/SimpleButton Kotlin edition of this sample use view binding.
View binding is enabled as an option via a new closure in the android closure in your module’s build.gradle file:
  buildFeatures {
    viewBinding true
  }
buildFeatures does “pretty much what it says on the tin”: it enables optional build features that get added to our Android builds. Here, we are opting into view binding via viewBinding true.
NOTE: You will see some sample Gradle files with viewBinding = true. That syntax worked on older versions of Android Studio but was replaced by viewBinding true in Arctic Fox.
Adding those lines automatically sets up view binding for each of our layouts. Right now, we just have a single layout: activity_main.
The class name for the code-generated class is derived from the layout name, where names_like_this get converted into NamesLikeThis and have Binding appended. So, since our layout resource is activity_main.xml, we get ActivityMainBinding. This is code-generated into a databinding Java sub-package of the package name from the manifest. Hence, the fully-qualified import statement for this class is:
import com.commonsware.jetpack.sampler.simplebutton.databinding.ActivityMainBinding
(if you are wondering why this is “view binding”, but the package name has databinding, that is for historical reasons — just roll with it)
Our activity can then reference ActivityMainBinding and use it to set up the UI and get a reference to the showElapsed widget, in Java:
package com.commonsware.jetpack.samplerj.simplebutton;

import android.os.Bundle;
import android.os.SystemClock;
import android.widget.Button;
import com.commonsware.jetpack.samplerj.simplebutton.databinding.ActivityMainBinding;
import androidx.appcompat.app.AppCompatActivity;

public class MainActivity extends AppCompatActivity {
  private final long startTimeMs = SystemClock.elapsedRealtime();
  private ActivityMainBinding binding;

  @Override
  protected void onCreate(Bundle savedInstanceState) {
    super.onCreate(savedInstanceState);

    binding = ActivityMainBinding.inflate(getLayoutInflater());
    setContentView(binding.getRoot());
    binding.showElapsed.setOnClickListener(v -> updateButton());
    updateButton();
  }

  void updateButton() {
    long nowMs = SystemClock.elapsedRealtime();
    String caption = getString(R.string.elapsed, (nowMs - startTimeMs) / 1000);

    binding.showElapsed.setText(caption);
  }
}
…and Kotlin:
package com.commonsware.jetpack.sampler.simplebutton

import android.os.Bundle
import android.os.SystemClock
import androidx.appcompat.app.AppCompatActivity
import com.commonsware.jetpack.sampler.simplebutton.databinding.ActivityMainBinding

class MainActivity : AppCompatActivity() {
  private val startTimeMs = SystemClock.elapsedRealtime()
  private lateinit var binding: ActivityMainBinding

  override fun onCreate(savedInstanceState: Bundle?) {
    super.onCreate(savedInstanceState)

    binding = ActivityMainBinding.inflate(layoutInflater)
    setContentView(binding.root)
    binding.showElapsed.setOnClickListener { updateButton() }
    updateButton()
  }

  private fun updateButton() {
    val nowMs = SystemClock.elapsedRealtime()
    val caption = getString(R.string.elapsed, (nowMs - startTimeMs) / 1000)

    binding.showElapsed.text = caption
  }
}
We get an ActivityMainBinding instance by calling the static inflate() method on it, passing in a LayoutInflater that we get from getLayoutInflater(). A LayoutInflater knows how to take a layout resource and create the corresponding Java objects representing all of the widgets and containers in that resource. When we called setContentView(R.layout.activity_main) before, under the covers, setContentView() used a LayoutInflater. ActivityMainBinding also uses a LayoutInflater.
Given that ActivityMainBinding object, we can call setContentView(), this time not passing in R.layout.activity_main. We already inflated the layout using ActivityMainBinding and LayoutInflater — we do not need to do it twice. Instead, we call getRoot() on our binding object, which represents the root of our layout view hierarchy. Passing that to setContentView() sets up our UI, just as setContentView(R.layout.activity_main) did.
But the binding object also gives us access to our widgets. Specifically, ActivityMainBinding has a showElapsed field, named after the android:id that we used for the <Button> in the layout. showElapsed is a Java Button object representing this widget, and we can do things like call setOnClickListener() to arrange to get control when the user clicks the button.
Natively, setOnClickListener() takes an OnClickListener callback object. In both the Java and the Kotlin examples, we call setOnClickListener() on the Button, we are using a lambda expression that Java or Kotlin will convert into an OnClickListener for us, with the body of the lambda expression forming the body of the onClick() method and being called when the user clicks the button. There, we call an updateButton() method, which we also call from onCreate().
updateButton() uses SystemClock.elapsedRealtime() to get the number of milliseconds that have elapsed since the device booted. SystemClock is a class supplied by the Android SDK that returns various time values that are tied to device activity. We use that same elapsedRealtime() method to populate a startTimeMs field in the activity, which will record when the activity was displayed. Hence, the number of milliseconds between the activity being displayed and now is a matter of subtracting startTimeMs from nowMs.
To display that in the Button, updateButton() calls getString() on the activity. getString() returns the value of a string resource, given the ID of that string resource. Here, we are looking to pull in an elapsed string resource. The SimpleButton project defines that using a combination of a message and a placeholder:
<resources>
  <string name="app_name">Jetpack: Button</string>
  <string name="elapsed">%d seconds since started!</string>
</resources>
String resources support the same placeholder patterns as does Java’s String.format() method, which is largely the same as what you might use in sprintf() in C/C++ development. Here, %d says “we will supply an integer to fill in here”, which we do via the second parameter to getString(). The result is that caption will hold the string resource with the %d replaced by the number of seconds since the activity was started.
That caption value is then passed to setText() on our Button, which causes it to show the caption.
Initially, that caption will show that 0 seconds have elapsed:
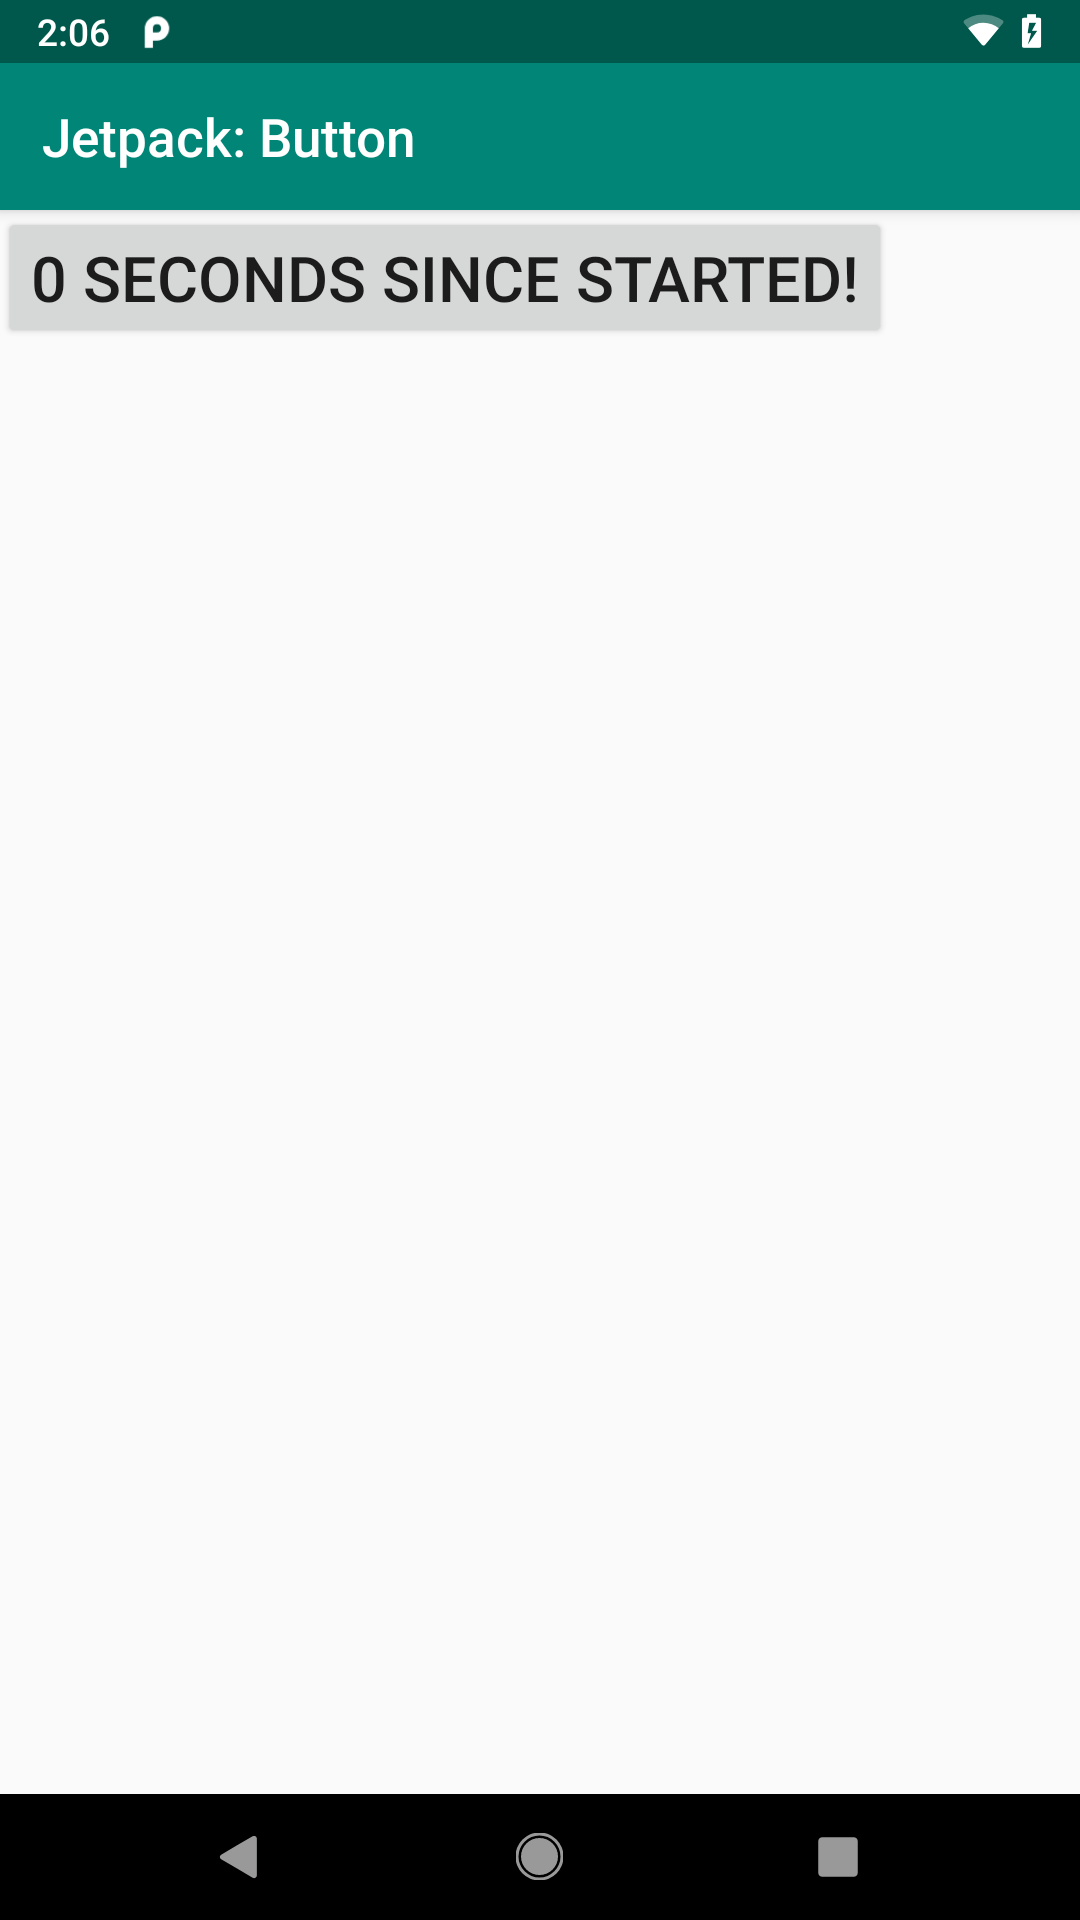
SimpleButton Sample, As Initially Launched
If you tap it later, it will show the number of seconds since the activity was started:
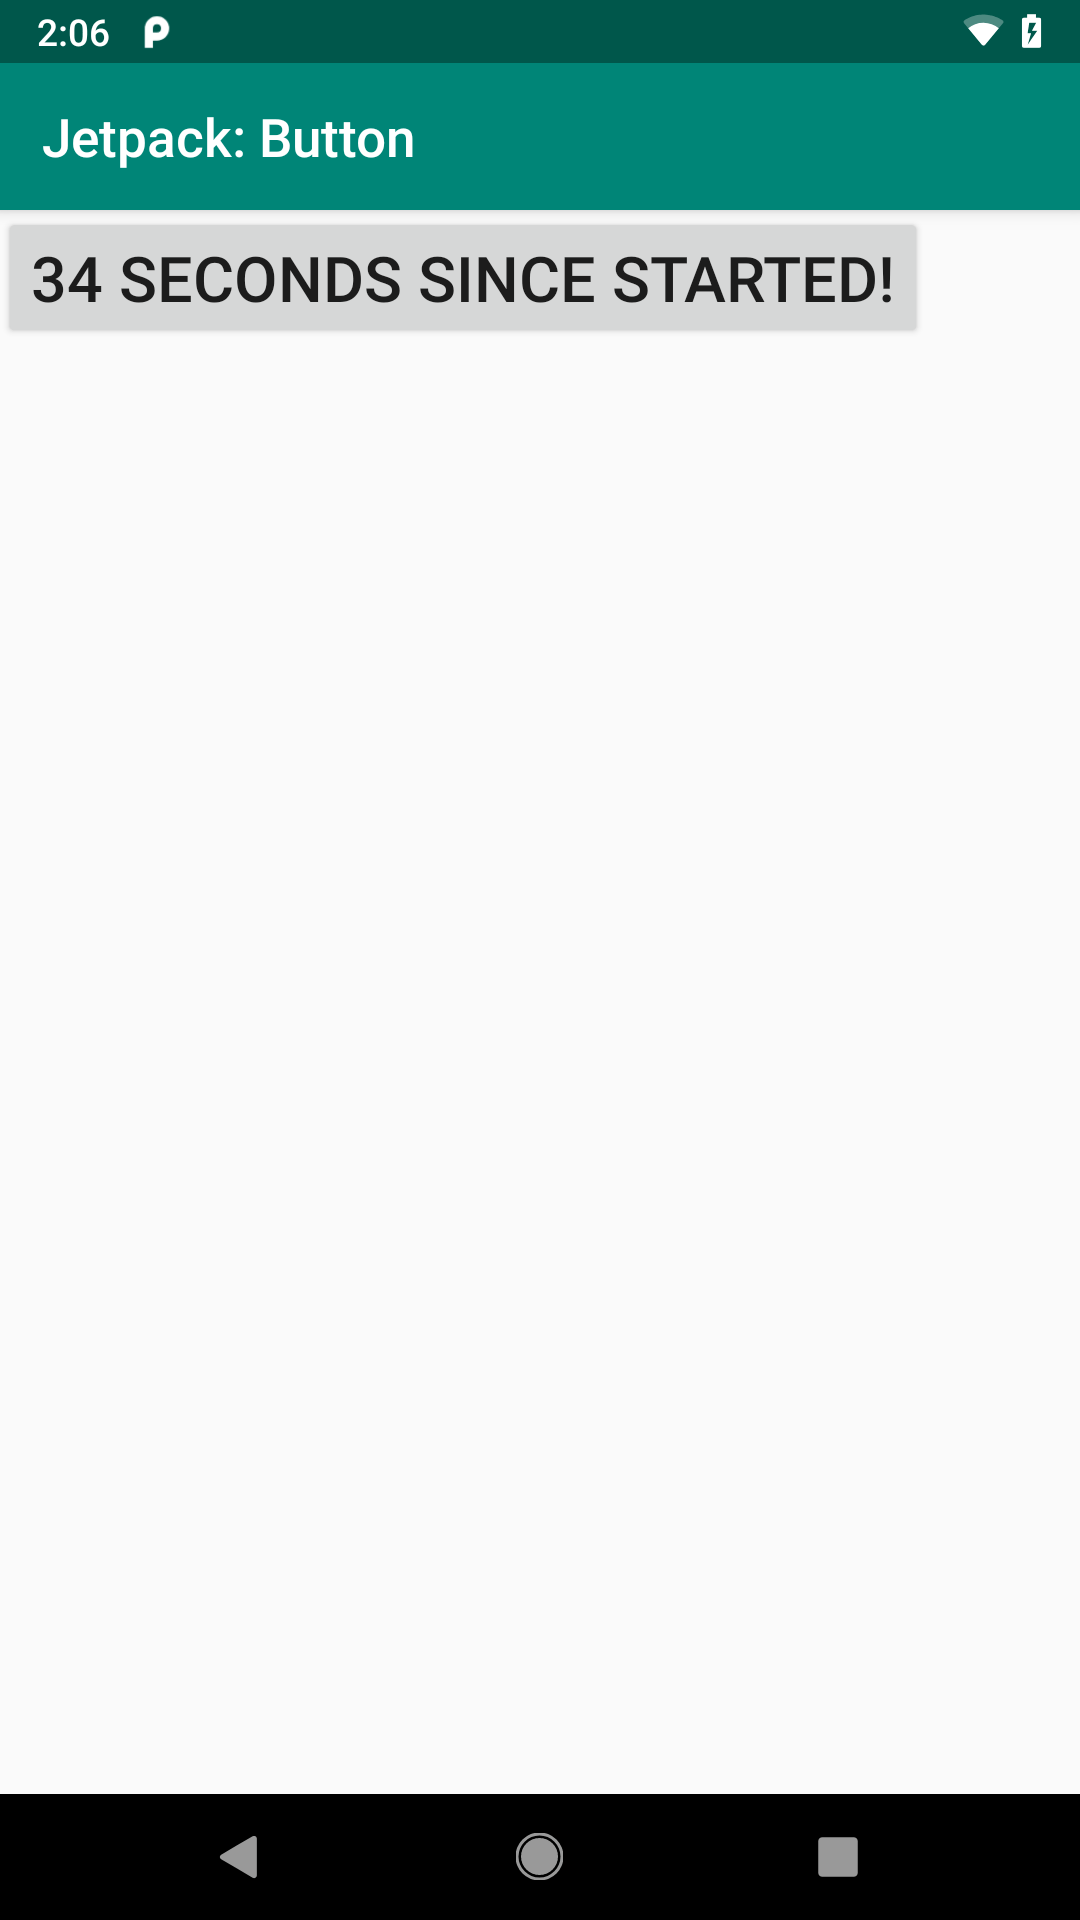
SimpleButton Sample, A Little While Later
Note that the Button changes size as the caption changes length. That is because the Button uses wrap_content for its width, so as the content changes, so will the Button width.
So, we:
- Use the code-generated binding class to set up our UI based on our layout resource
- Used the
showElapsedfield on that binding class to get at ourButtonobject - Used
setOnClickListener()andsetText()on theButtonto find out when the button is clicked and update its caption, respectively
There are alternatives to view binding for doing all of this — we will discuss those more later in the book.
Prev Table of Contents Next
This book is licensed under the Creative Commons Attribution-ShareAlike 4.0 International license.