Step #2: Running Android Studio for the First Time
When you first run Android Studio, you may be asked if you want to import settings from some other prior installation of Android Studio:
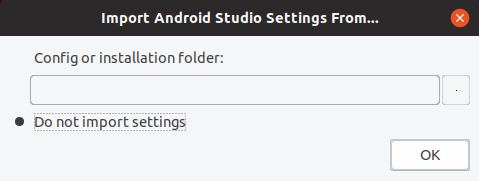
If you are using Android Studio for the first time, the “Do not import settings” option is the correct choice to make.
Then, after a short splash screen, you may be presented with a “Data Sharing” dialog:
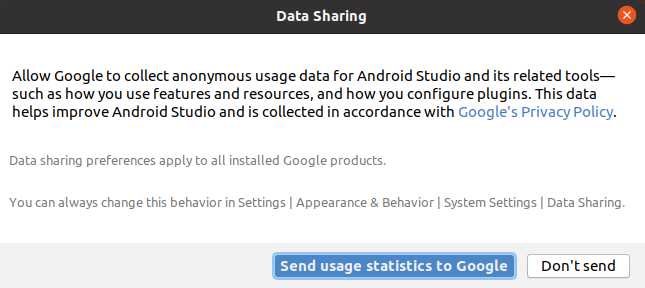
Click whichever button you wish.
Eventually, you will be taken to the Android Studio Setup Wizard:
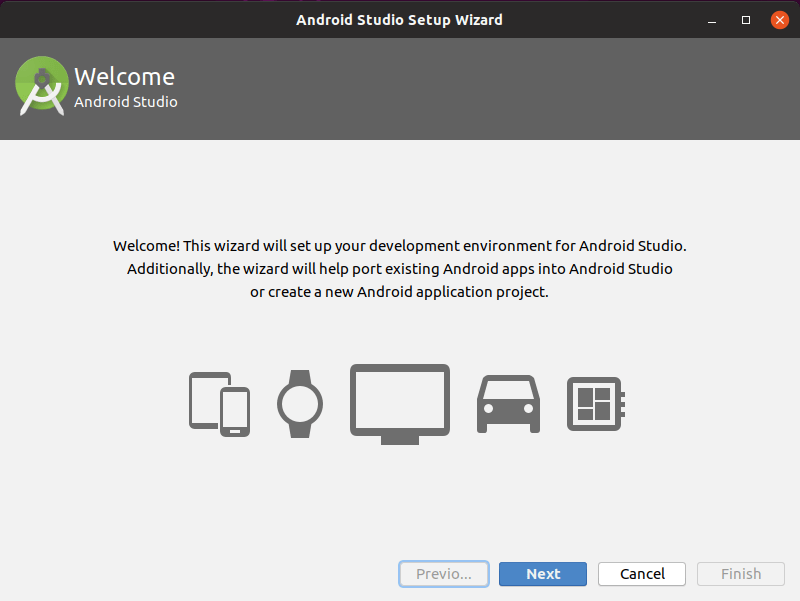
Just click “Next” to advance to the second page of the wizard:
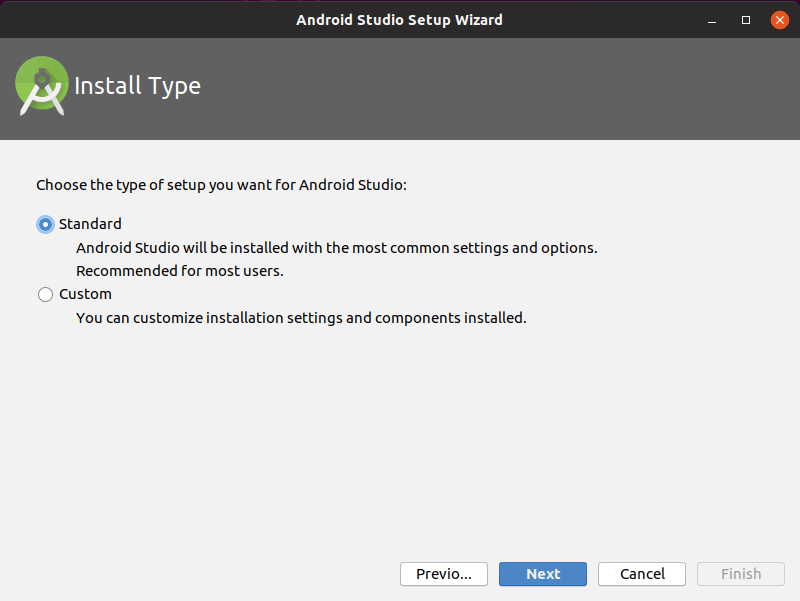
Here, you have a choice between “Standard” and “Custom” setup modes. Most likely, right now, the “Standard” route will be fine for your environment.
If you go the “Standard” route and click “Next”, you should be taken to a wizard page where you can choose your UI theme:
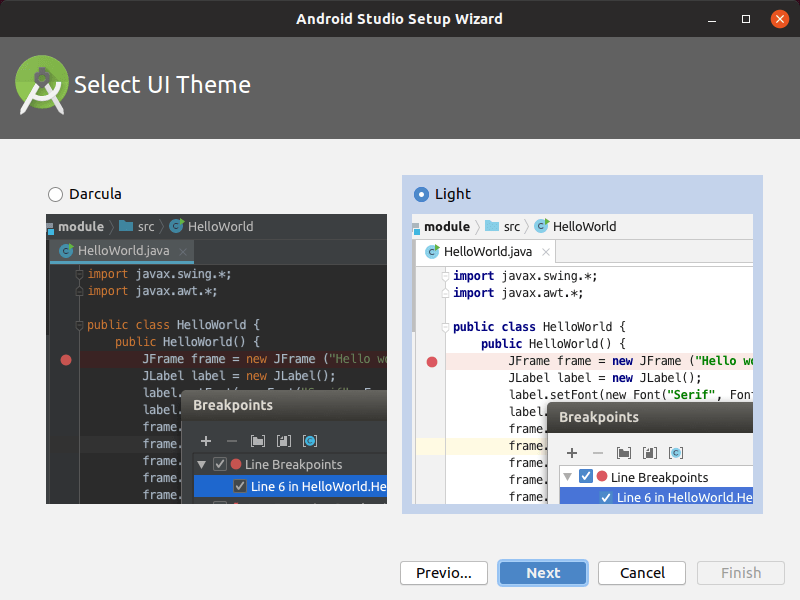
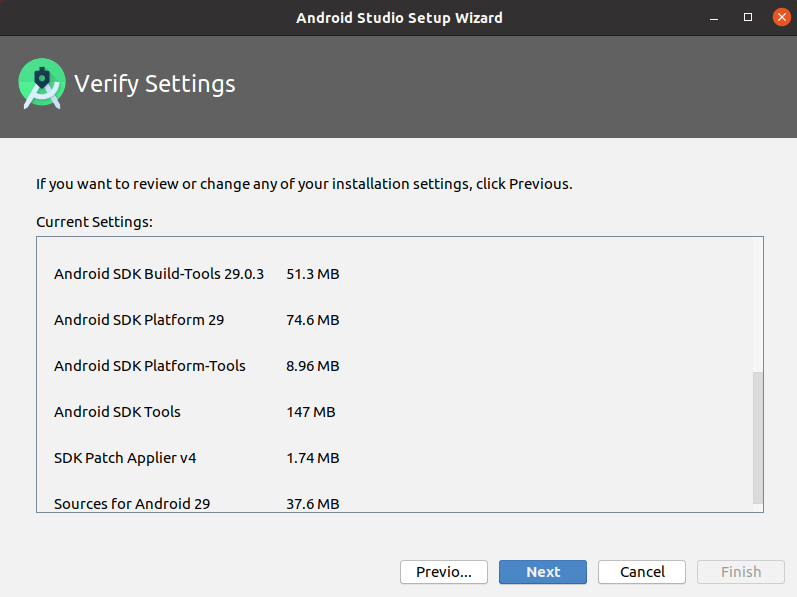
Choose whichever you like, then click “Next”, to go to a wizard page to verify what will be downloaded and installed:
Clicking “Next” may take you to a wizard page explaining some information about the Android emulator:
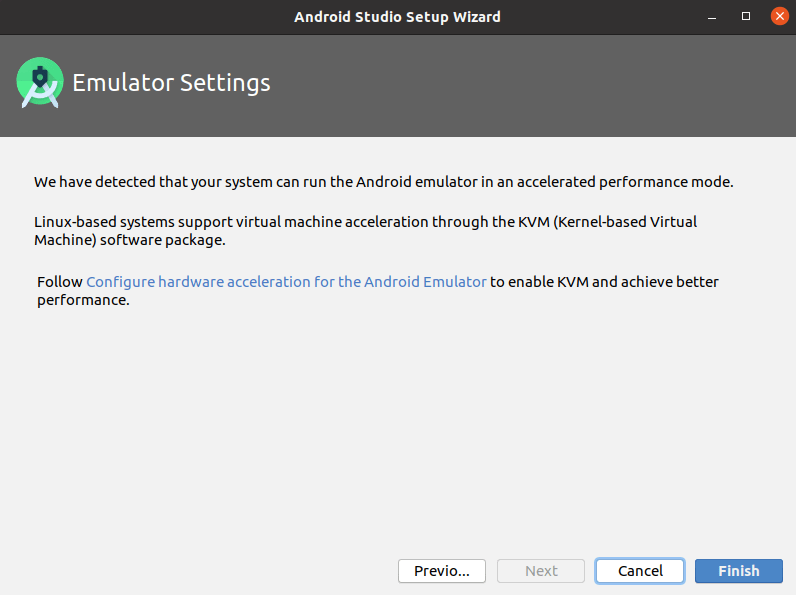
What is explained on this page may not make much sense to you. That is perfectly normal, and we will get into what this page is trying to say later in the book. Just click “Finish” to begin the setup process. This will include downloading a copy of the Android SDK and installing it into a directory adjacent to where Android Studio itself is installed.
When that is done, Android Studio will busily start downloading stuff to your development machine.
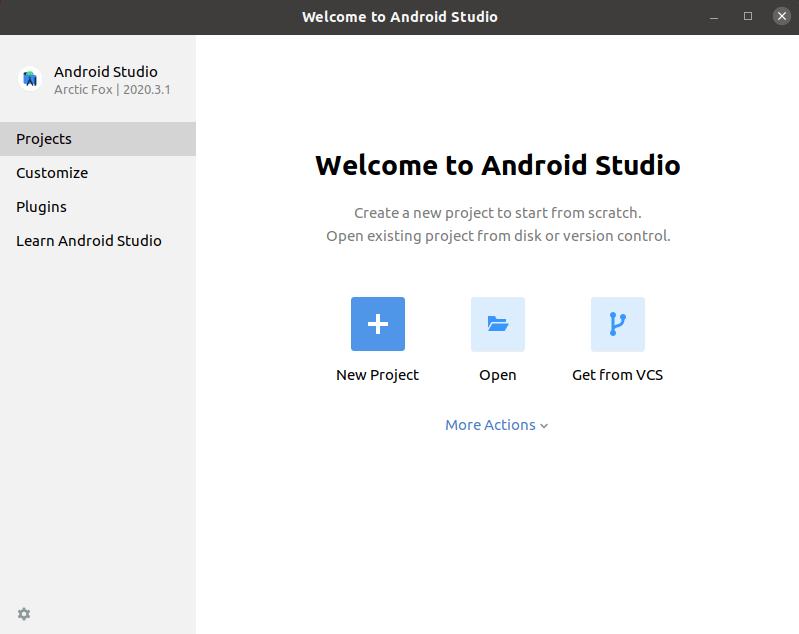
Clicking “Finish” when that is done will then take you to the Android Studio Welcome dialog:
Prev Table of Contents Next
This book is licensed under the Creative Commons Attribution-ShareAlike 4.0 International license.