Taking a Tour of Android Studio
At this point, you have Android Studio set up, you have imported a project, and you have run that app on a device or emulator. Congratulations!
However, it may be useful for you to understand exactly what all of this does.
So, in this chapter and the next few that follow it, we are going to walk through what you set up in the previous two chapters, to explain what the pieces are and how they work together. We will start by examining Android Studio itself and the major things that you will be using.
The Project Tree
The “Project” view — docked by default on the left side, towards the top — brings up a way for you to view what is in the project.

What appears in this view is determined by the drop-down list above the tree itself:
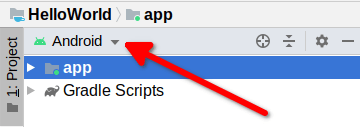
The default is known as the “Android view”:
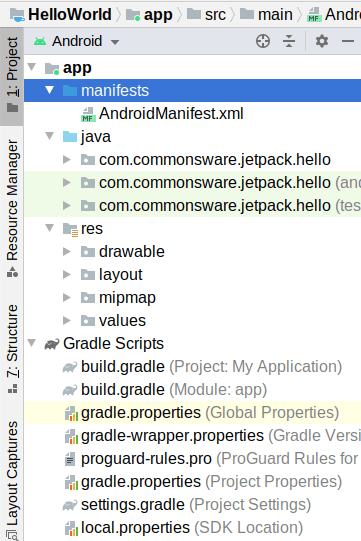
You are welcome to use this if you wish. Many newcomers to Android are more comfortable changing that drop-down to be “Project”. This converts the tree to one showing the files that make up the project, with a typical sort of directories-and-files structure:
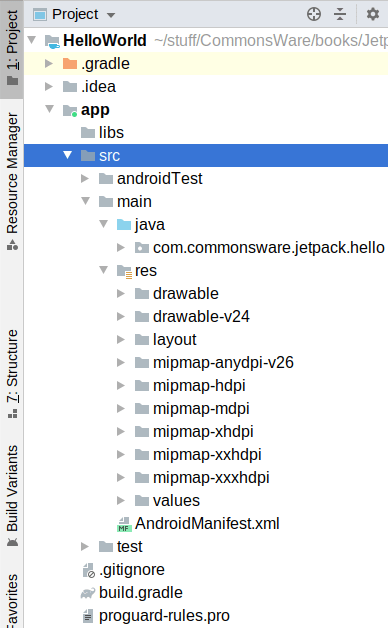
This book usually will show the “Project” edition of the tree.
Prev Table of Contents Next
This book is licensed under the Creative Commons Attribution-ShareAlike 4.0 International license.