Collecting Preferences with PreferenceFragmentCompat
Some “preferences” will be collected as part of the natural use of your user interface. For example, if you have a SeekBar widget to control a zoom level, you might elect to record the SeekBar position in SharedPreferences, so you can restore the user’s last zoom level later on.
However, in many cases, we have various settings that we would like the user to be able to configure but are not something that the user would configure elsewhere in our UI. For that, typically we use preference XML resources and a PreferenceFragmentCompat.
Defining Your Preferences
First, you need to tell Android what preferences you are trying to collect from the user.
To do this, you will need to add a res/xml/ directory to your project, if one does not already exist. Then, you will define an XML resource file that describes the preferences that you want. The root element of this XML file will be <PreferenceScreen>, and it will contain child elements, generally one per preference.
In the sample project, we have one such file, res/xml/preferences.xml:
<PreferenceScreen xmlns:android="http://schemas.android.com/apk/res/android">

  <CheckBoxPreference
    android:key="checkbox"
    android:summary="@string/checkSummary"
    android:title="@string/checkTitle"/>

  <EditTextPreference
    android:dialogTitle="@string/dialogTitle"
    android:key="field"
    android:summary="@string/fieldSummary"
    android:title="@string/fieldTitle"/>

  <ListPreference
    android:dialogTitle="@string/listDialogTitle"
    android:entries="@array/cities"
    android:entryValues="@array/airportCodes"
    android:key="list"
    android:summary="@string/listSummary"
    android:title="@string/listTitle"/>

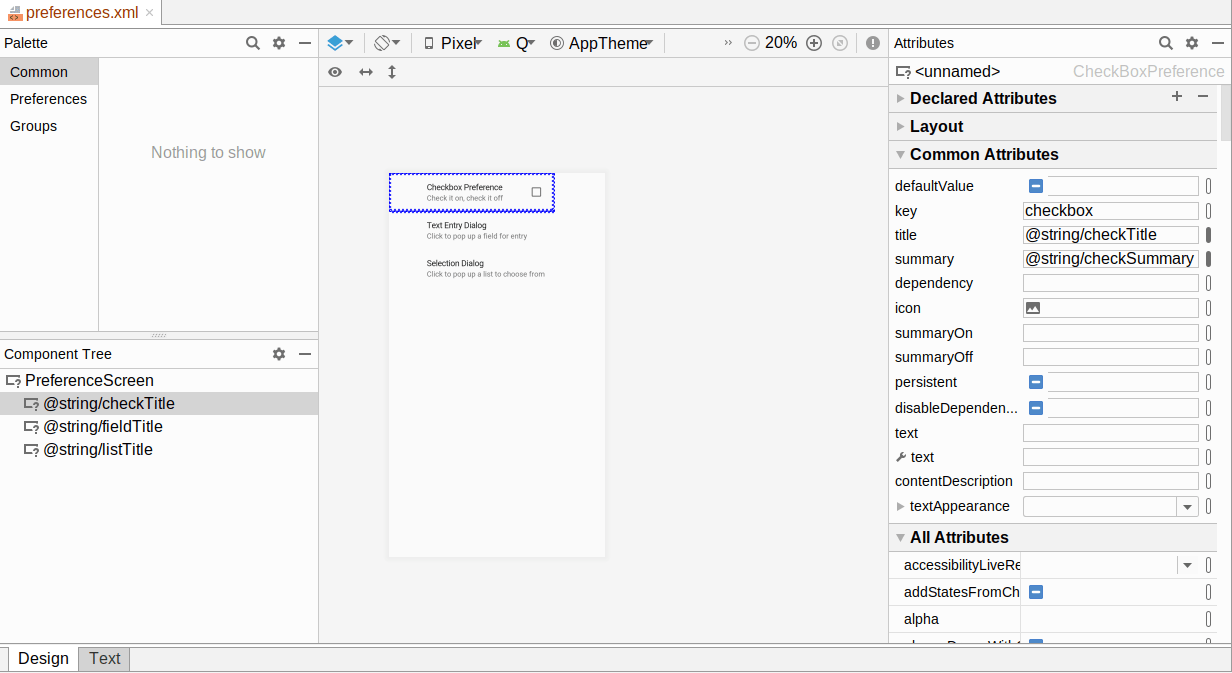
</PreferenceScreen>If you open up that resource in Android Studio, you will be given an editor that is reminiscent of the layout resource editor, with XML and graphical editors.

The drag-and-drop editor UI works akin to its layout resource editor counterpart. You can drag a preference from the Palette into either the preview area or into the Component Tree to add it to the resource. For any selected preference, the Attributes pane allows you to modify attributes, either from the default short list of popular properties or the full list of properties that you get from clicking “View all properties”.
As with widgets in a layout resource, the element names of the preferences reflect a Java class that is the implementation of that preference. Our preference XML has CheckBoxPreference, EditTextPreference, and ListPreference elements, so our UI will be constructed from those classes. Note that these are not widgets — they do not extend from View — so you cannot use them directly in a layout resource.
Each preference element has two attributes at minimum:
-
android:key, which is the key you use to look up the value in theSharedPreferencesobject via methods likegetInt() -
android:title, which is a few words identifying this preference to the user
You may also wish to consider having android:summary, which is a short sentence explaining what the user is to supply for this preference.
There are lots of other attributes that are common to all preference elements, and there are more types of preference elements than the ones that we used in the preference XML shown above. We will examine these preference elements and others like them later in this chapter.
Creating Your Preference Fragment
We use preference XML resources with a PreferenceFragmentCompat class. This is a type of fragment that knows:
- How to load preference XML, inflating it into the actual Java objects
- How to render the UI for those preferences
- How to populate that UI with the current preference values
- How to update the preference values based on user input
Typically, a PreferenceFragmentCompat subclass just overrides onCreatePreferences() and calls addPreferencesFromResource():
package com.commonsware.jetpack.simpleprefs;

import android.os.Bundle;
import androidx.preference.PreferenceFragmentCompat;

public class PrefsFragment extends PreferenceFragmentCompat {
  @Override
  public void onCreatePreferences(Bundle savedInstanceState, String rootKey) {
    addPreferencesFromResource(R.xml.preferences);
  }
}
package com.commonsware.jetpack.simpleprefs

import android.os.Bundle
import androidx.preference.PreferenceFragmentCompat

class PrefsFragment : PreferenceFragmentCompat() {
  override fun onCreatePreferences(
    savedInstanceState: Bundle?,
    rootKey: String?
  ) {
    addPreferencesFromResource(R.xml.preferences)
  }
}
Otherwise, this is an ordinary Fragment. We can start it using a FragmentTransaction or the Navigation component, as we see fit. In this sample, we use the Navigation component, linking a HomeFragment to the PrefsFragment:
<?xml version="1.0" encoding="utf-8"?>
<navigation android:id="@+id/nav_graph"
  xmlns:android="http://schemas.android.com/apk/res/android"
  xmlns:app="http://schemas.android.com/apk/res-auto"
  android:label="@string/app_name"
  app:startDestination="@id/homeFragment">

  <fragment
    android:id="@+id/homeFragment"
    android:name="com.commonsware.jetpack.simpleprefs.HomeFragment"
    android:label="@string/app_name">
    <action
      android:id="@+id/editPrefs"
      app:destination="@id/prefsFragment" />
  </fragment>
  <fragment
    android:id="@+id/prefsFragment"
    android:name="com.commonsware.jetpack.simpleprefs.PrefsFragment"
    android:label="@string/app_name" />
</navigation>The UI
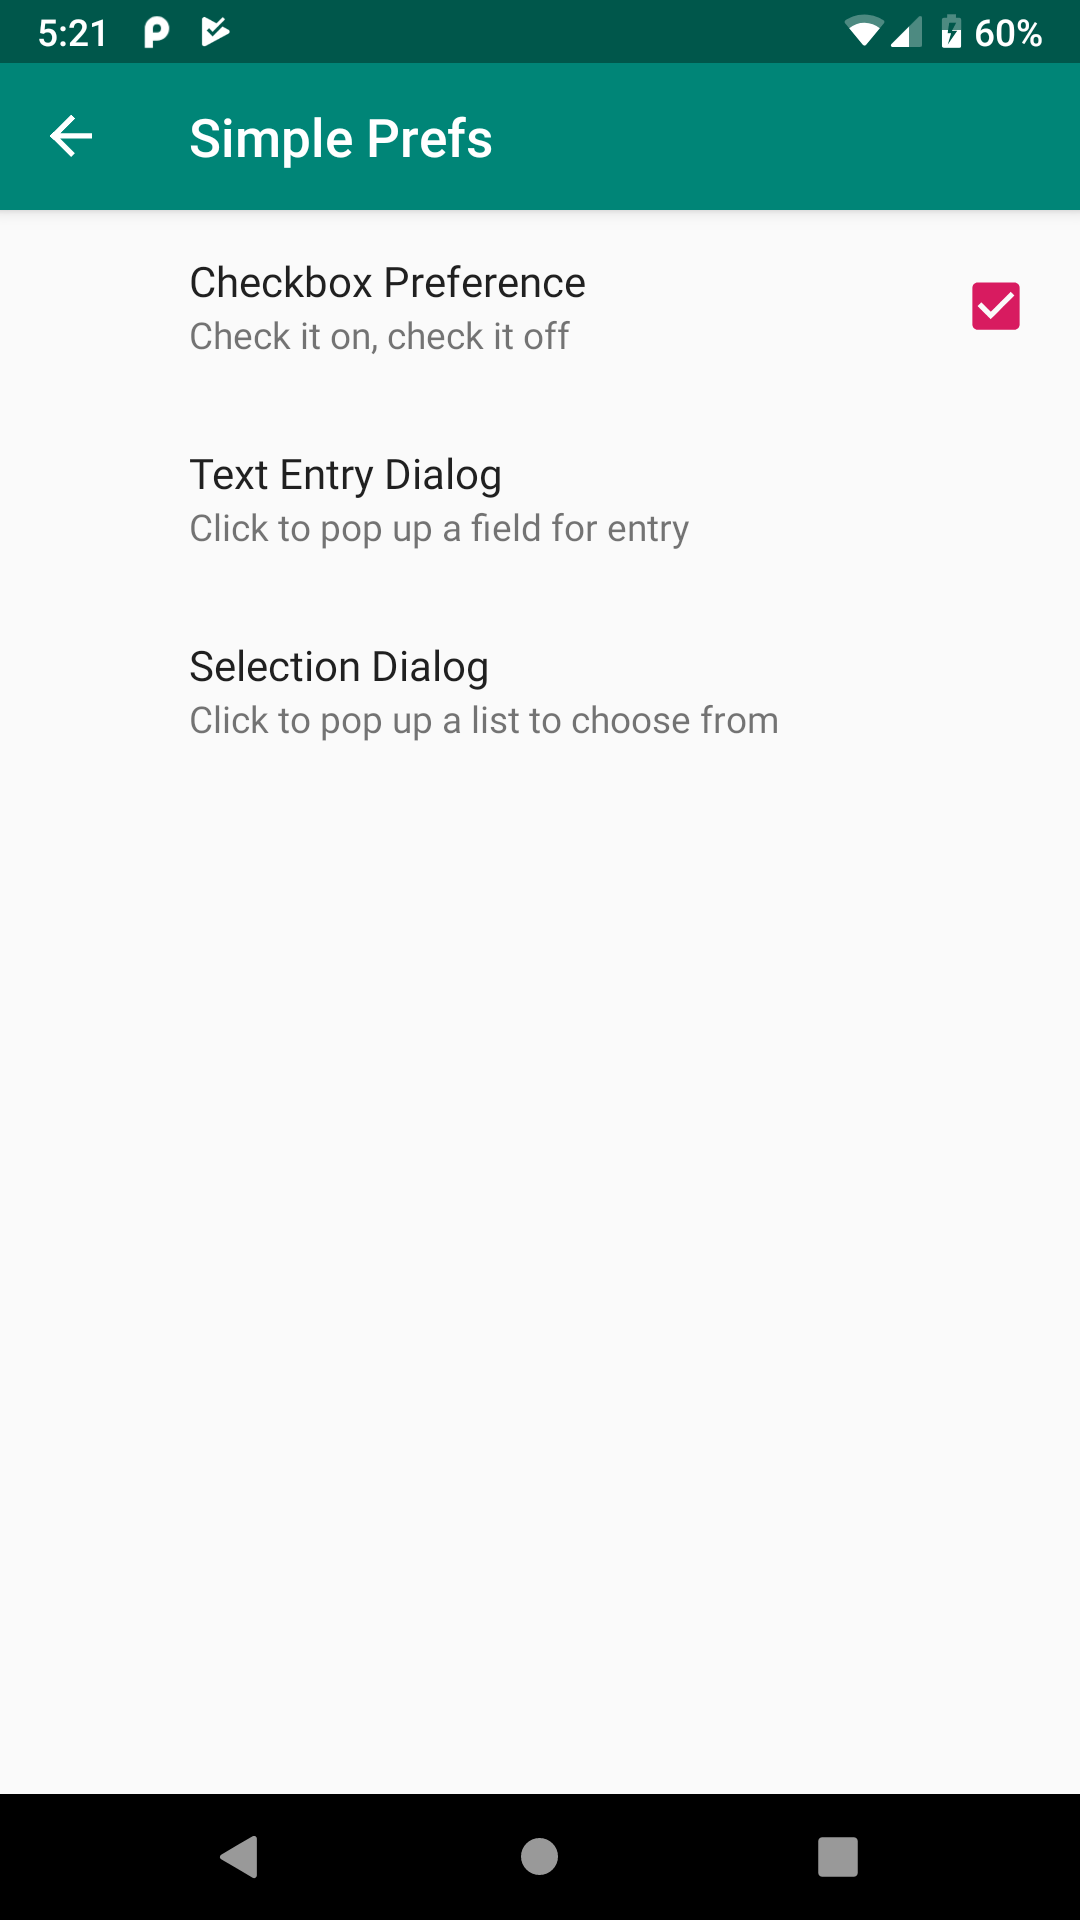
If you run the app and click the “Edit Preferences” button, you will be taken to PrefsFragment and the UI that it creates:

PrefsFragment Initial UI
CheckBoxPreference is an “inline” preference: the user can set the value from a widget right in the preference itself. In the case of CheckBoxPreference, that is in the form of a CheckBox widget.
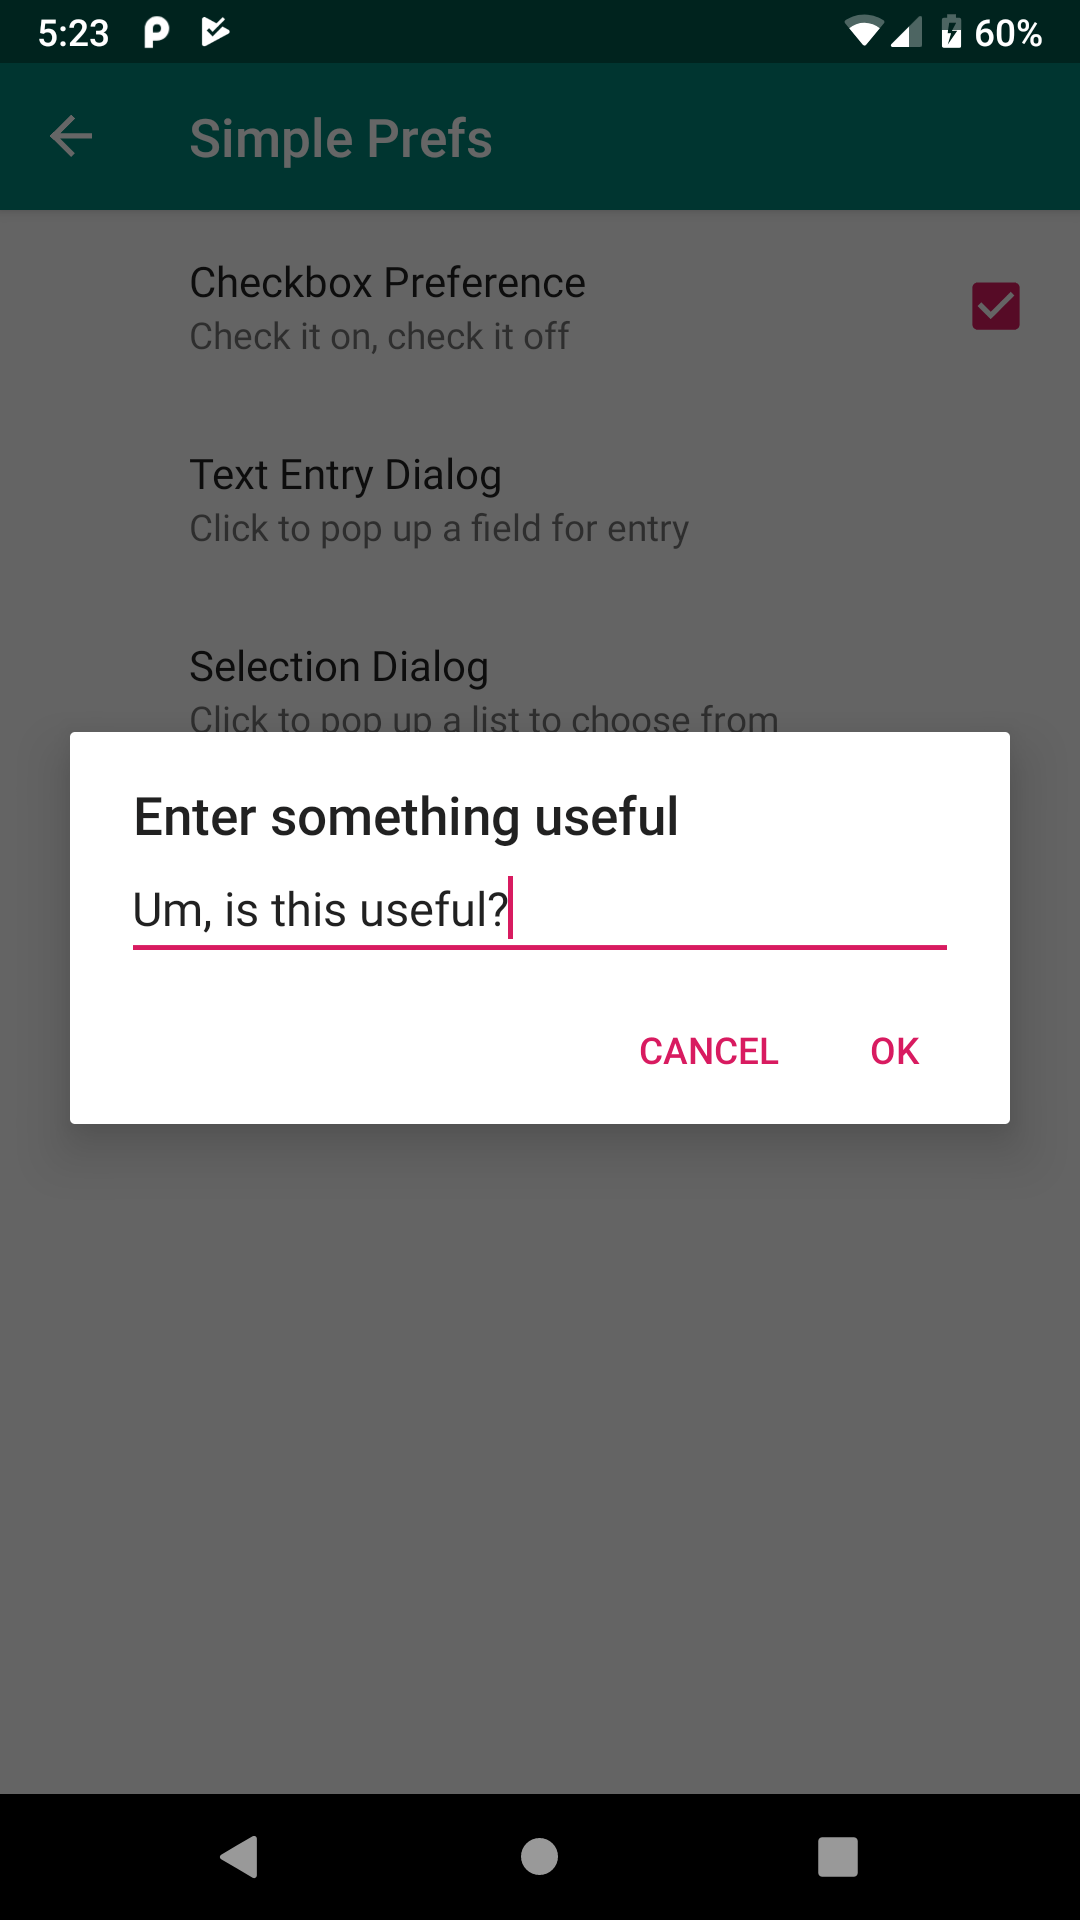
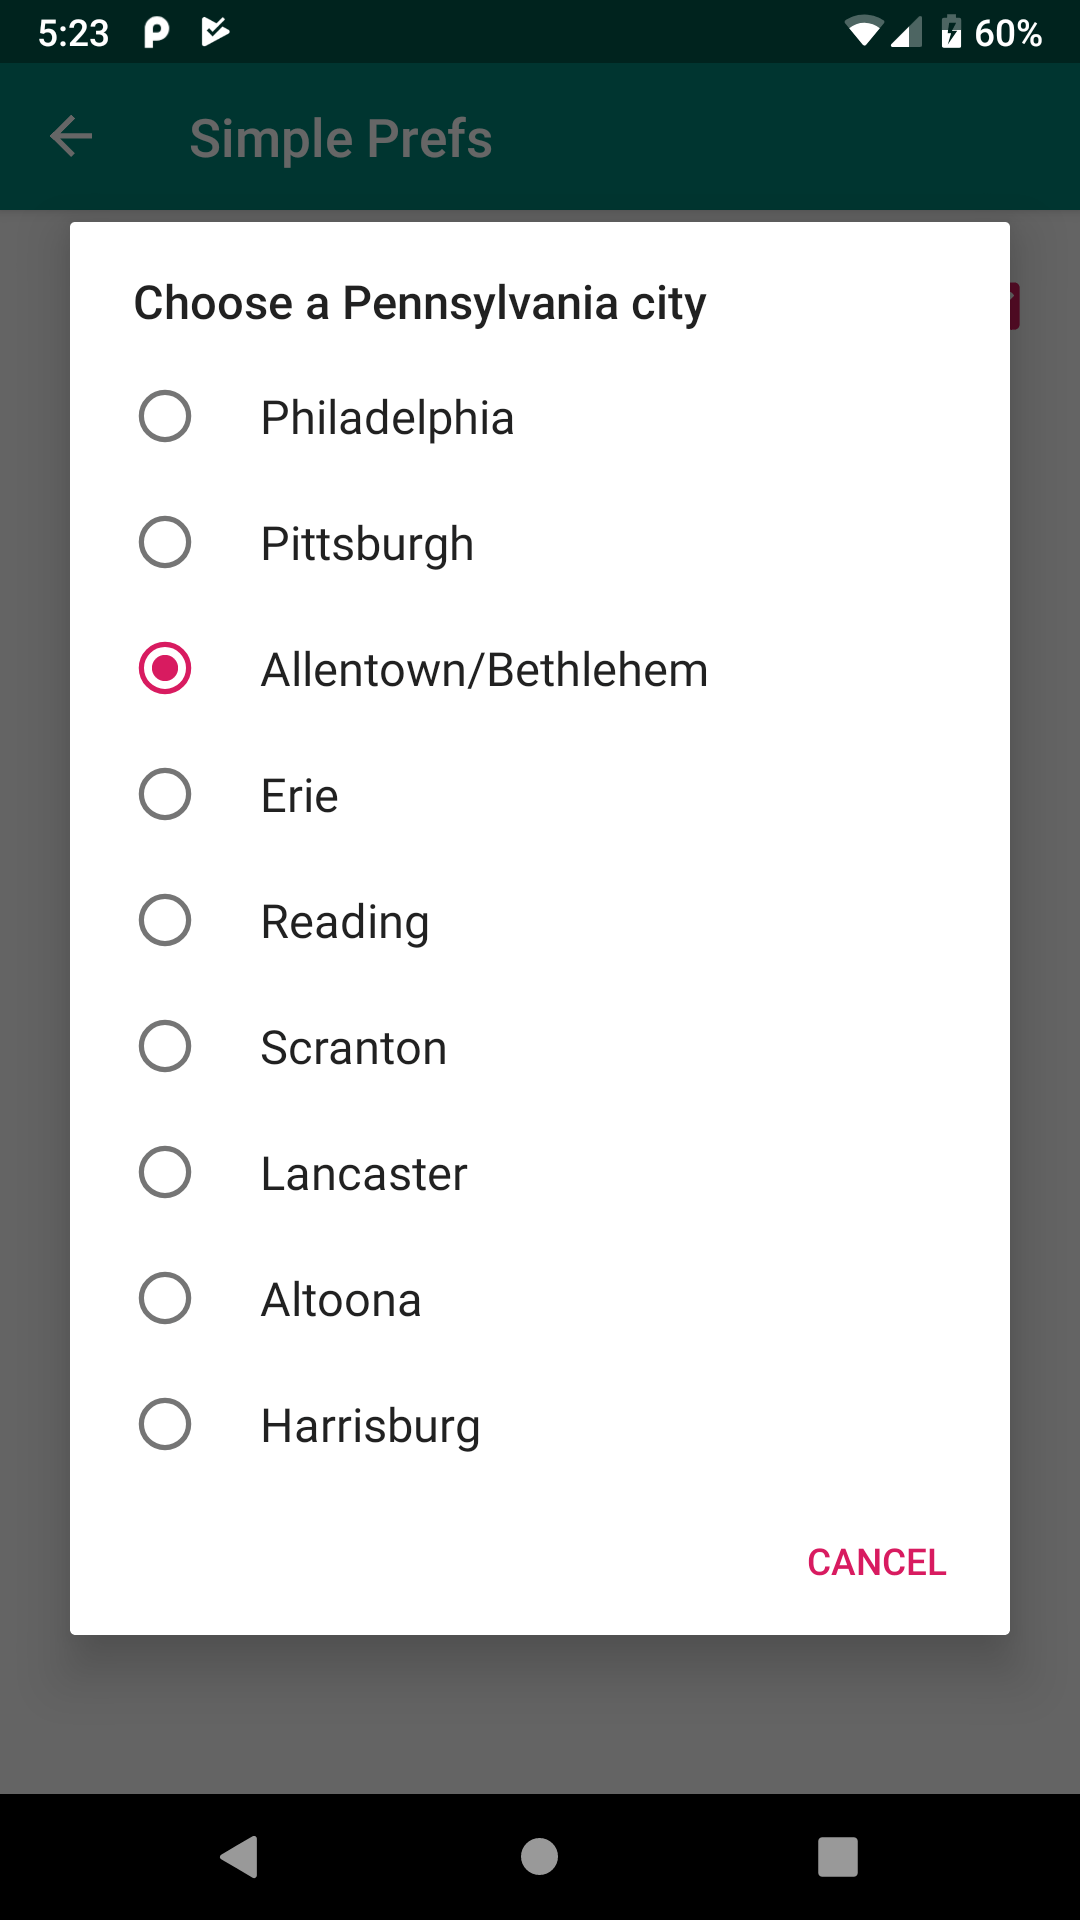
Our other two preferences are dialog preferences, where the user taps on the preference to bring up a dialog where the user sets the value:

EditTextPreference Dialog

ListPreference Dialog
Each value is saved in the SharedPreferences as the user changes it. There is no “save” action that the user needs to do in order to save the changes.
Prev Table of Contents Next
This book is licensed under the Creative Commons Attribution-ShareAlike 4.0 International license.