Step #4: Set Up the Device
You do not need an Android device to get started in Android application development. Having one is a good idea before you try to ship an application (e.g., upload it to the Play Store). And, perhaps you already have a device — maybe that is what is spurring your interest in developing for Android.
If you do not have an Android device that you wish to set up for development, you can skip this step and jump ahead to Step #5.
First, we need to enable USB debugging on the device. To do this, go into the Settings app.
You will need to find the “Build number” entry in here. Normally, that is on an “About” screen in Settings, though some devices have it in a separate screen (e.g., “Software Info”) off of the “About” screen.
Once you find the “Build number” entry, tap it seven times.
(yes, this is silly — just roll with it)
You should then see a brief popup message (a Toast) indicating that you are now a developer.
Then, you should have access to a “Developer options” item. Once again, the exact location of this varies by device, but usually it is either:
- An entry on the main Settings screen
- An entry in “System” > “Advanced options”, particularly on Android 8.0+ devices:
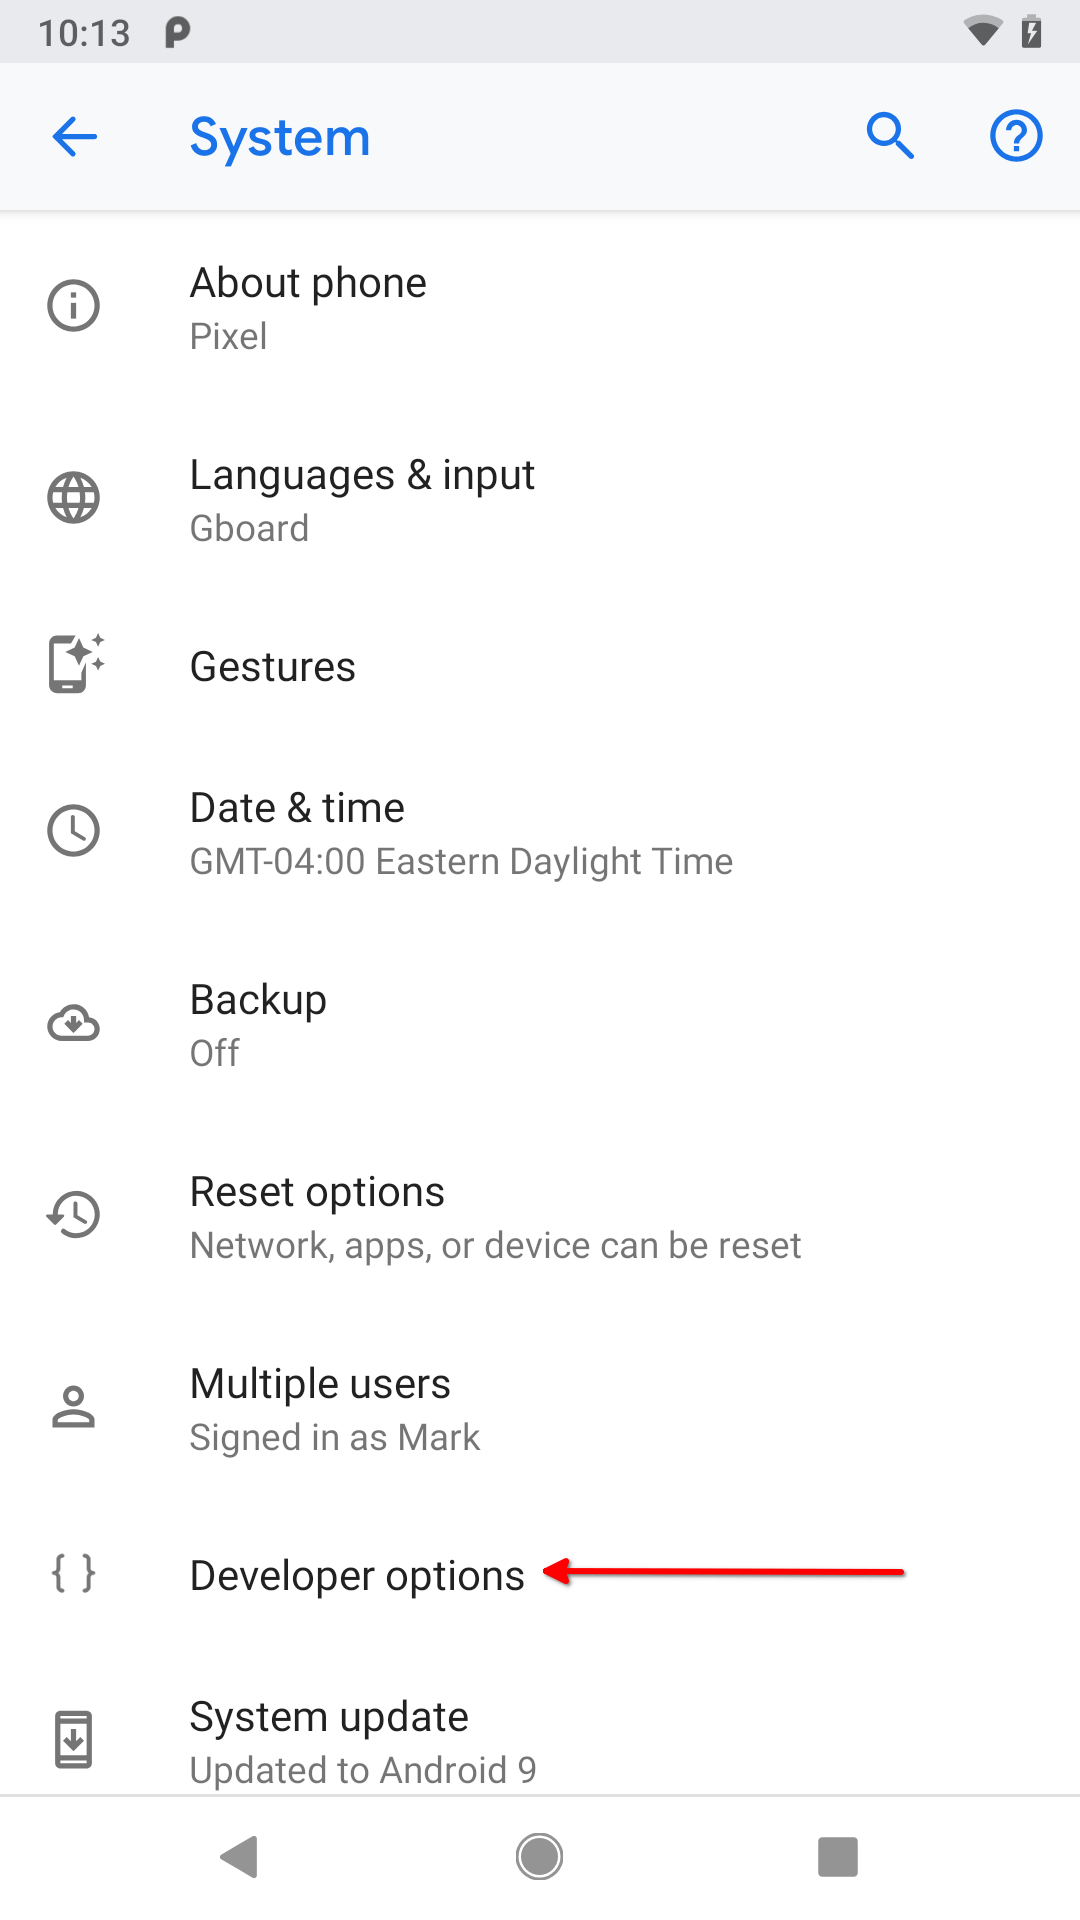
Tapping on “Developer options” will bring up the Developer Options screen:
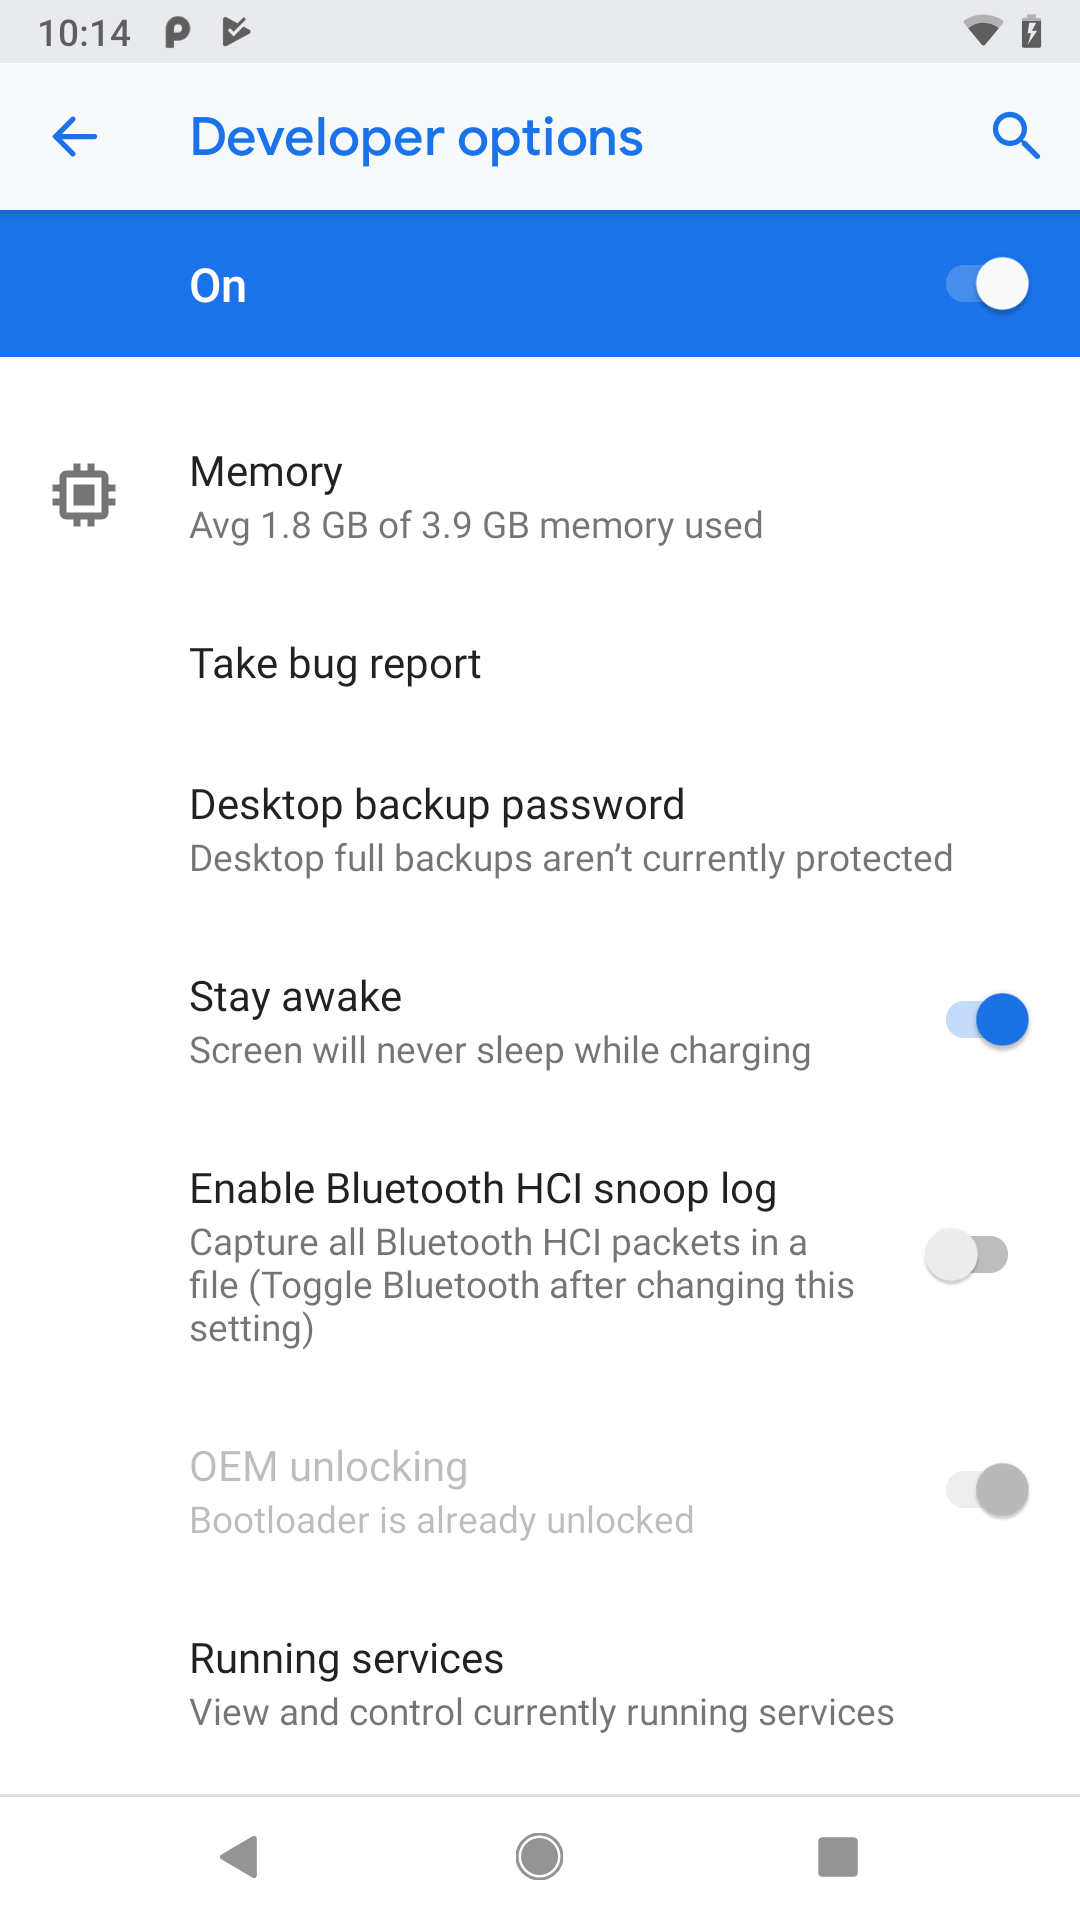
You may need to slide a switch in the upper-right corner of the screen to the “ON” position to modify the values on this screen.
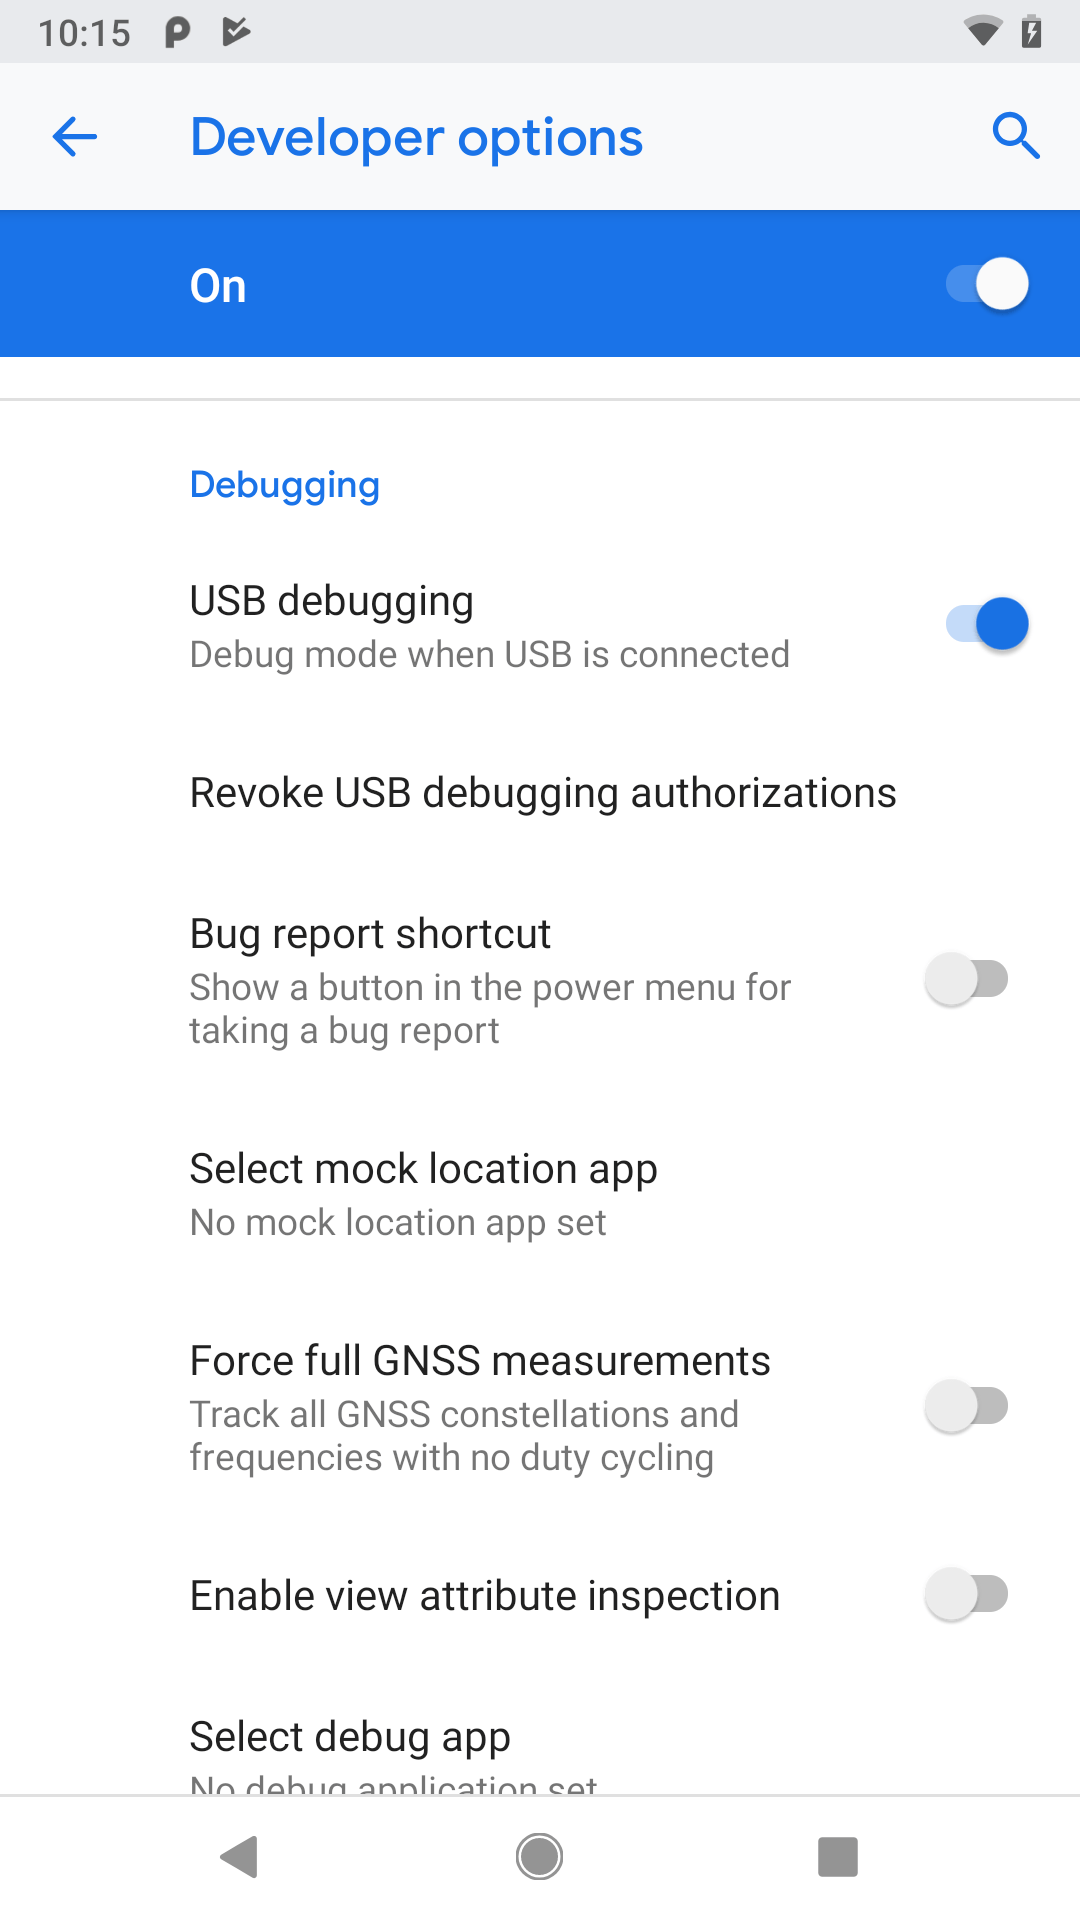
Then, scroll down and enable USB debugging, so you can use your device with the Android build tools:
You can leave the other settings alone for now if you wish, though you may find the “Stay awake” option to be handy, as it saves you from having to unlock your phone all of the time while it is plugged into USB.
On devices running Android 4.2.2 or higher, before you can actually use the setting you just toggled, you will be prompted to allow USB debugging with your specific development machine via a dialog box:
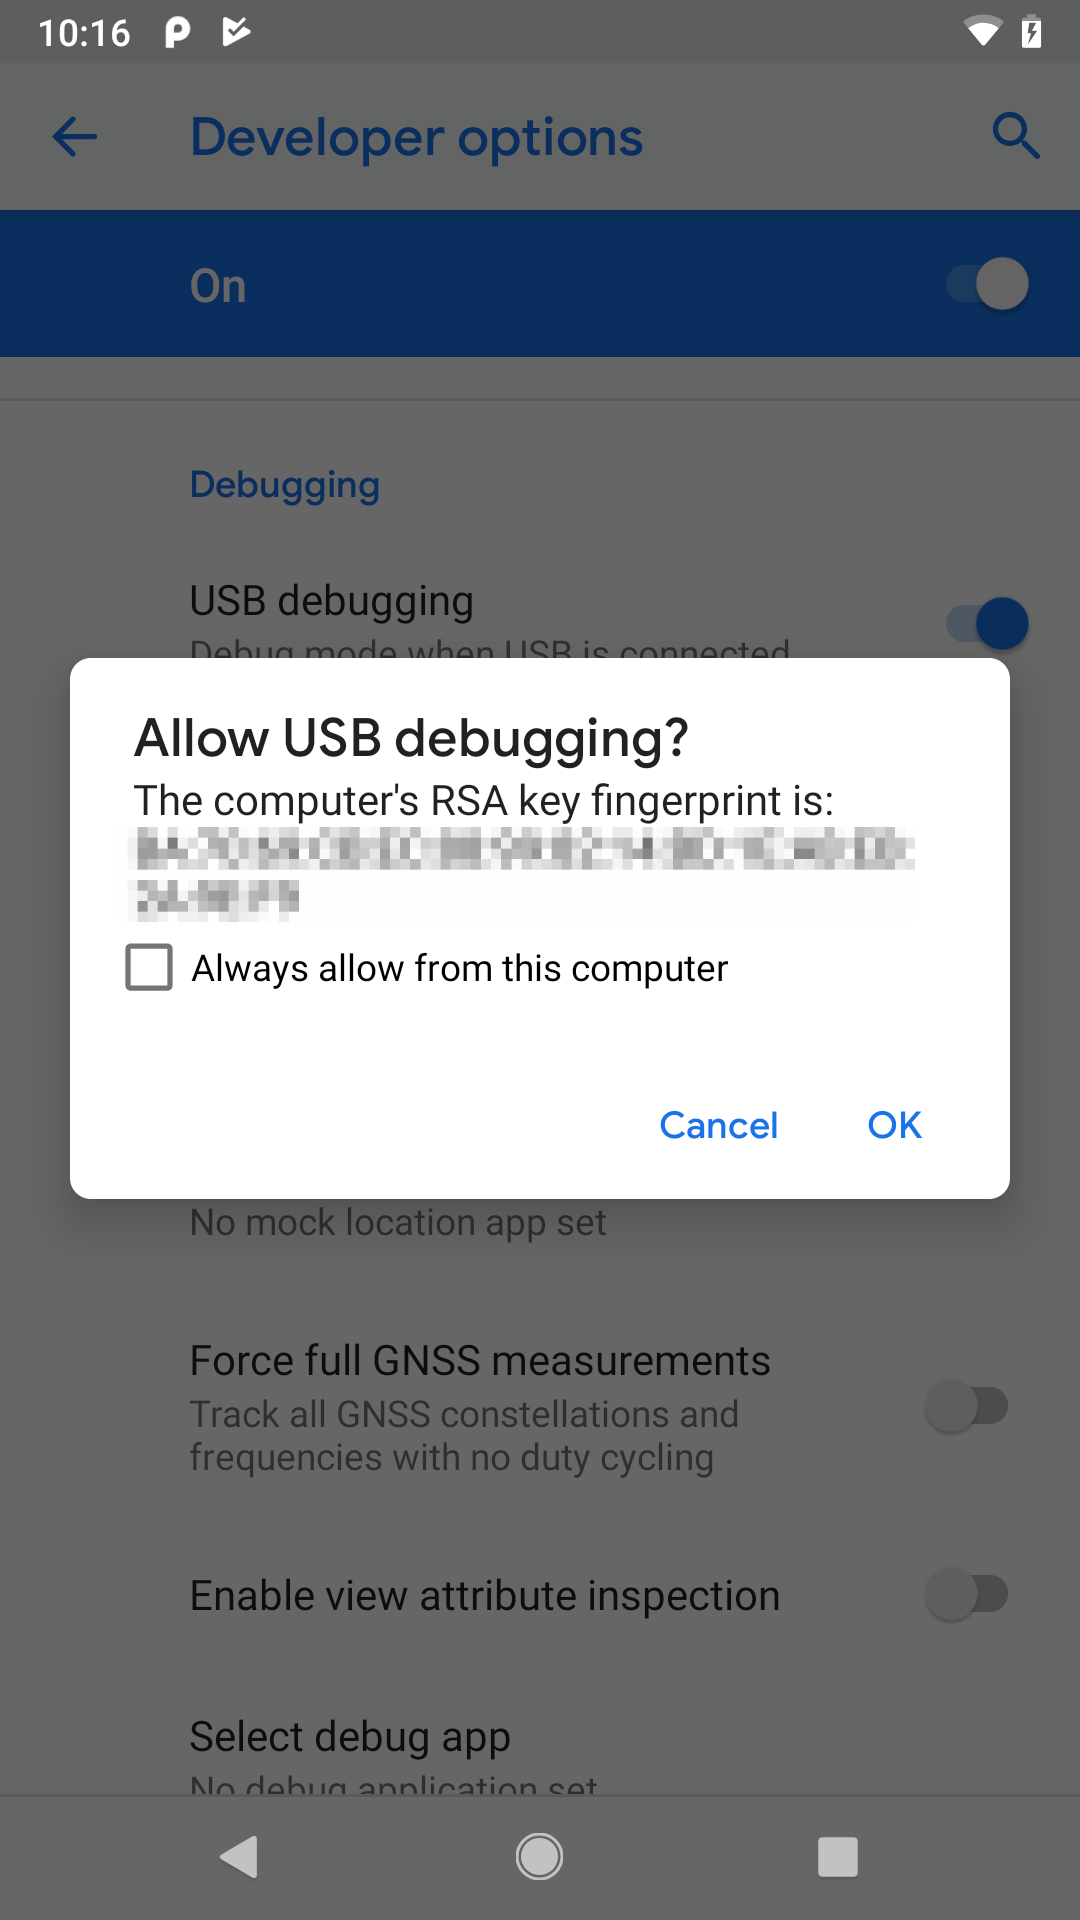
This occurs when you plug in the device via the USB cable and have the driver appropriately set up. That process varies by the operating system of your development machine, as is covered in the following sections.
Windows
When you first plug in your Android device, Windows will attempt to find a driver for it. It is possible that, by virtue of other software you have installed, that the driver is ready for use. If it finds a driver, you are probably ready to go.
If the driver is not found, you can try to get one from the manufacturer links on the Android Developer site.
macOS and Linux
It is likely that simply plugging in your device will “just work”.
If you are running Ubuntu (or perhaps other Linux variants), and when you later try running your app it appears that Android Studio does not “see” your device, you may need to add some udev rules. This GitHub repository contains some instructions and a large file showing the rules for devices from a variety of manufacturers, and this blog post provides more details of how to work with udev rules for Android devices.
Prev Table of Contents Next
This book is licensed under the Creative Commons Attribution-ShareAlike 4.0 International license.