In-IDE Emulator
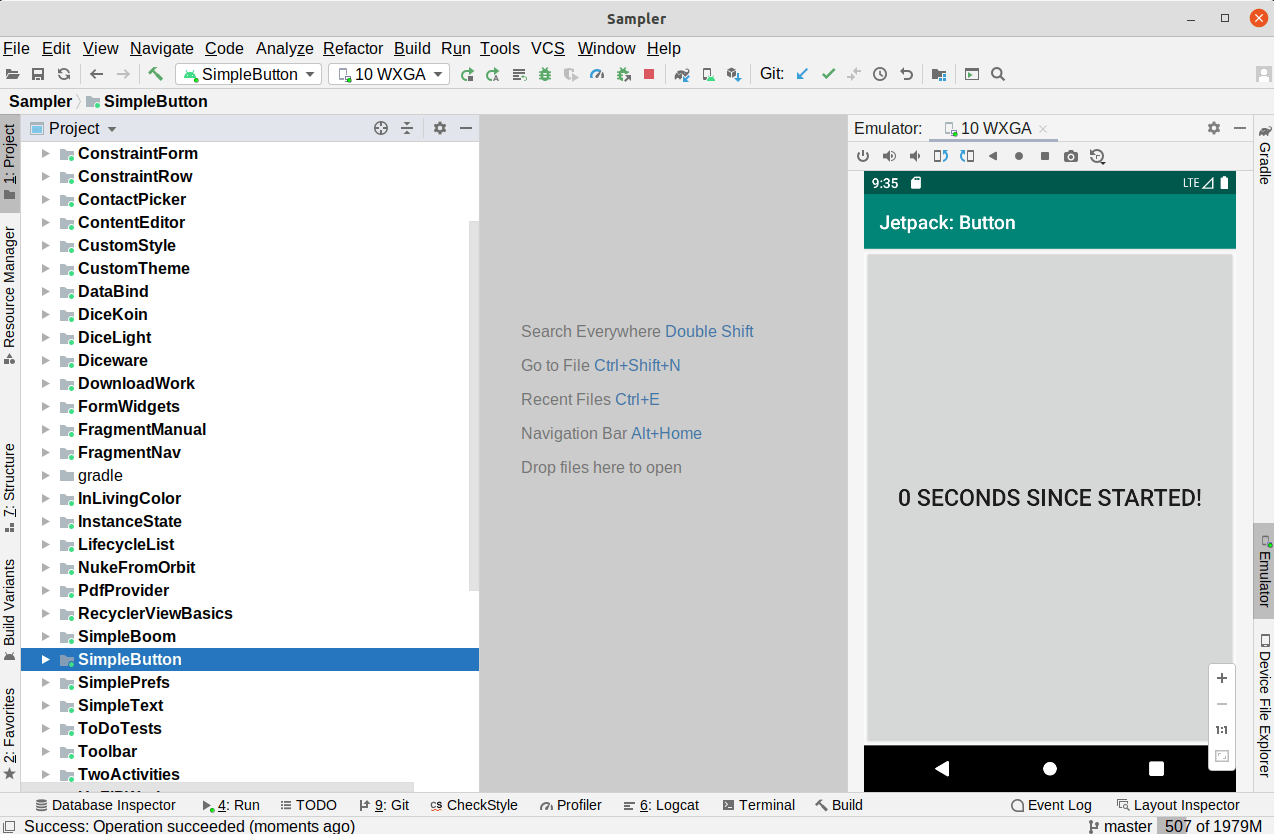
Historically, the emulator has run in a separate window, as has been shown in this chapter and earlier in the book. Android Studio 4.1 added the option for having the emulator be embedded directly in the IDE window itself:

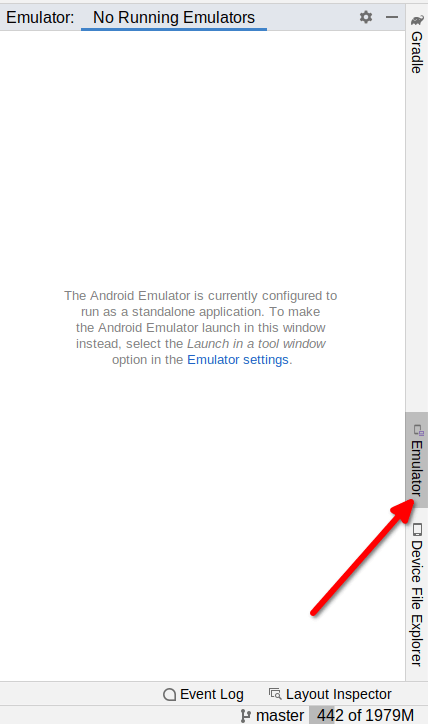
There is an “Emulator” tool, by default docked on the right. When you tap it, an Emulator tool window will open up… mostly to show you a message about why you are not seeing an emulator:

That message is:
The Android Emulator is currently configured to run as a standalone application. To make the Android Emulator launch in this window instead, select the Launch in a tool window option in the Emulator settings.
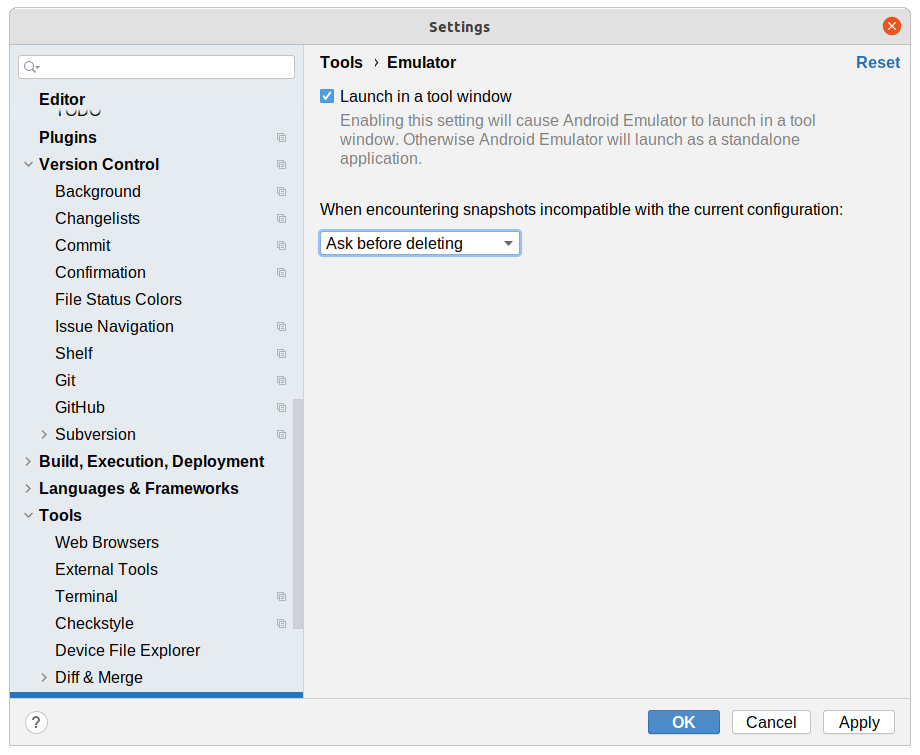
“Emulator settings” is a link, leading you to the appropriate spot in the Settings dialog:

Checking that checkbox and closing the dialog simply changes that message to:
No emulators are currently running. To launch an emulator, use the AVD Manager or run your app while targeting a virtual device.
Now, if you run your app and choose an emulator as the launch target, rather than a separate window opening up, you get the emulator directly in this tool window, as we saw earlier in this section:

The zoom controls towards the lower right will let you zoom in and out of the emulator screen. And there is a toolbar across the top that allows you to stop the emulator, control the volume, rotate the screen, record a screencast, or capture a screenshot.
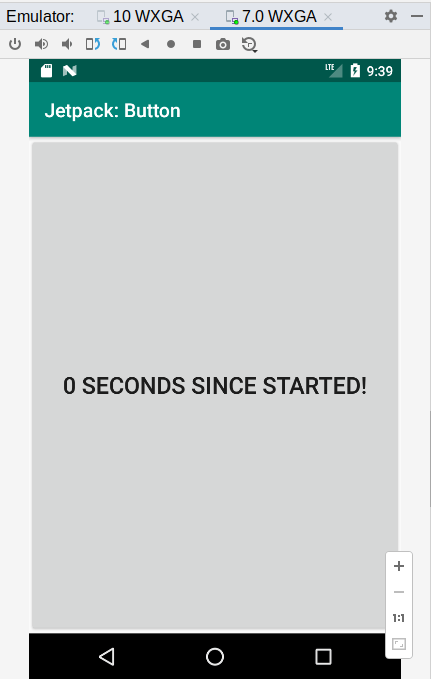
If you launch multiple emulators, they will show up as tabs, to toggle between them:

However, as that original message indicated, you do not have access to the extended controls when running in this mode. For that, you would need to go back into Settings, disable this option from the Tools > Emulator category, and run the emulator normally. With luck, in a future Android Studio update, there will be a way to get to the extended controls panel from the in-IDE emulator.
Prev Table of Contents Next
This book is licensed under the Creative Commons Attribution-ShareAlike 4.0 International license.