Introducing the Activity
Ignoring the test code for a while, our one-and-only source file in our project implements a MainActivity class, either in Java or Kotlin. This class represents an “activity”, one of the core components in an Android app.
The Role of the Activity
The building block of the user interface is the activity. You can think of an activity as being the Android analogue for the window in a desktop application or the page in a classic Web app. It represents a chunk of your user interface and, in many cases, a discrete entry point into your app (i.e., a way for other apps to link to your app).
Normally, an activity will take up most of the screen, leaving space for things like a status bar (the strip across the top with the clock, battery icon, etc.) and a navigation bar (the strip across the bottom with buttons for going back, going to the home screen, etc.)
However, bear in mind that on some devices, the user will be able to work with more than one activity at a time, such as split-screen mode on a phone or multi-window mode on a Chrome OS device. So, while it is easy to think of activities as being equivalent to the screen, just remember that this is a simplification, and that reality is more complicated (as reality often is).
In a simple app with one activity, such as this sample app, that activity will serve as the entry point for the app itself. The user’s home screen will often have an “app drawer” or similar thing with a bunch of icons. While the user thinks of those as “running an app”, in reality those icons pass control to an activity inside of the app, one designated as being something that should appear in a “launcher” or home screen. What makes an activity appear in this app drawer is based upon stuff found in the AndroidManifest.xml file, and we will see how that works later in the book.
Examining the Generated Code
When you create a new project via the new-project wizard — as this sample app was — usually you will have that wizard create your first activity for you. The activity will have the same functionality regardless of whether you asked for Java or Kotlin code. Since Java and Kotlin do not have the same syntax, those files will not be identical in code, but they will be identical in functionality.
So, let’s see what our sample app’s activity looks like, in both languages.
Java
The HelloWorldJava.zip version of the sample app was created using Java as the requested programming language. So, our main source set has MainActivity.java in a com.commonsware.jetpack.hello Java package:
package com.commonsware.jetpack.hello;

import androidx.appcompat.app.AppCompatActivity;
import android.os.Bundle;

public class MainActivity extends AppCompatActivity {

  @Override
  protected void onCreate(Bundle savedInstanceState) {
    super.onCreate(savedInstanceState);
    setContentView(R.layout.activity_main);
  }
}
Kotlin
The HelloWorld.zip version of the sample app was created using Kotlin as the requested programming language. So, our main source set has MainActivity.kt in that same Java-style package (com.commonsware.jetpack.hello):
package com.commonsware.jetpack.hello

import androidx.appcompat.app.AppCompatActivity
import android.os.Bundle

class MainActivity : AppCompatActivity() {
  override fun onCreate(savedInstanceState: Bundle?) {
    super.onCreate(savedInstanceState)
    setContentView(R.layout.activity_main)
  }
}
Code Commonalities
While Java and Kotlin differ in syntax, both activities are doing the same thing and are using the same things from the Android SDK.
AppCompatActivity
All activities in Android inherit from an android.app.Activity base class. In our case, MainActivity does not inherit directly from that class. Instead, it extends androidx.appcompat.app.AppCompatActivity. That, in turn, inherits from android.app.Activity, so MainActivity has Activity in its inheritance hierarchy.
Technically, you do not need AppCompatActivity — you could inherit from something else, even from Activity itself. However, Google is making it difficult for you to extend from anything else other than AppCompatActivity. When you create a new project, it is very likely that you will be given an activity that extends from AppCompatActivity.
The theory is that AppCompatActivity makes it easier for you to develop apps that will behave consistently across many versions of Android, compared to inheriting from Activity or some other subclass of Activity.
We will see more about where AppCompatActivity comes from a bit later in this chapter.
onCreate()
MainActivity has one Java method or Kotlin function: onCreate(). This overrides an onCreate() method that we inherit. Our job in onCreate() is to set up the basic UI that is to be shown by this activity.
In reality, onCreate() is just one of a series of “lifecycle methods”, methods or functions that get called as our activity is coming onto the screen, leaving the screen, and so on. We will see more about lifecycles later in the book.
The very first thing that we do in onCreate() is chain to the inherited implementation of onCreate(), via a call to super.onCreate(). This is a very typical pattern for onCreate() of an activity, as the activity is not fully initialized until after super.onCreate() has been called. So, we try to get that out of the way early, so we are safe to do the rest of our work afterwards.
setContentView()
The other thing that we do in onCreate() is call a setContentView() method. This says “Hey, Android! The UI that we want to show starts with this!”. We supply something to serve as the foundation for our UI, which we can further tailor if needed. Calling setContentView() is not required, but it is a fairly typical approach.
In this case, we pass in a funny-looking value to setContentView(): R.layout.activity_main. This serves as a reference to a layout resource, named activity_main. We will explore resources in the next chapter, including an explanation of what this R thing is.
Line Numbers
You may have noticed that some of the screenshots in this book that show the editing pane show line numbers in the gutter area on the left:
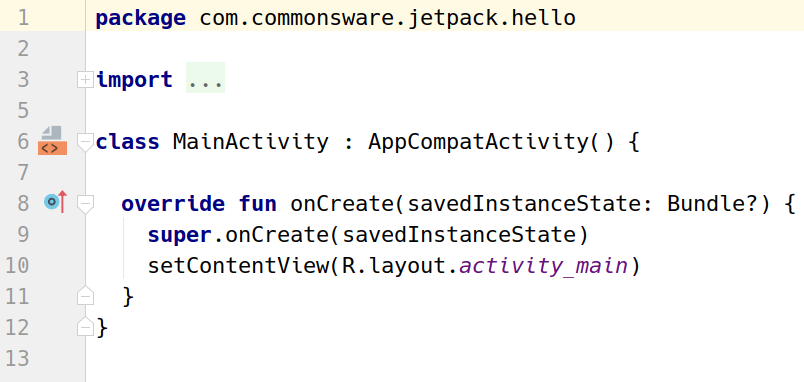
Those will not be enabled by default. If you want to enable them, you have two main options.
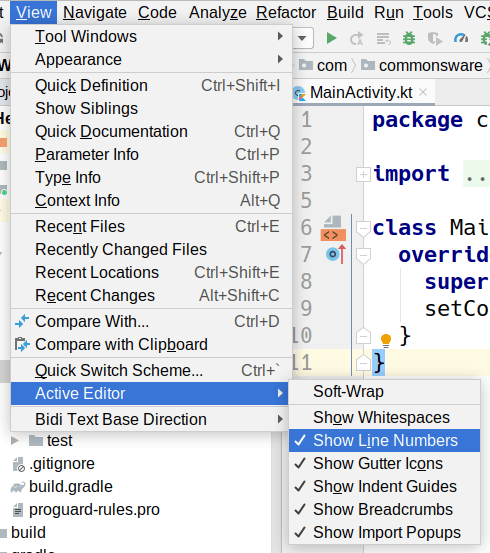
Per Editor
If you temporarily want to show line numbers, choose “View” > “Active Editor” from the main menu, and toggle on “Show Line Numbers”:
All the Time
If you wish to have line numbers be toggled on by default, choose “File” > “Settings” from the main menu (or “Android Studio” > “Preferences…” on macOS). Go into “Editor” > “Appearance” and check “Show line numbers”, then click “OK”:
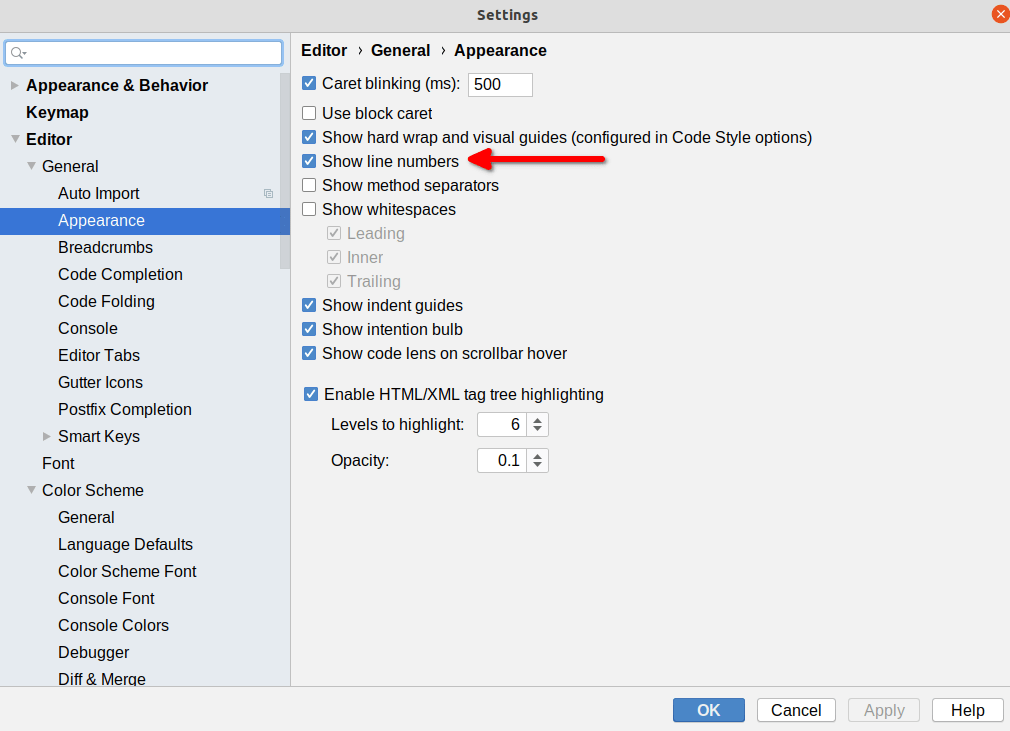
We will be exploring other options in this Settings screen throughout the book.
Prev Table of Contents Next
This book is licensed under the Creative Commons Attribution-ShareAlike 4.0 International license.