Creating Your Second (and Third and…) Activity
Unfortunately, activities do not create themselves. On the positive side, this does help keep Android developers gainfully employed.
Given a module with one activity, if you want a second activity, you will need to add it yourself. The same holds true for the third activity, the fourth activity, and so on.
Defining the Class and Resources
To create your second (or third or whatever) activity, you first need to create the Java or Kotlin class. You need to create a new source file, containing a public class that extends Activity (or AppCompatActivity, etc.). You have two basic ways of doing this:
- Just create the class yourself
- Use the Android Studio new-activity wizard
To use the Android Studio new-activity wizard, right-click a package (e.g., com.commonsware.jetpack.sampler.activities in the project tree, and go into the “New” > “Activity” portion of the context menu. This will give you a submenu of available activity templates.
If you choose one of those templates, you will be presented with a one-page wizard in which to provide the details for this activity:
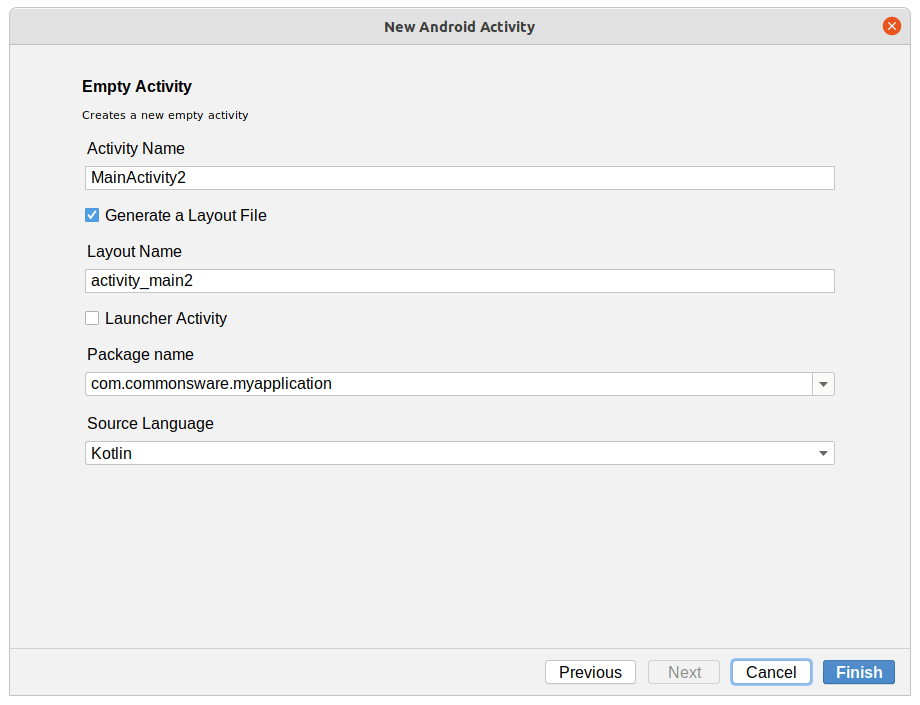
What you see here will be based upon the template you chose. This happens to be the wizard screen for the “Empty Activity” template; other templates will have forms with other data to collect.
Clicking “Finish” will then create the activity’s Java or Kotlin class, related resources (if any), and manifest entry.
Populating the Class and Resources
Once you have your stub activity set up, you can then add an onCreate() function to it (or edit an existing one created by the wizard), filling in all the details (e.g., setContentView()), just like you did with your first activity. Your new activity may need a new layout XML resource or other resources, which you would also have to create (or edit those created for you by the wizard).
Augmenting the Manifest
Simply having an activity implementation is not enough. We also need to add it to our AndroidManifest.xml file. If you used the new-activity wizard, this entry will be added for you. However, if you created the activity “by hand”, you will need to add its manifest element, and over time you will need to edit this element in many cases.
Adding an activity to the manifest is a matter of adding another <activity> element to the <application> element:
<activity android:name=".BigSwatchActivity"></activity>
You need the android:name attribute at minimum, identifying the Java/Kotlin class that is the implementation of the activity.
As we have seen previously, <activity> elements can be more complex:
    <activity android:name=".MainActivity">
      <intent-filter>
        <action android:name="android.intent.action.MAIN" />

        <category android:name="android.intent.category.LAUNCHER" />
      </intent-filter>
    </activity>
We will explore that <intent-filter> a bit more later in this chapter.
Prev Table of Contents Next
This book is licensed under the Creative Commons Attribution-ShareAlike 4.0 International license.