Step #4: Adding an Icon
We are going to need a an icon for our app bar item. Nowadays, the preferred approach for doing this is to start with vector drawables, rather than bitmaps, to reduce the size of the app and maximize the quality of the icons when they are displayed.
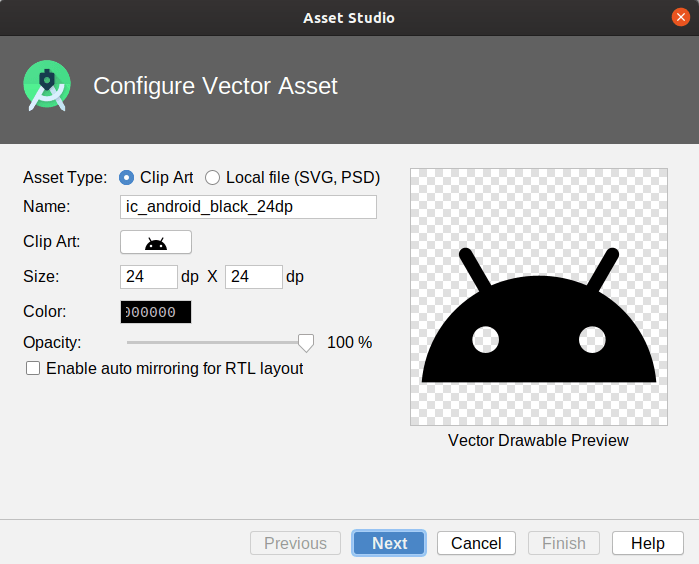
Right-click over the res/ directory and choose New > “Vector Asset” from the context menu. This brings up the first page of the vector asset wizard:
Click on the “Clip Art” button, which by default has the image of the head of the Android mascot (“bugdroid”). This is supposed to bring up an icon selector, with a bunch of icons from Google’s “Material Design” art library. In the search field, type info, then click on the “info” icon:
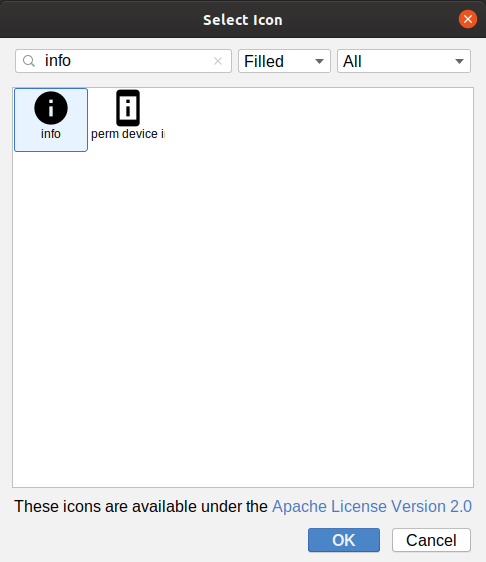
Click “OK”. This will update the name of the asset to ic_baseline_info_24. Change the name in the “Name” field to ic_about (ic is a prefix representing icons).
Click “Next”, then “Finish”, to add that icon as an XML file in res/drawable/.
If the icon selector did not open, that may be due to this Arctic Fox bug. Instead, just close up the Vector Asset wizard, and download this file into res/drawable instead. That is the desired icon, already set up for you.
Prev Table of Contents Next
This book is licensed under the Creative Commons Attribution-ShareAlike 4.0 International license.