Step #3: Adjusting the TextView
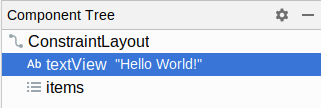
We can reuse the TextView that came in the starter project, but we need to make a few changes to it. However, to change it, we need to select it first, and now it is covered by the RecyclerView that we just added. Instead, click on the TextView entry in the “Component Tree” pane of the Layout Designer:
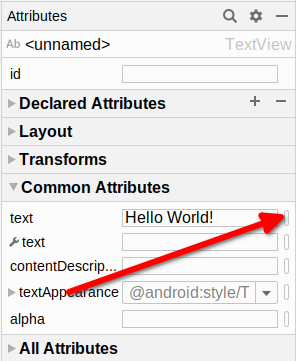
Then, in the “Attributes” pane, fill in empty for the ID. Then, click on the “O” button to the side of the “text” field that has “Hello World!” as its current value:
This will bring up a dialog showing available string resources:
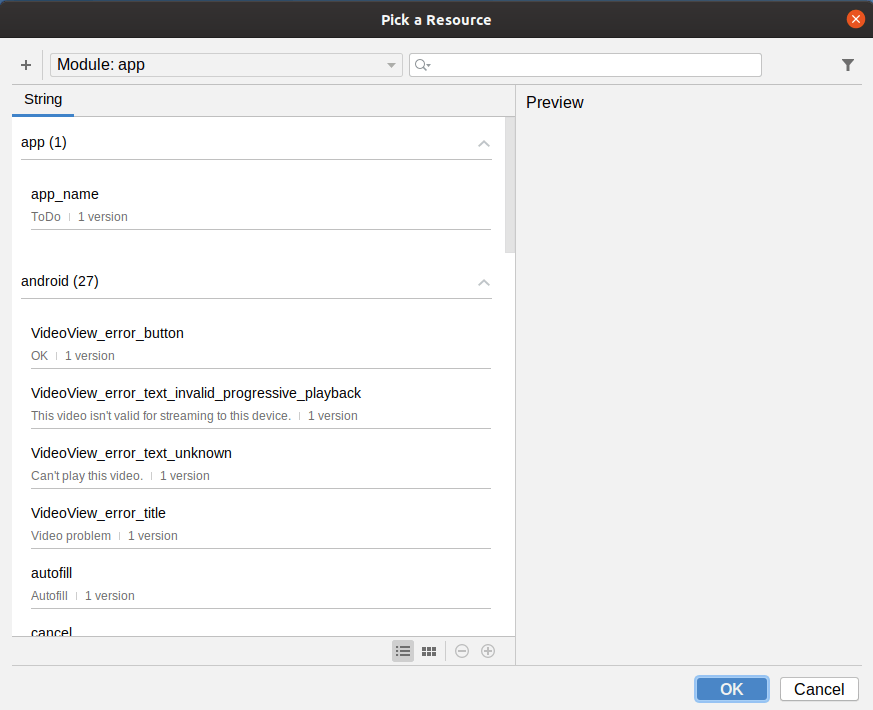
Click the “+” icon to fold open a drop-down menu, and in there choose “String Value”. This brings up a dialog to define a new string resource:
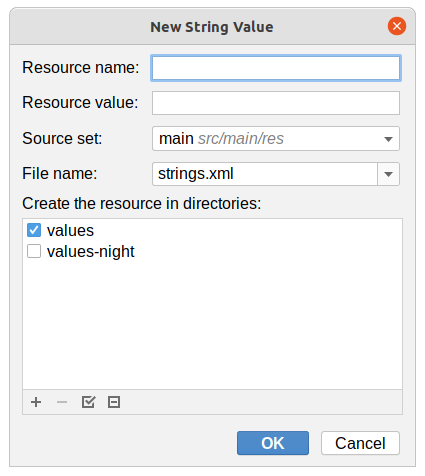
For the “Resource name”, fill in msg_empty. For the “Resource value”, fill in “placeholder text”:
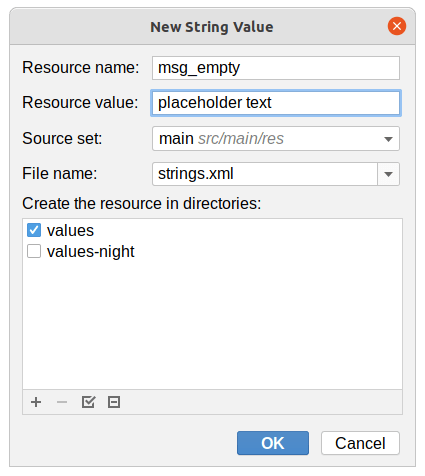
As the text suggests, this is a placeholder for a better message that we will swap in later in this book.
Click “OK” to define the resource, then click “OK” to close the resource selector, and you should be taken back to the designer.
Then, in the “Common Attributes” section, fill in the following value for the “textAppearance”:
?android:attr/textAppearanceMedium
This says “we want this text to be in the standard medium text size for whatever overall UI theme we happen to be using”.
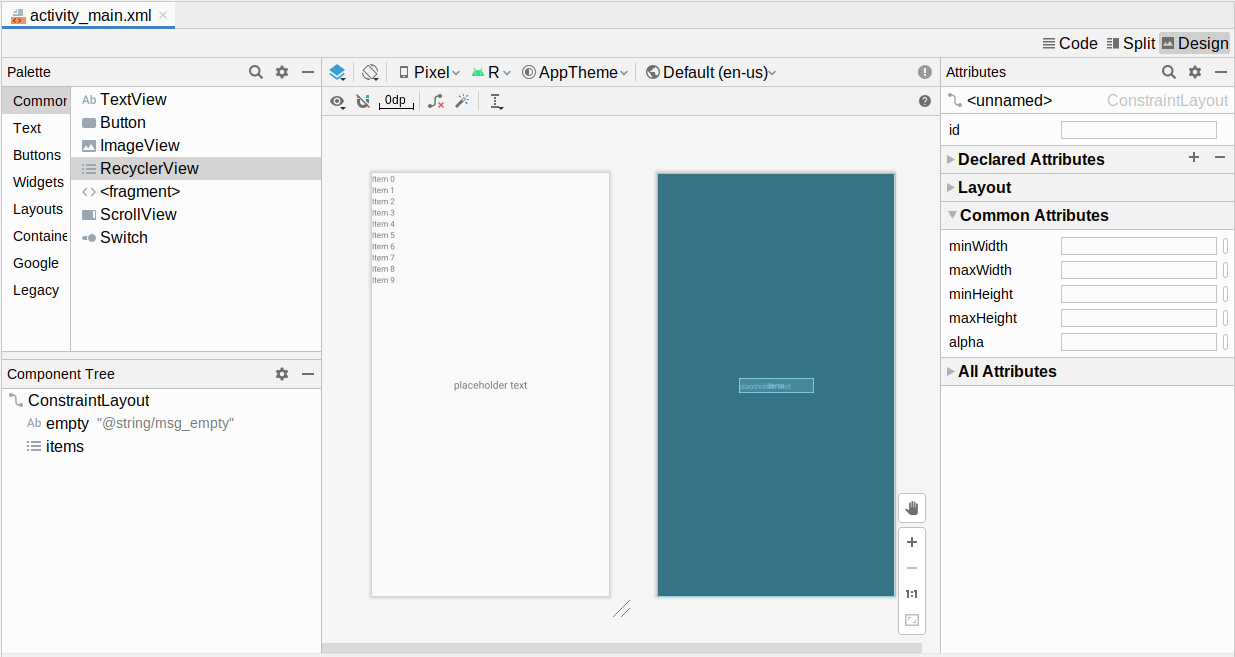
This, then, gives us what we were seeking from the outset: the RecyclerView, and the TextView, all properly configured and positioned:
If you run the app, since the MainActivity loads up this layout resource via setContentView(R.layout.activity_main), you will see the “placeholder text” and nothing else:
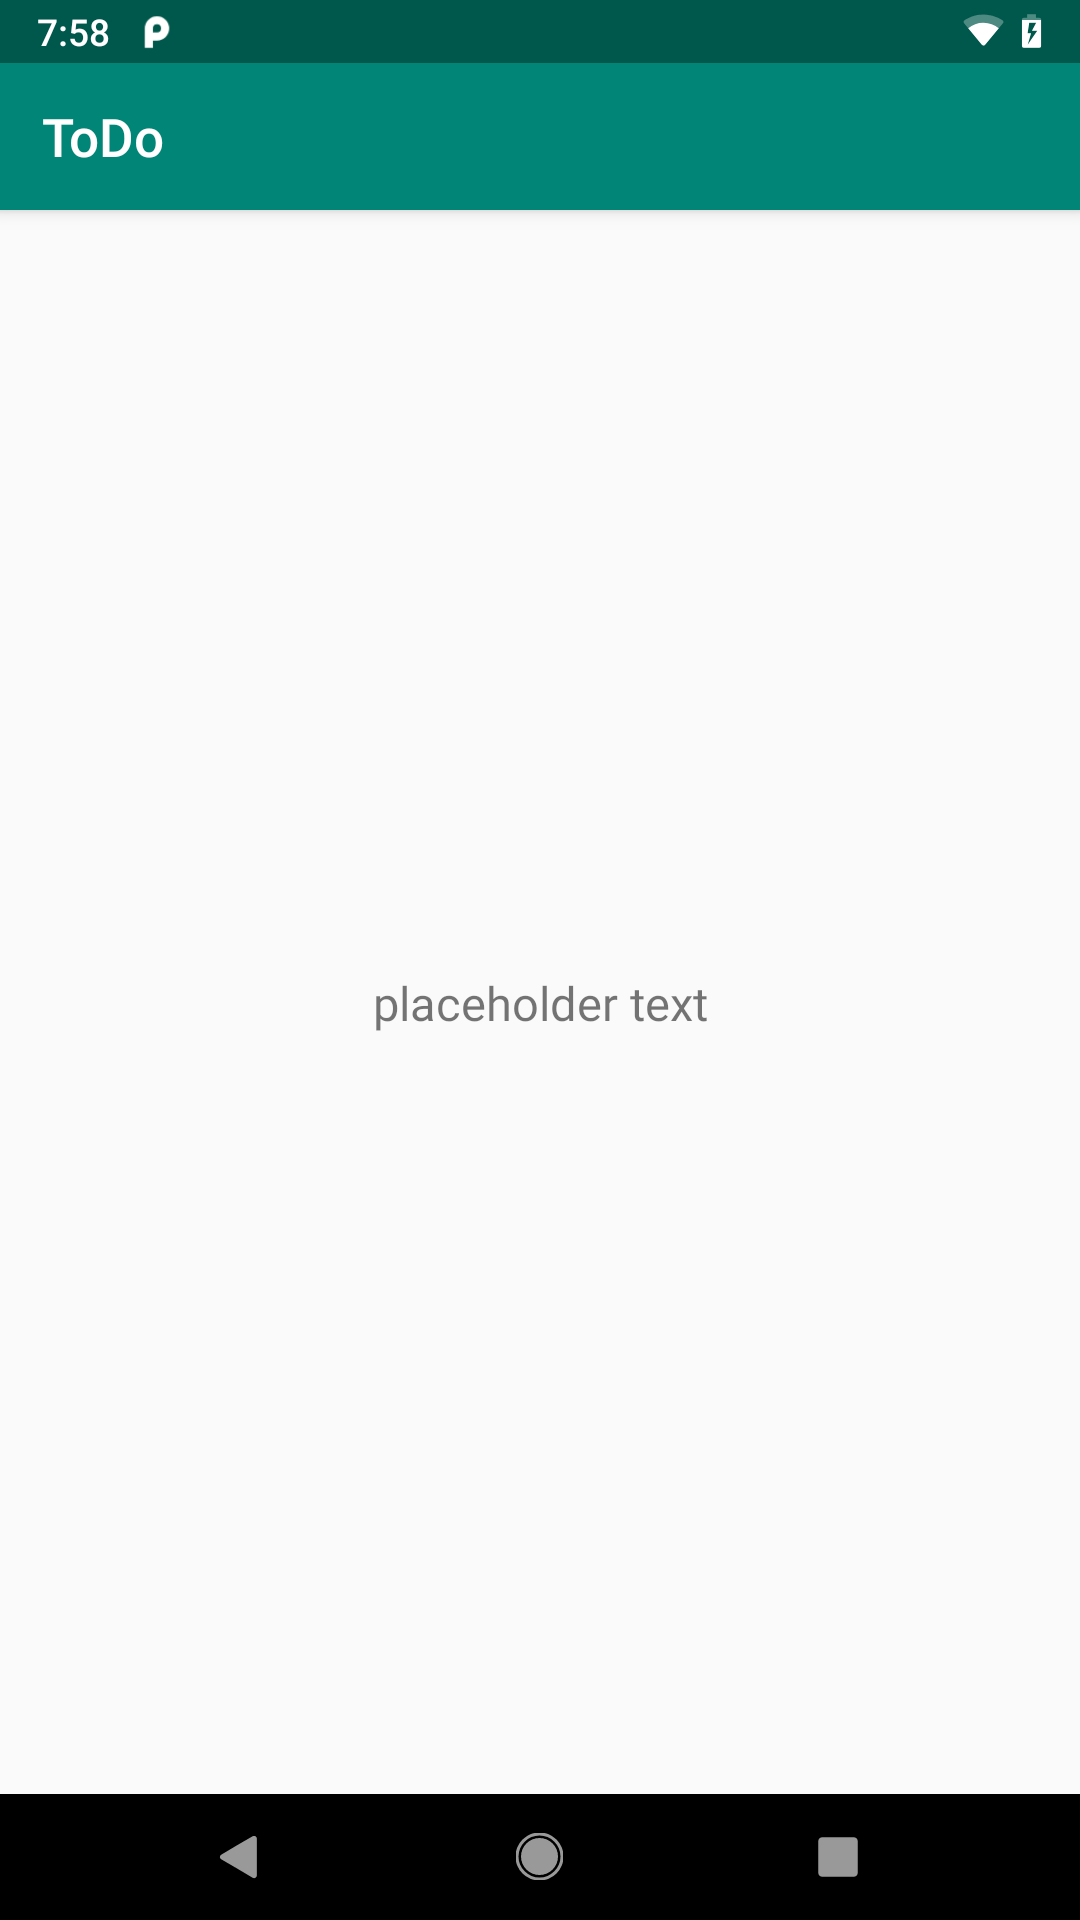
We have not put anything into the RecyclerView, so it has no content for us to see.
Prev Table of Contents Next
This book is licensed under the Creative Commons Attribution-ShareAlike 4.0 International license.