Step #2: Changing the Icon
Android Studio includes an Image Asset Wizard that is great at creating launcher icons. This is important, as while creating launcher icons used to be fairly simple, Android 8.0 made launcher icons a lot more complicated… but the Image Asset Wizard hides most of that complexity.
First, right-click over the res/ directory in your main source set in the project explorer:
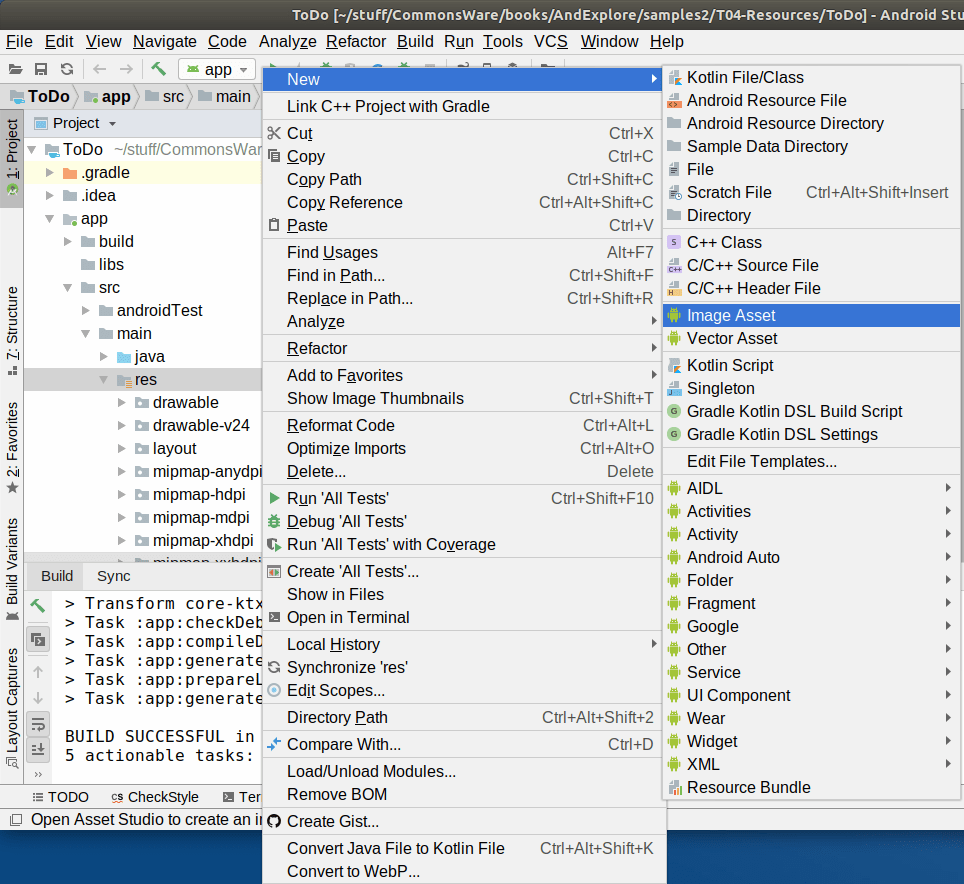
In that context menu, choose New > Image Asset from the context menu. That will bring up the Asset Studio wizard:

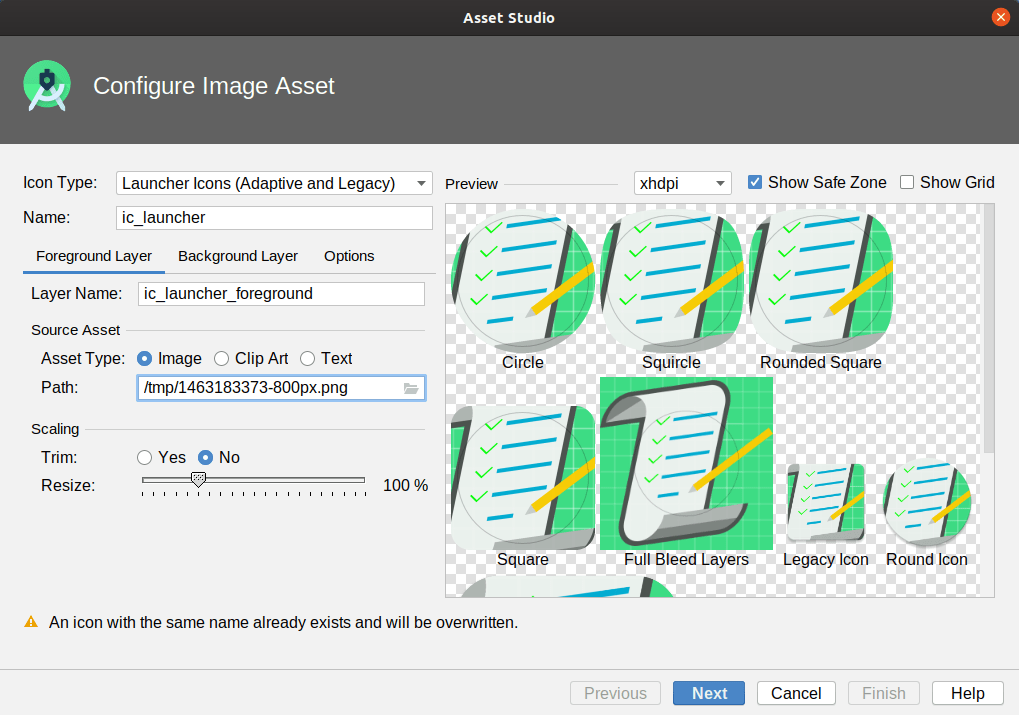
In the “Icon Type” drop-down, make sure that “Launcher Icons (Adaptive and Legacy)” is chosen — this should be the default. Also, ensure that the “Name” field has ic_launcher, which also should be the default.
In the “Foreground Layer” tab, ensure that the “Layer Name” is ic_launcher_foreground. In the “Source Asset” group, ensure that the “Asset Type” is set to “Image”. Then, click the folder button next to the “Path” field, and find the clipart that you downloaded in Step #1 above.
When you load the image, it will be just a bit too big:
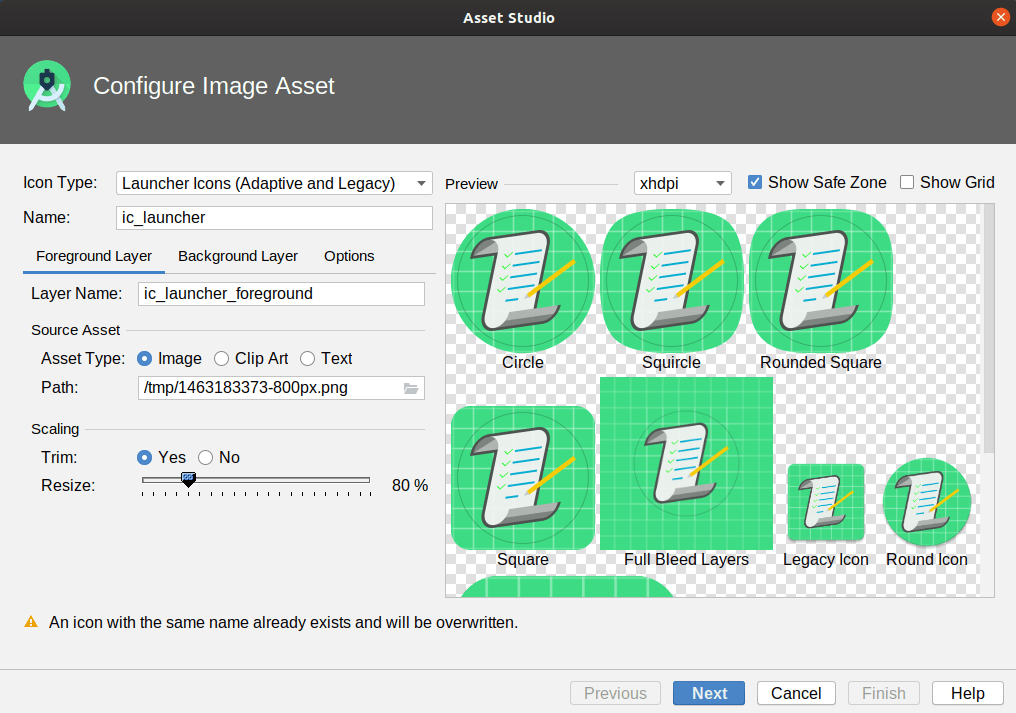
To fix this, in the “Scaling” group, select “Yes” for “Trim”. Then, adjust the “Resize” slider until the clipart is inside the circular “safe zone” region in the previews. A “Resize” value of around 80% should work:
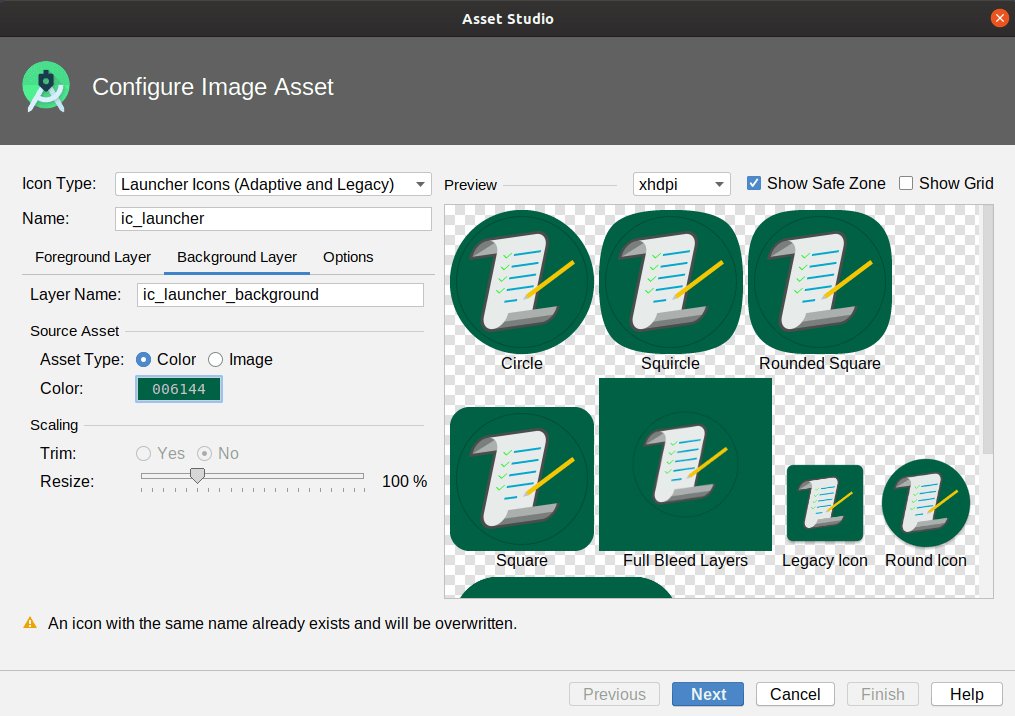
Switch to the “Background Layer” tab and ensure that the “Layer Name” is ic_launcher_background. Then, switch the “Asset Type” to “Color”:
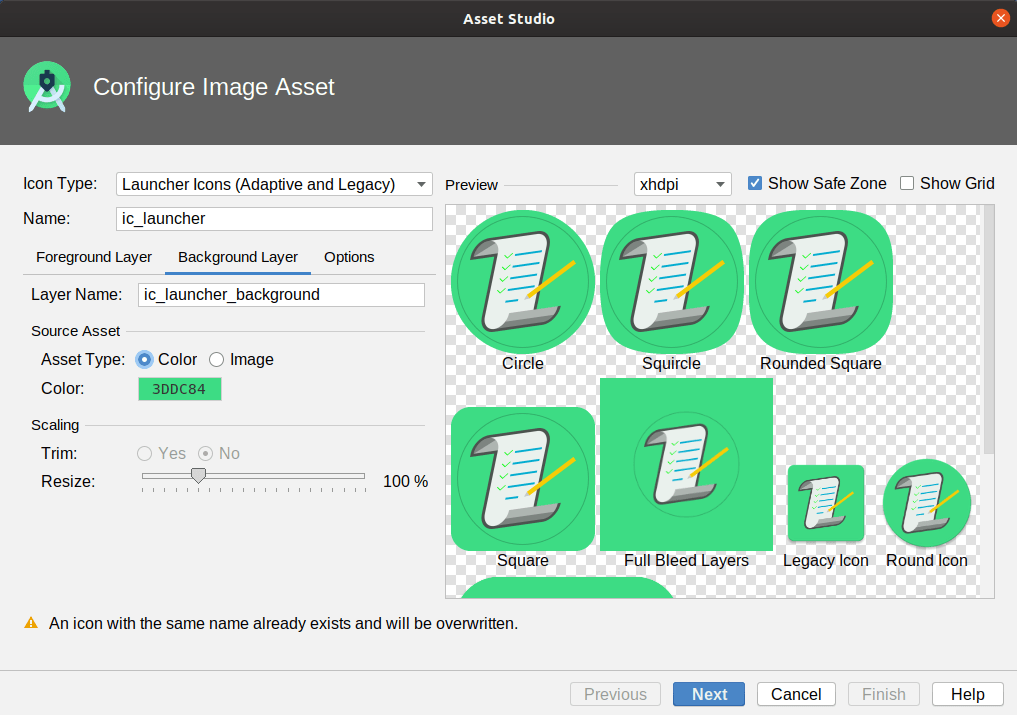
If you do not like the default color, tap the hex color value to bring up a color picker:
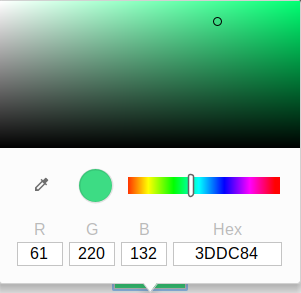
Pick some other color (such as #006144) to apply it to the icon background, then click anywhere outside the modal to dismiss it:
Then, switch to the “Options” tab. Ensure that the “Generate” value is “Yes” for both “Legacy Icon” and “Round Icon”, but set it to “No” for “Google Play Store Icon” (as this app will not be published on the Play Store). Also, switch the “Shape” value for the “Legacy Icon” to “Circle”:
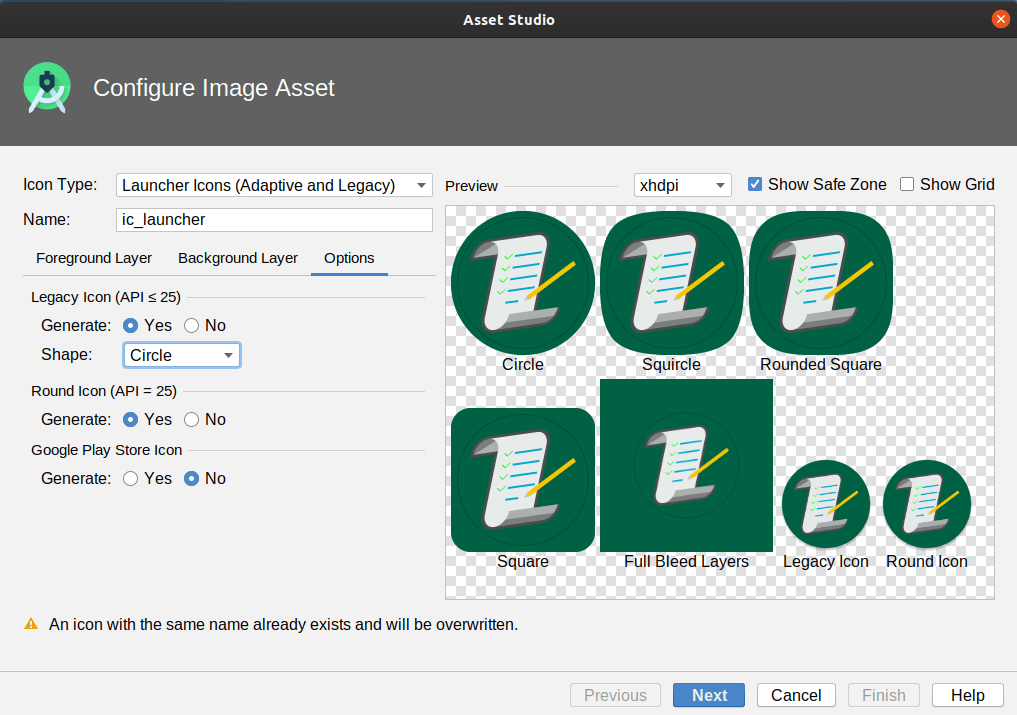
That way, our icon should be the same on most pre-Android 8.0 devices. On Android 8.0+ devices — and on a few third-party launchers on older devices — our icon will be our clipart on our chosen background color, but with a shape determined by the launcher implementation.
Click the “Next” button at the bottom of the wizard to advance to a confirmation screen:
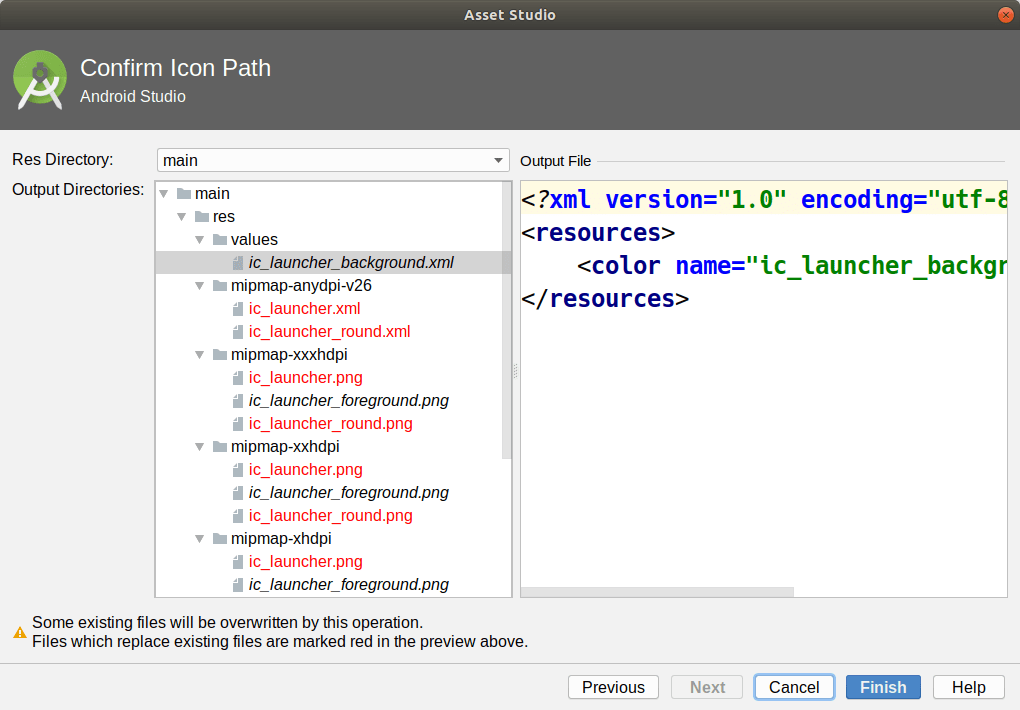
There will be a warning that existing files will be overwritten. Since that is what we are intending to do, this is fine.
Click “Finish”, and Android Studio will generate your launcher icon.
Prev Table of Contents Next
This book is licensed under the Creative Commons Attribution-ShareAlike 4.0 International license.