Step #2: Updating the Navigation Graph
Just like our other fragments, we need to add ErrorDialogFragment to our navigation graph. For now, we will only use ErrorDialogFragment from RosterListFragment, so we can set up a more conventional action, rather than the global action that we used for PrefsFragment.
Open up res/navigation/nav_graph.xml and click the add-destination toolbar button (rectangle with green plus sign in the corner). You should see ErrorDialogFragment as an option in the destination drop-down. Click on it, then drag its tile to some clean spot in the diagram.
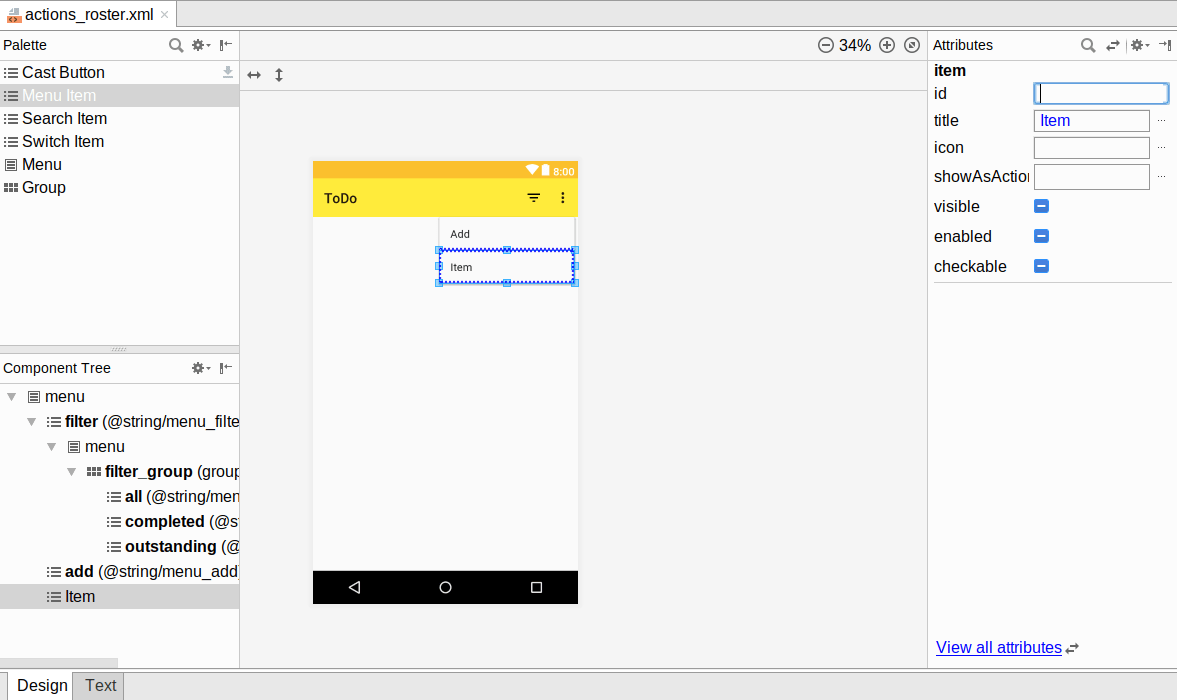
Next, click on the errorDialogFragment tile, if it is not already selected. In the “Attributes” pane, add three arguments, using the “+” button in the “Arguments” section:
-
titleas a string -
messageas a string -
scenarioas anErrorScenario
For the scenario argument, you will need to choose “Custom Enum…” from the “Type” drop-down list in the “Add Argument” dialog:
That, in turn, will pop up a “Select Class” dialog for you to choose your desired enum from:
Choose ErrorScenario from the list and click “OK” to use that for the “Type”.
Then, drag an arrow from the rosterListFragment tile to the errorDialogFragment tile, to set up an action between them. With that arrow selected, in the “Attributes” pane, change the “id” to showError.
Finally, build the app, so the Navigation code-generated classes get created.
Prev Table of Contents Next
This book is licensed under the Creative Commons Attribution-ShareAlike 4.0 International license.