Step #4: Adding PrefsFragment to Our Navigation Graph
Just like our other fragments, we should add PrefsFragment to our navigation graph. The biggest difference is that it is not part of the existing fragment-to-fragment navigation flow, so we will need to set up a “global action” to allow MainActivity to display PrefsFragment when requested.
Open up res/navigation/nav_graph.xml and click the add-destination toolbar button (rectangle with green plus sign in the corner). You should see PrefsFragment as an option in the destination drop-down:
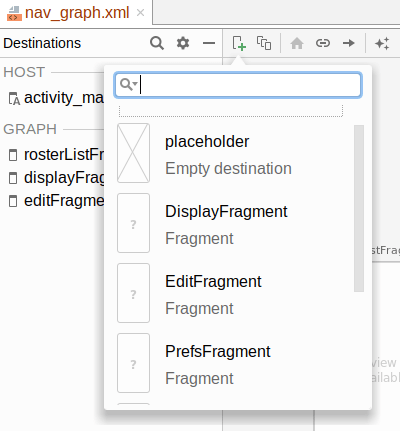
Click on PrefsFragment, then drag its tile to some clean spot in the diagram.
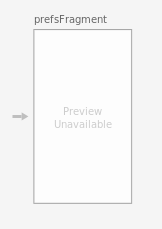
Then, right-click over the prefsFragment tile and choose “Add Action” > “Global” from the context menu. This global action gets represented by an arrow pointing from nowhere into the tile:
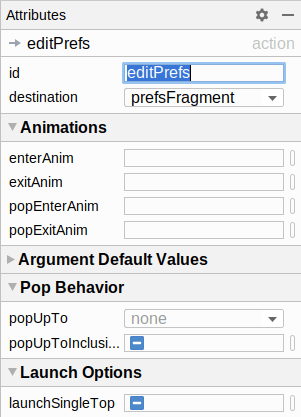
In the “Attributes” pane, with that arrow selected, you should see attributes for this global action. Set the “ID” to be editPrefs and leave the rest alone:
Prev Table of Contents Next
This book is licensed under the Creative Commons Attribution-ShareAlike 4.0 International license.