Step #4: Running the Project
Now, we can confirm that our project is set up properly by running it on a device or emulator.
Android Studio has a toolbar just below the main menu. In that toolbar, you will find two drop-down lists, followed by the Run toolbar button (usually depicted as a green rightward-pointing triangle):

The first drop-down says “this is what I want to run”. Right now, your only viable option is “app”, referring to the app that this project builds.
The second drop-down says “this is where I want to run it”. Here, you will find a list of devices and emulators that are available to you.
To run the app, choose your desired device or emulator in the second drop-down, then click the Run toolbar button. If you choose an emulator, and the emulator is not already running, Android Studio will start it up. Then, after a short wait, your app should appear on it:
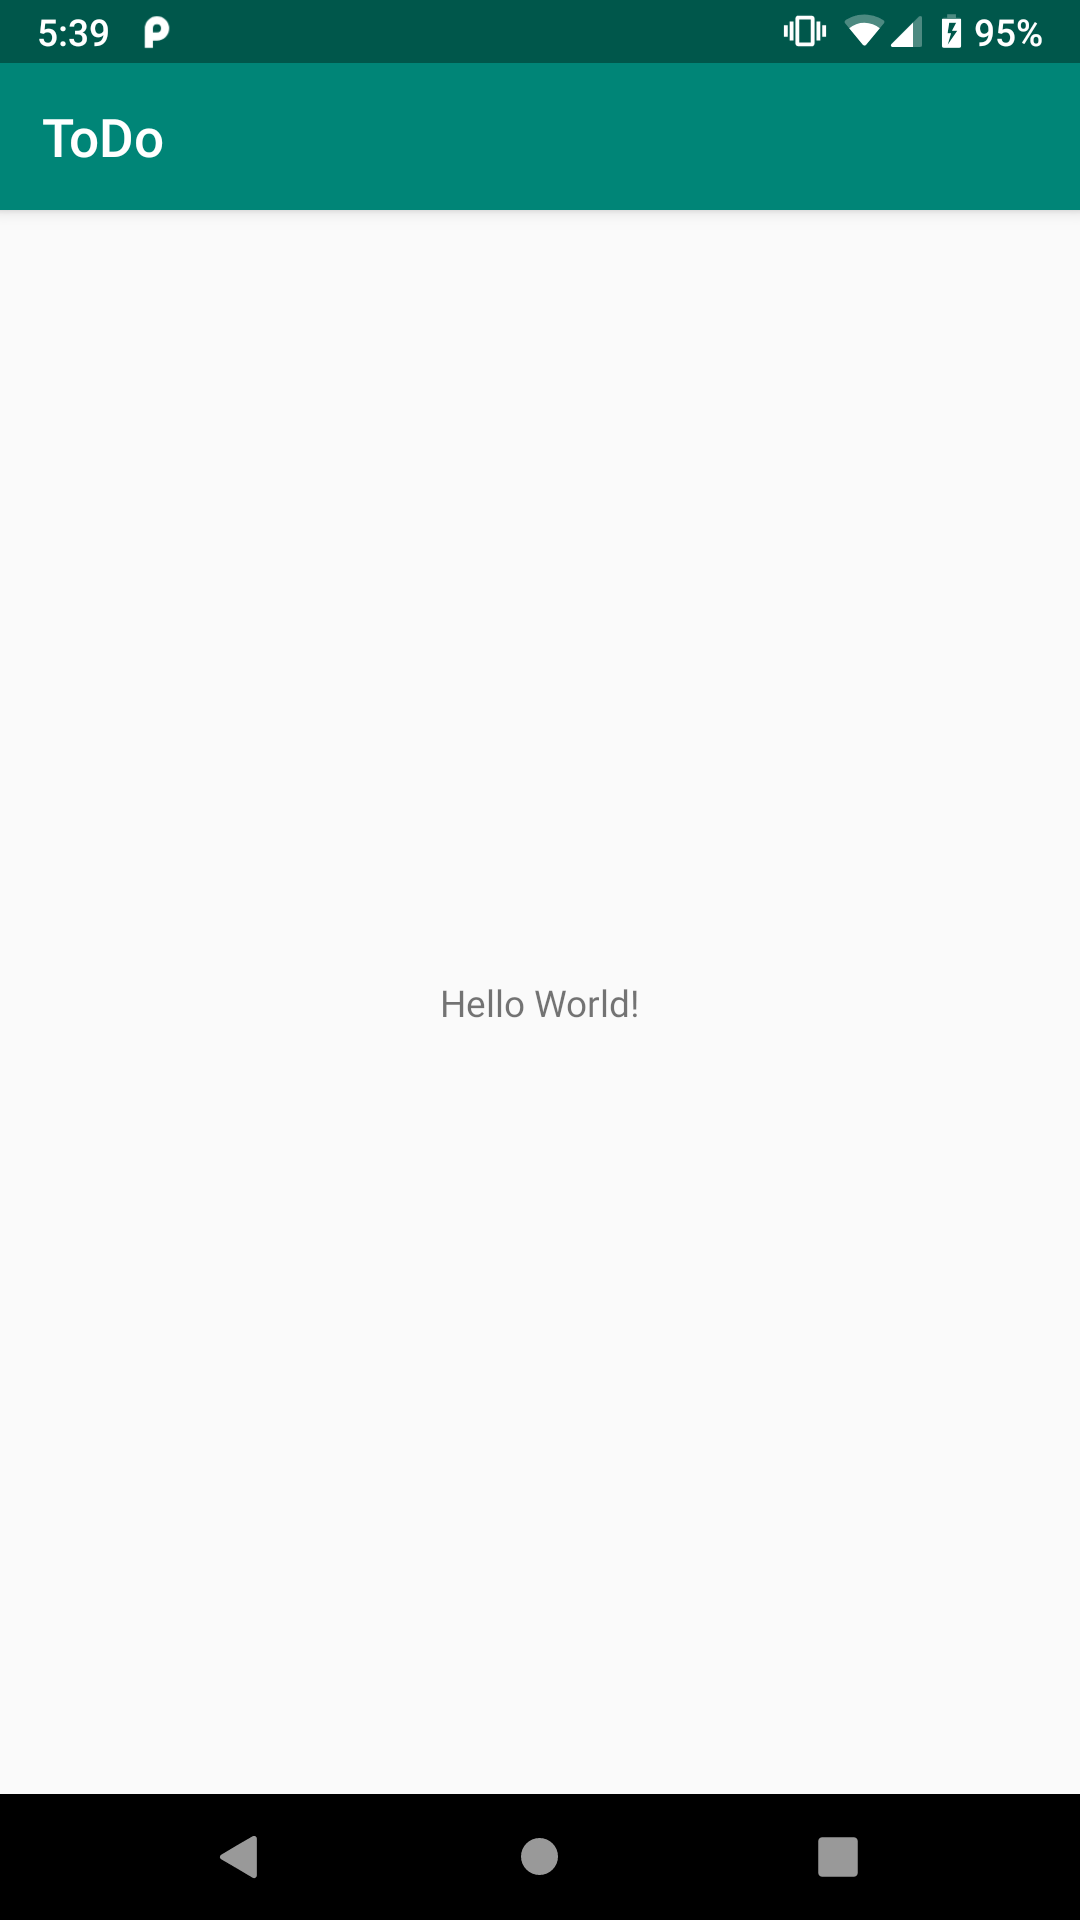
Note that you may have to unlock your device or emulator to actually see the app running.
The first time you launch the emulator for a particular AVD, you may see this message:

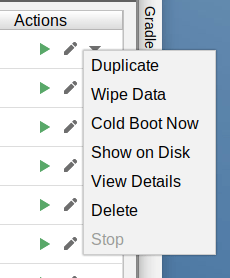
The emulator behaves a bit more like an Android device. Closing the emulator window is like tapping the POWER button to turn off the screen. The next time you start that particular AVD, it will wake up to the state in which you left it, rather than booting from scratch (“cold boot”). This speeds up starting the emulator. Occasionally, though, you will have the need to start the emulator as if the device were powering on. To do that, in the AVD Manager, in the drop-down menu in the Actions column, choose “Cold Boot Now”.
Prev Table of Contents Next
This book is licensed under the Creative Commons Attribution-ShareAlike 4.0 International license.