Creating a Starter Project
Creating an Android application first involves creating an Android “project”. As with many other development environments, the project is where your source code and other assets (e.g., icons) reside. And, the project contains the instructions for your tools for how to convert that source code and other assets into an Android APK file for use with an emulator or device, where the APK is Android’s executable file format.
Hence, in this tutorial, we kick off development of a sample Android application, to give you the opportunity to put some of what you are learning in this book in practice.
Step #1: Importing the Project
First, we need an Android project to work in.
Sometimes, you will create a new project yourself, using Android Studio’s new-project wizard. However, frequently, you will start with an existing project that somebody else created. For example, if you are joining an Android development team, odds are that somebody else will create the project, or the project will already have been created by the time you join. In those cases, you will import an existing project, and that’s what we will do here.
Download the starter project from CommonsWare’s Web site. Then, UnZIP that project to some place on your development machine. It will unZIP into a ToDo/ directory.
At that point, look at the contents of gradle/wrapper/gradle-wrapper.properties. It should look like this:
#Sun Aug 15 13:58:44 EDT 2021
distributionBase=GRADLE_USER_HOME
distributionUrl=https\://services.gradle.org/distributions/gradle-7.0.2-bin.zip
distributionPath=wrapper/dists
zipStorePath=wrapper/dists
zipStoreBase=GRADLE_USER_HOME
In particular, make sure that the distributionUrl points to a services.gradle.org URL. Never import a project into Android Studio without checking the distributionUrl, as a malicious person could have distributionUrl point to malware that Android Studio would load and execute.
Then, import the project. From the Android Studio welcome dialog — where we left off in the previous tutorial — that is handled by the “Import project (Gradle, Eclipse ADT, etc.)” option. From an existing open Android Studio IDE window, you would use File > New > Import Project… from the main menu.
Importing a project brings up a typical directory-picker dialog. Pick the ToDo/ directory and click “OK” to begin the import process. This may take a while, depending on the speed of your development machine. A “Tip of the Day” dialog may appear, which you can dismiss.
At this point, the IDE window should be open on your starter project:
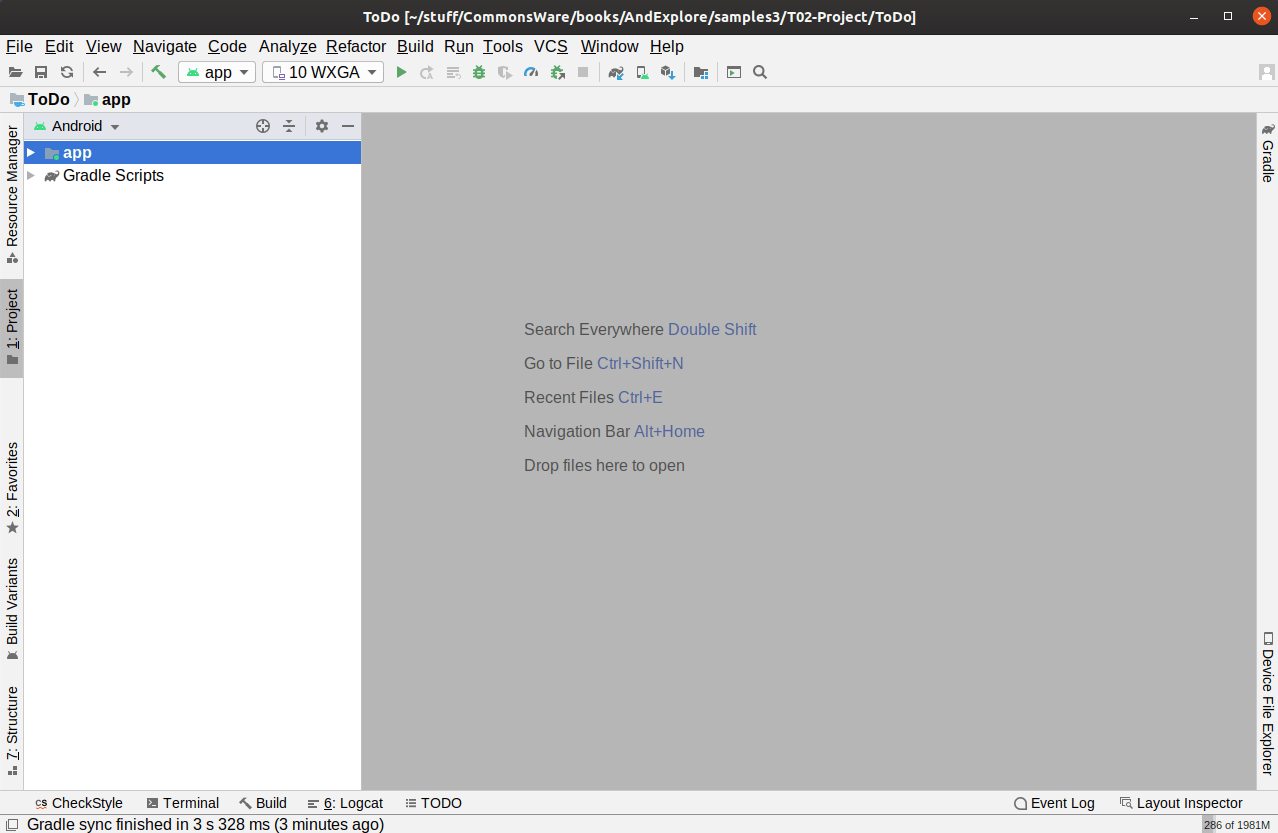
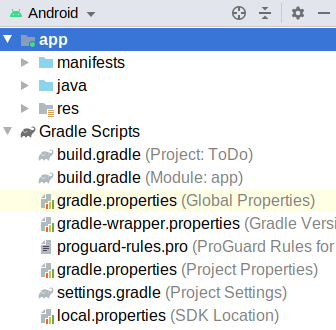
The “Project” view — docked by default on the left side, towards the top — brings up a way for you to view what is in the project. Android Studio has several ways of viewing the contents of Android projects. The default one, that you are presented with when creating or importing the project, is known as the “Android view”:
While you are welcome to navigate your project using it, the tutorial chapters in this book, where they have screenshots of Android Studio, will show the “Project” contents in this view:
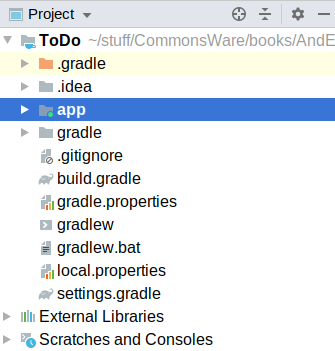
To switch to this view — and therefore match what the tutorials will show you — click the Android drop-down above the tree and choose “Project” from the list.
Prev Table of Contents Next
This book is licensed under the Creative Commons Attribution-ShareAlike 4.0 International license.