Step #10: Populating the Layout
Now, we can add the same sort of logic in EditFragment to bind the ToDoModel that we added to DisplayFragment.
In EditFragment, add properties for our binding, our navigation arguments, and our viewmodel:
  private var binding: TodoEditBinding? = null
  private val args: EditFragmentArgs by navArgs()
  private val motor: SingleModelMotor by viewModel { parametersOf(args.modelId) }
Then, add functions to inflate the binding, bind our model, and clear the binding:
  override fun onCreateView(
    inflater: LayoutInflater,
    container: ViewGroup?,
    savedInstanceState: Bundle?
  ) = TodoEditBinding.inflate(inflater, container, false)
    .apply { binding = this }
    .root

  override fun onViewCreated(view: View, savedInstanceState: Bundle?) {
    motor.getModel()?.let {
      binding?.apply {
        isCompleted.isChecked = it.isCompleted
        desc.setText(it.description)
        notes.setText(it.notes)
      }
    }
  }

  override fun onDestroyView() {
    binding = null

    super.onDestroyView()
  }
If you run the app, click on a to-do item to display it, then click on the “edit” app bar item, you will get a form for modifying the to-do item:
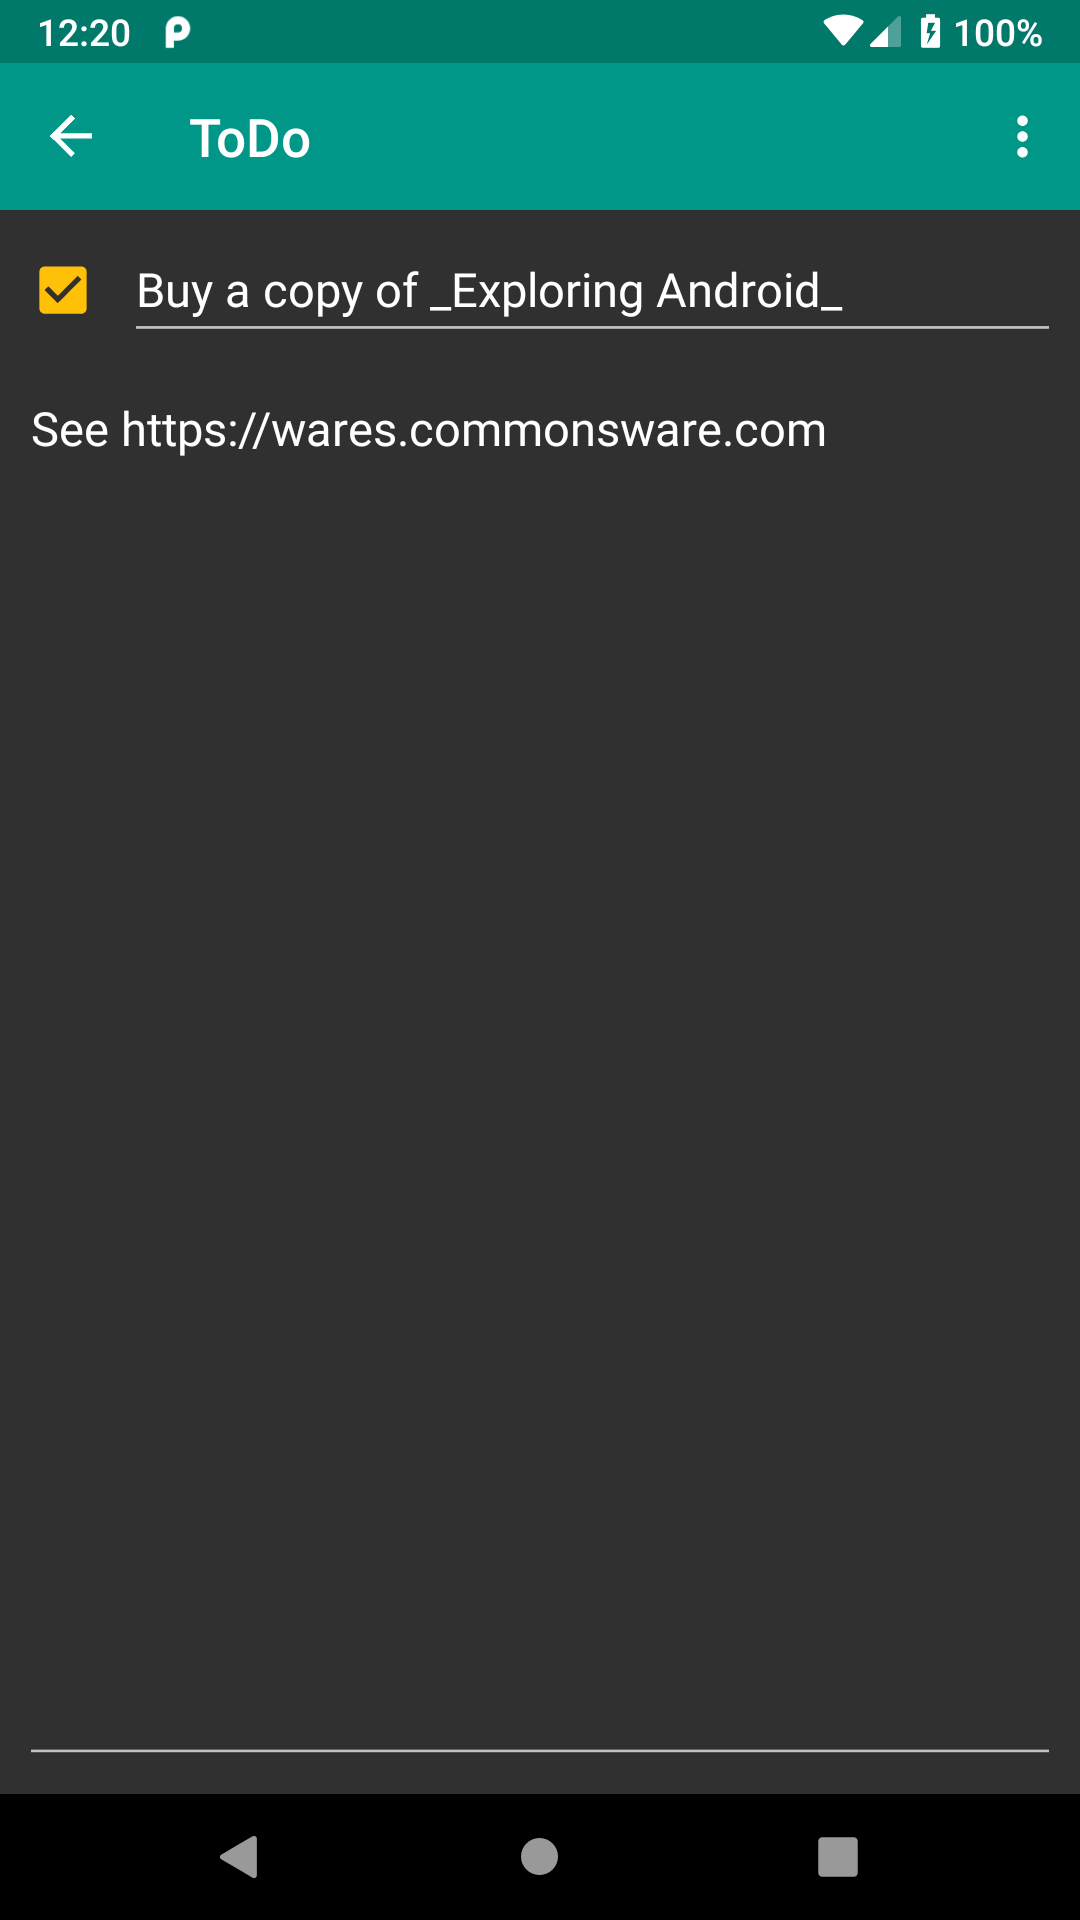
Note that EditText only word-wraps when set up for multiline. Otherwise, long text just scrolls off the end. This is perfectly normal.
A bigger problem is that our changes are not being reflected anywhere. For that, we will need to update our models, and we will deal with that in the next tutorial.
Prev Table of Contents Next
This book is licensed under the Creative Commons Attribution-ShareAlike 4.0 International license.