Step #3: Setting Up a Menu Resource
Somewhere, somehow, the user has to be able to get to this fragment. A typical pattern is for there to be an “edit” option somewhere where we are displaying the thing to be edited. In the case of this app, that implies having an “edit” option on the DisplayFragment, and we can do this by adding an app bar item.
First, though, we need an icon for that button. Right-click over res/drawable/ in the project tree and choose “New” > “Vector Asset” from the context menu. This brings up the Vector Asset Wizard. There, click the “Clip Art” button and search for edit:
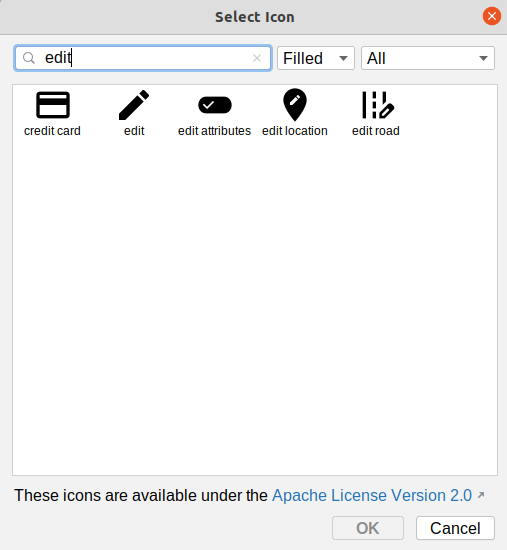
Choose the “edit” icon and click “OK” to close up the icon selector. Change the icon’s name to ic_edit. Then, click “Next” and “Finish” to close up the wizard and set up our icon.
If the icon selector did not open, that may be due to this Arctic Fox bug. Instead, just close up the Vector Asset wizard, and download this file into res/drawable instead. That is the desired icon, already set up for you.
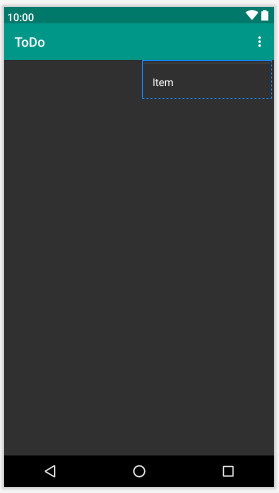
Then, right-click over the res/menu/ directory and choose New > “Menu resource file” from the context menu. Fill in actions_display.xml in the “New Menu Resource File” dialog, then click OK to create the file and open it up in the menu editor. In the Palette, drag a “Menu Item” into the preview area. This will appear as an item in an overflow area:
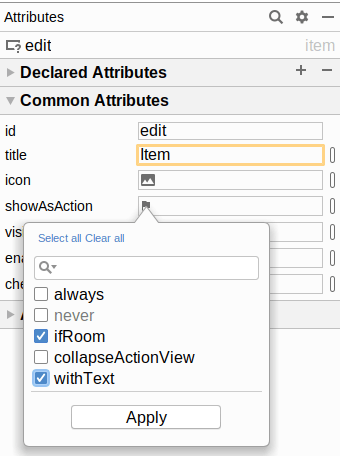
In the Attributes pane, fill in edit for the “id”. Then, choose both “ifRoom” and “withText” for the “showAsAction” option:
Click on the “O” button next to the “icon” field. This will bring up an drawable resource selector. Open the “Project” category, then click on ic_edit in the list of drawables, then click OK to accept that choice of icon.
Then, click the “O” button next to the “title” field. As before, this brings up a string resource selector. Click on “String Value” in the “+” drop-down towards the top. In the dialog, fill in menu_edit as the resource name and “Edit” as the resource value. Click OK to close both dialogs.
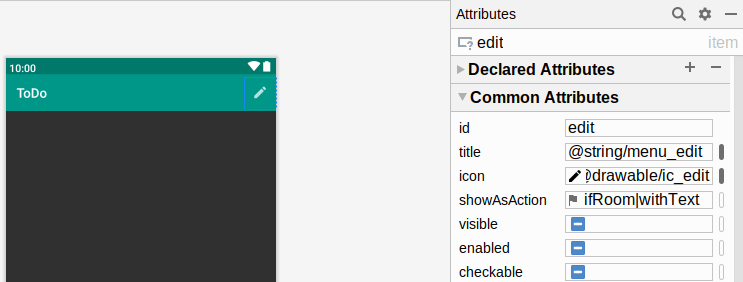
At this point, your menu editor preview should resemble:
Prev Table of Contents Next
This book is licensed under the Creative Commons Attribution-ShareAlike 4.0 International license.