Step #2: Setting Up the Navigation
This class needs the ID of the ToDoModel to edit, just as DisplayFragment needed the model to display. So, we are going to set up the same sort of navigation logic as we used to get from RosterListFragment to DisplayFragment, this time to get from DisplayFragment to EditFragment.
Once again, open res/navigation/nav_graph.xml. This time, when you click the new-destination toolbar button, EditFragment should be among the options. Choose it, adding it to your graph. If needed, drag it over to the right side of the space, perhaps adjusting the zoom level using the +/- toolbar buttons:
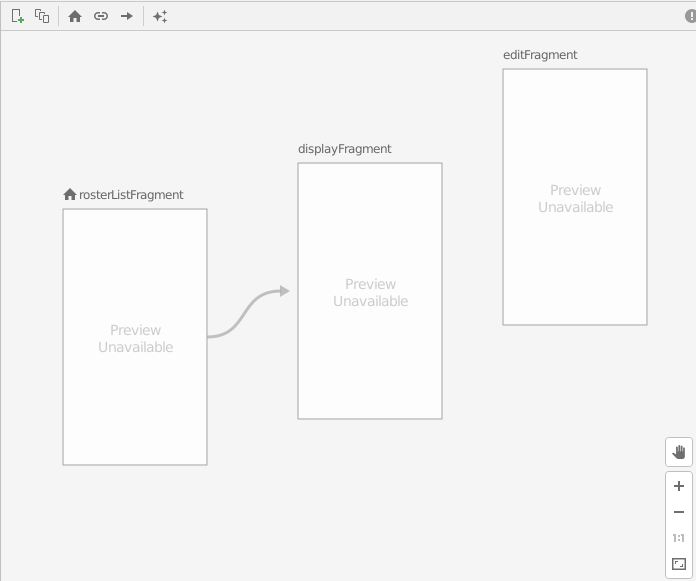
editFragment Destination
Next, click on displayFragment and drag an arrow from it to editFragment:

In the “Attributes” pane, with the new action selected, change the ID to editModel.
Then, click on editFragment. Change the “Label” to be @string/app_name.
Next, in the “Arguments” section of the “Attributes” pane, click the + icon to add a new argument. As before, give it a name of modelId and a type of String. Then click “Add” to add it to the navigation graph.
Prev Table of Contents Next
This book is licensed under the Creative Commons Attribution-ShareAlike 4.0 International license.