Step #6: Wiring Up the RecyclerView
Now, we can teach RosterListFragment to use our RosterAdapter.
So far, we have not needed to reference any widgets from our todo_roster layout, so we have a simple use of LayoutInflater in onCreateView() of RosterListFragment. But, we are going to need to start configuring the RecyclerView, so we should switch to view binding for this layout.
First, add a binding property to RosterListFragment:
private var binding: TodoRosterBinding? = null
This property is nullable, and we initialize it to be null.
Then, change onCreateView() in RosterListFragment to be:
  override fun onCreateView(
    inflater: LayoutInflater,
    container: ViewGroup?,
    savedInstanceState: Bundle?
  ): View = TodoRosterBinding.inflate(inflater, container, false)
    .also { binding = it }
    .root
Now, we return the results of calling inflate() on the TodoRosterBinding class created from our todo_roster layout resource. And, we use Kotlin’s also() scope function to say “in addition, please set binding to be this value”, so we can have a reference to it later on.
Then, add this onViewCreated() function to RosterListFragment:
  override fun onViewCreated(view: View, savedInstanceState: Bundle?) {
    super.onViewCreated(view, savedInstanceState)

    val adapter = RosterAdapter(layoutInflater)

    binding?.items?.apply {
      setAdapter(adapter)
      layoutManager = LinearLayoutManager(context)

      addItemDecoration(
        DividerItemDecoration(
          activity,
          DividerItemDecoration.VERTICAL
        )
      )
    }

    adapter.submitList(motor.items)
    binding?.empty?.visibility = View.GONE
  }
Here we:
- Create a
RosterAdapterinstance - Attach that
RosterAdapterto ourRecyclerViewviasetAdapter() - Tell the
RecyclerViewthat it is to be in the form of a vertically-scrolling list, by supplying aLinearLayoutManagerto thelayoutManagerproperty - Add divider lines between the rows by creating a
DividerItemDecorationand adding it as a decoration to theRecyclerView - Populate the list by calling
submitList()on theRosterAdapter, providing the list ofToDoModelobjects that we get from asking ourRosterMotorinstance for theitems - Hide the
emptywidget, by setting its visibility to beGONE
Finally, add this onDestroyView() function:
  override fun onDestroyView() {
    binding = null

    super.onDestroyView()
  }
This sets binding back to null. Ideally, anything that you create in onCreateView() and explicitly hold onto, you clean up in onDestroyView(), to prevent possible memory leaks. We populated binding in onCreateView(), so we should clean up binding in onDestroyView(), so we do not leak the binding object after our UI is destroyed.
You can now run the app, and it will show your hard-coded to-do items in the list:
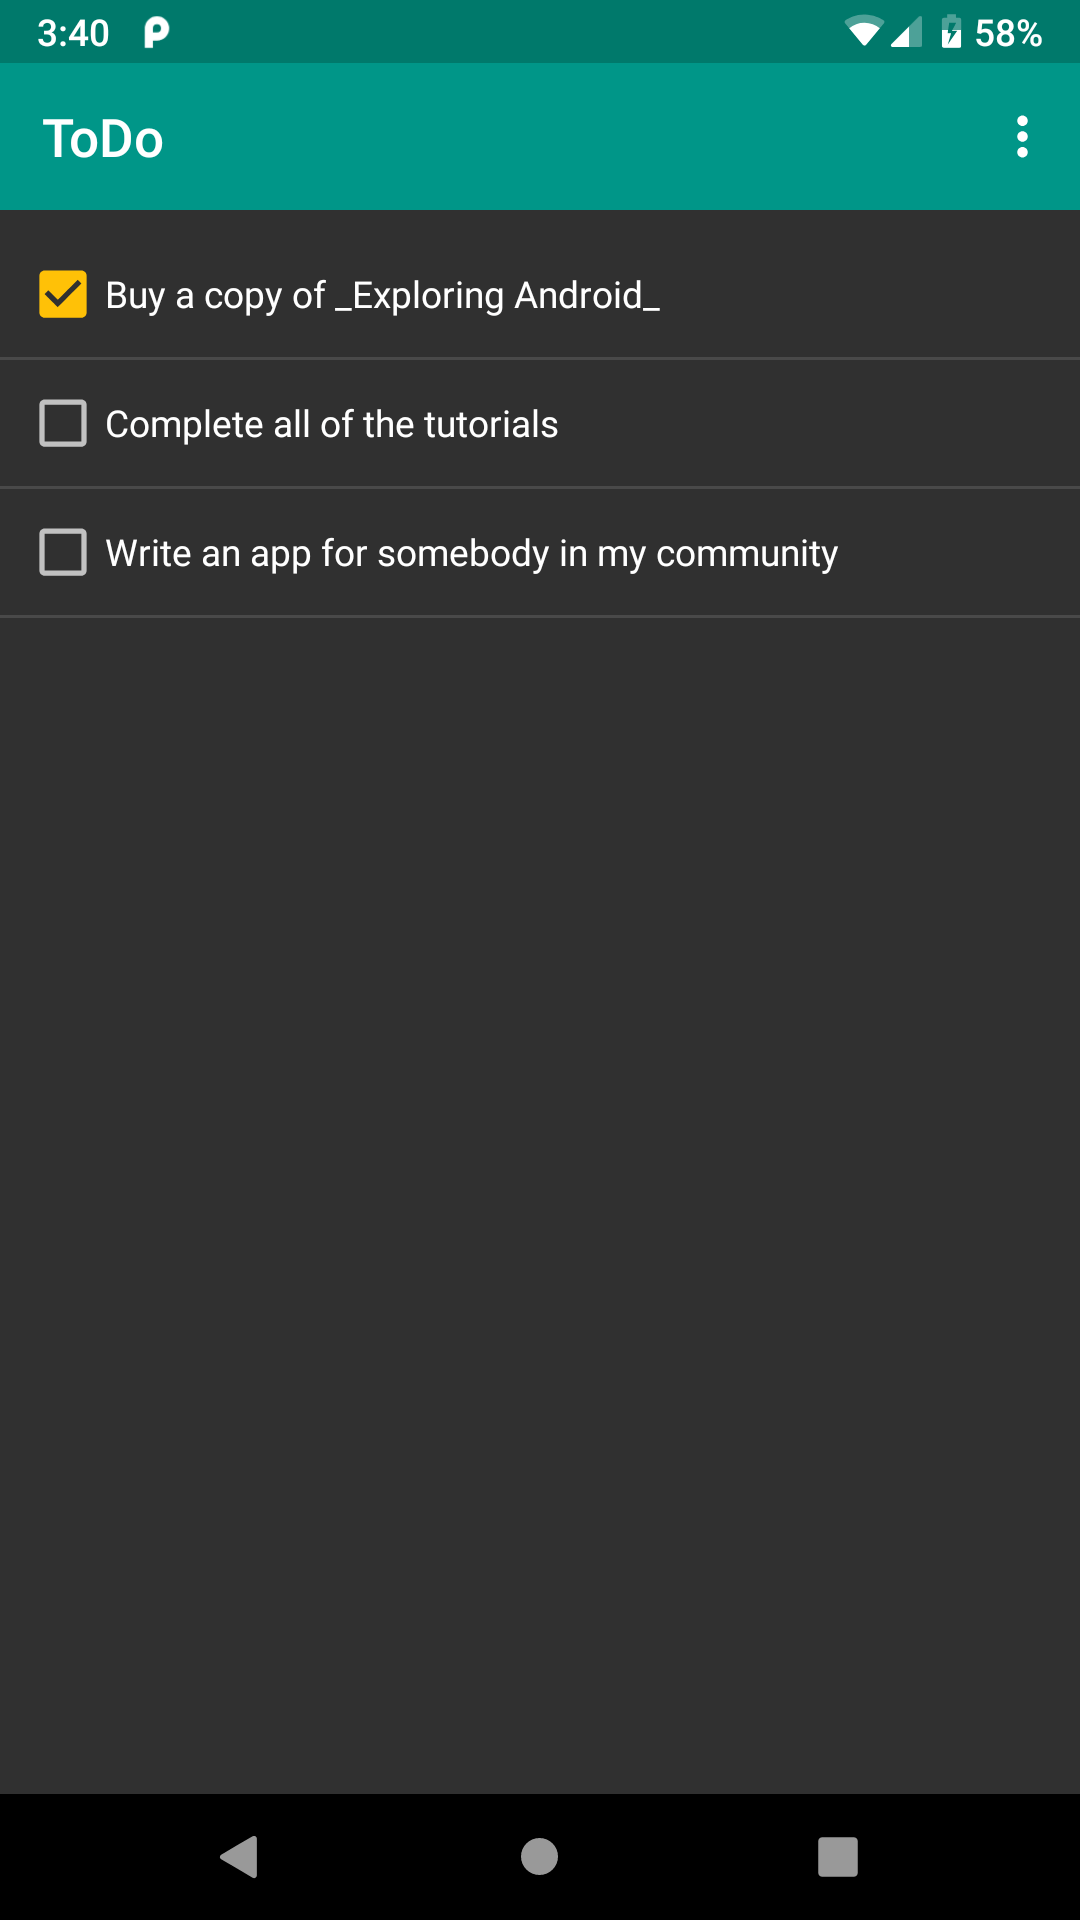
And, if you click on rows in the list (away from the checkboxes), you should see a ripple effect. We got that from those manually-added attributes on the ConstraintLayout in the row layout XML. Long-term, that ripple effect will have less of an impact, because we will be launching another screen when the user taps on a row, and that will happen quickly enough that users may not notice the ripple effect. But, having that sort of visual cue for clickable widgets is still considered to be a good idea.
Prev Table of Contents Next
This book is licensed under the Creative Commons Attribution-ShareAlike 4.0 International license.