Step #5: Populating the Toolbar and WebView
Open up AboutActivity into the editor, and change it to:
package com.commonsware.todo

import androidx.appcompat.app.AppCompatActivity
import android.os.Bundle
import com.commonsware.todo.databinding.ActivityAboutBinding

class AboutActivity : AppCompatActivity() {
  override fun onCreate(savedInstanceState: Bundle?) {
    super.onCreate(savedInstanceState)

    val binding = ActivityAboutBinding.inflate(layoutInflater)

    setContentView(binding.root)

    binding.toolbar.title = getString(R.string.app_name)
    binding.about.loadUrl("file:///android_asset/about.html")
  }
}As with MainActivity, we are using view binding in AboutActivity. We create an instance of ActivityAboutBinding using inflate() and use the binding’s root for our content view. Then, we configure one item on each widget in the layout:
- We set the
titleof ourToolbarto be our app’s name, which we obtain by callinggetString(R.string.app_name)to retrieve the value of theapp_namestring resource - We tell the
WebViewto load our asset
loadUrl() normally takes an https URL, but in this case, we use the special file:///android_asset/ notation to indicate that we want to load an asset out of assets/. file:///android_asset/ points to the root of assets/, so file:///android_asset/about.html points to assets/about.html.
(yes, file:///android_asset/ is singular, and assets/ is plural — eventually, you just get used to this…)
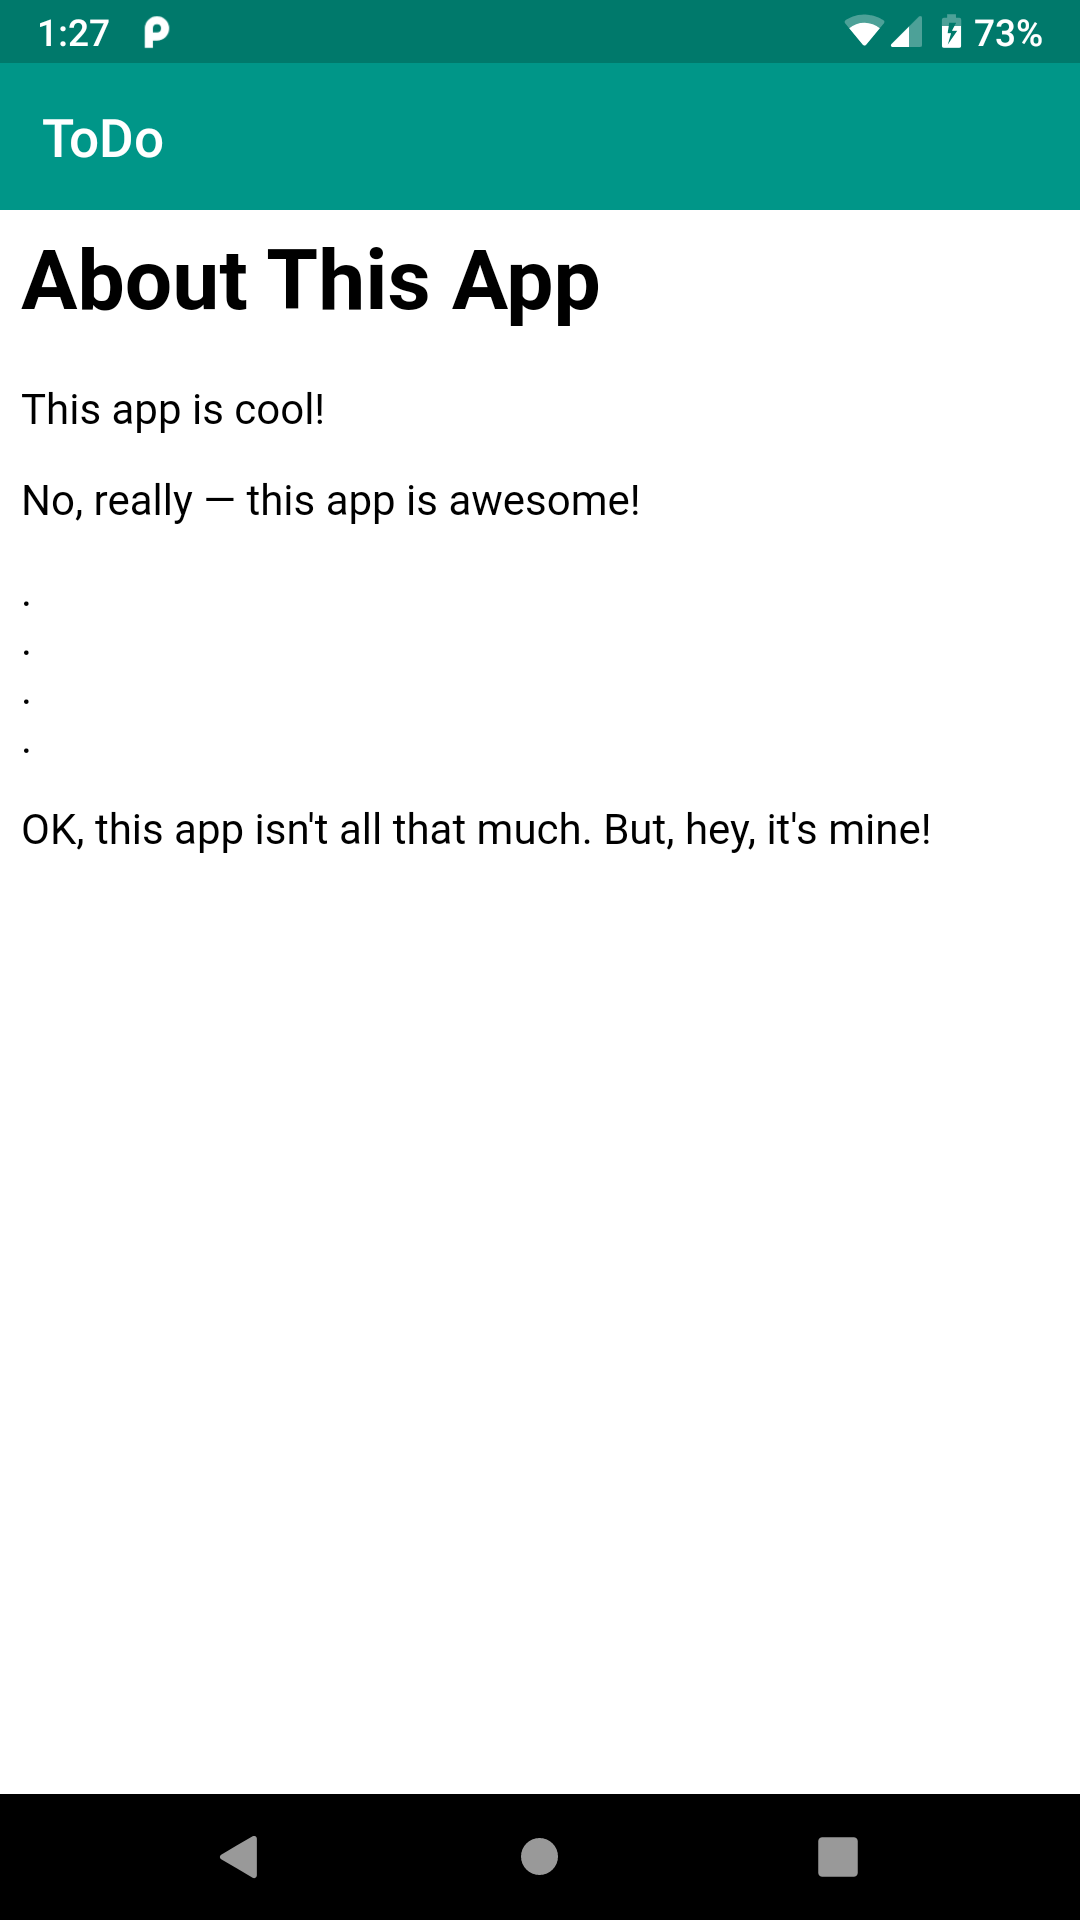
If you now run the app, and choose “About” from the overflow, you will see your about text:
Prev Table of Contents Next
This book is licensed under the Creative Commons Attribution-ShareAlike 4.0 International license.