Step #4: Defining Some About Text
We need some HTML to put into the WebView. We could load some from the Internet. However, then the user can only view the about text when they are online, which seems like a silly requirement. Instead, we can package some HTML as an asset inside of our app, then display that HTML in the WebView.
To that end, right-click over the main source set directory and choose “New” > “Directory” from the context menu. That will pop up a dialog, asking for the name of the directory to create:
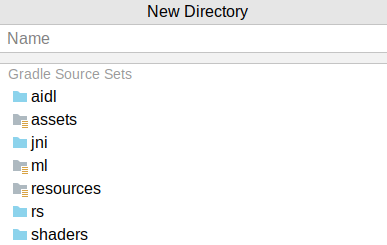
assets happens to be one of the pre-defined options. Double-click on that to create an assets/ directory under main/.
Then, right-click over your new assets/ directory and choose “New” > “File” from the context menu. Once again, you will get an input area, this time to provide the filename. Fill in about.html and click press Enter or Return to create this file. It should also open up an editor tab on that file, which will be empty.
There, fill in some HTML. For example, you could use:
<h1>About This App</h1>
<p>This app is cool!</p>
<p>No, really — this app is awesome!</p>
<div>
.
<br/>
.
<br/>
.
<br/>
.
</div>
<p>OK, this app isn't all that much. But, hey, it's mine!</p>Prev Table of Contents Next
This book is licensed under the Creative Commons Attribution-ShareAlike 4.0 International license.