The Core UI
There are three main screens that the user will spend time in: the roster of to-do items, a screen with details of a particular item, and a screen for either adding a new item or editing an existing one.
There is also an “about” screen for displaying information about the app.
The Roster
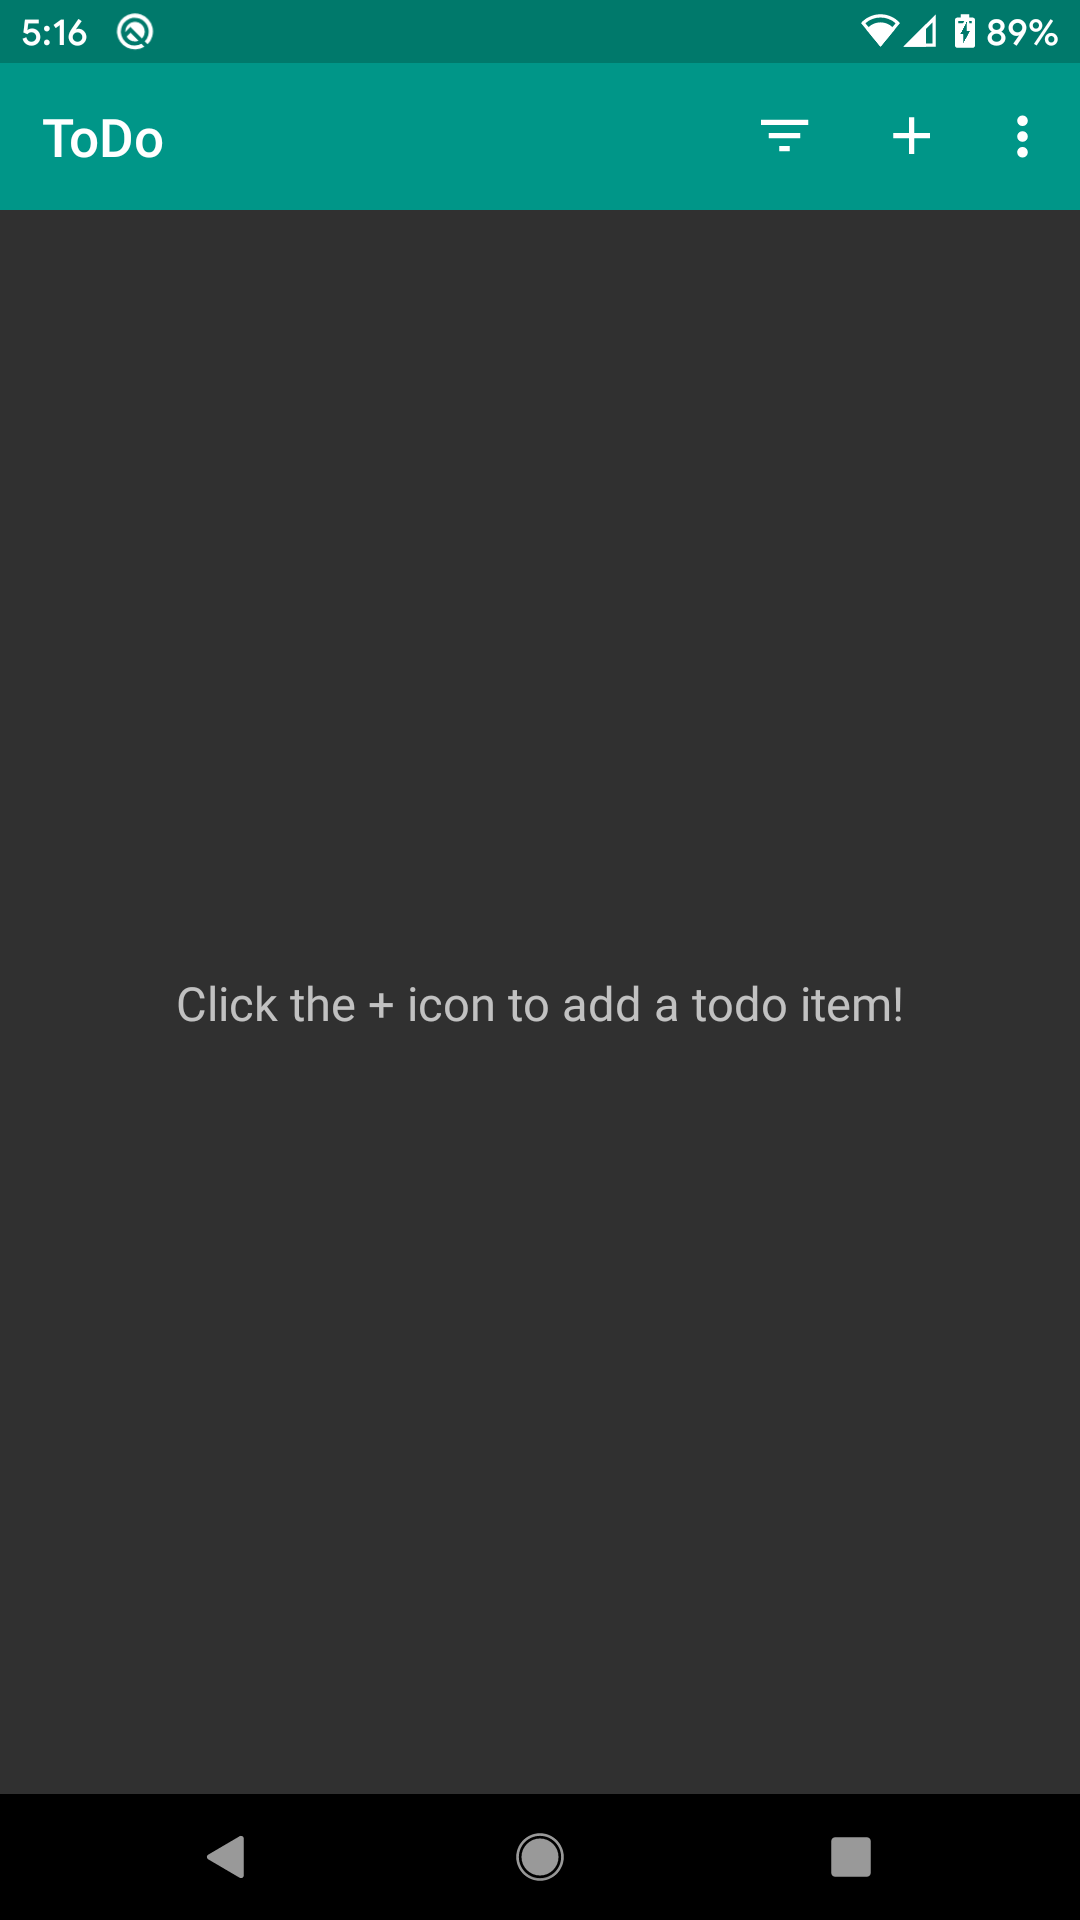
When initially launched, the app will show a roster of the recorded to-do items, if there are any. Hence, on the first run, it will show just an “empty view”, prompting the user to click the “add” app bar item to add a new item:
Once there are some items in the database, the roster will show those items, in alphabetical order by description, with a checkbox indicating whether or not they have been completed:
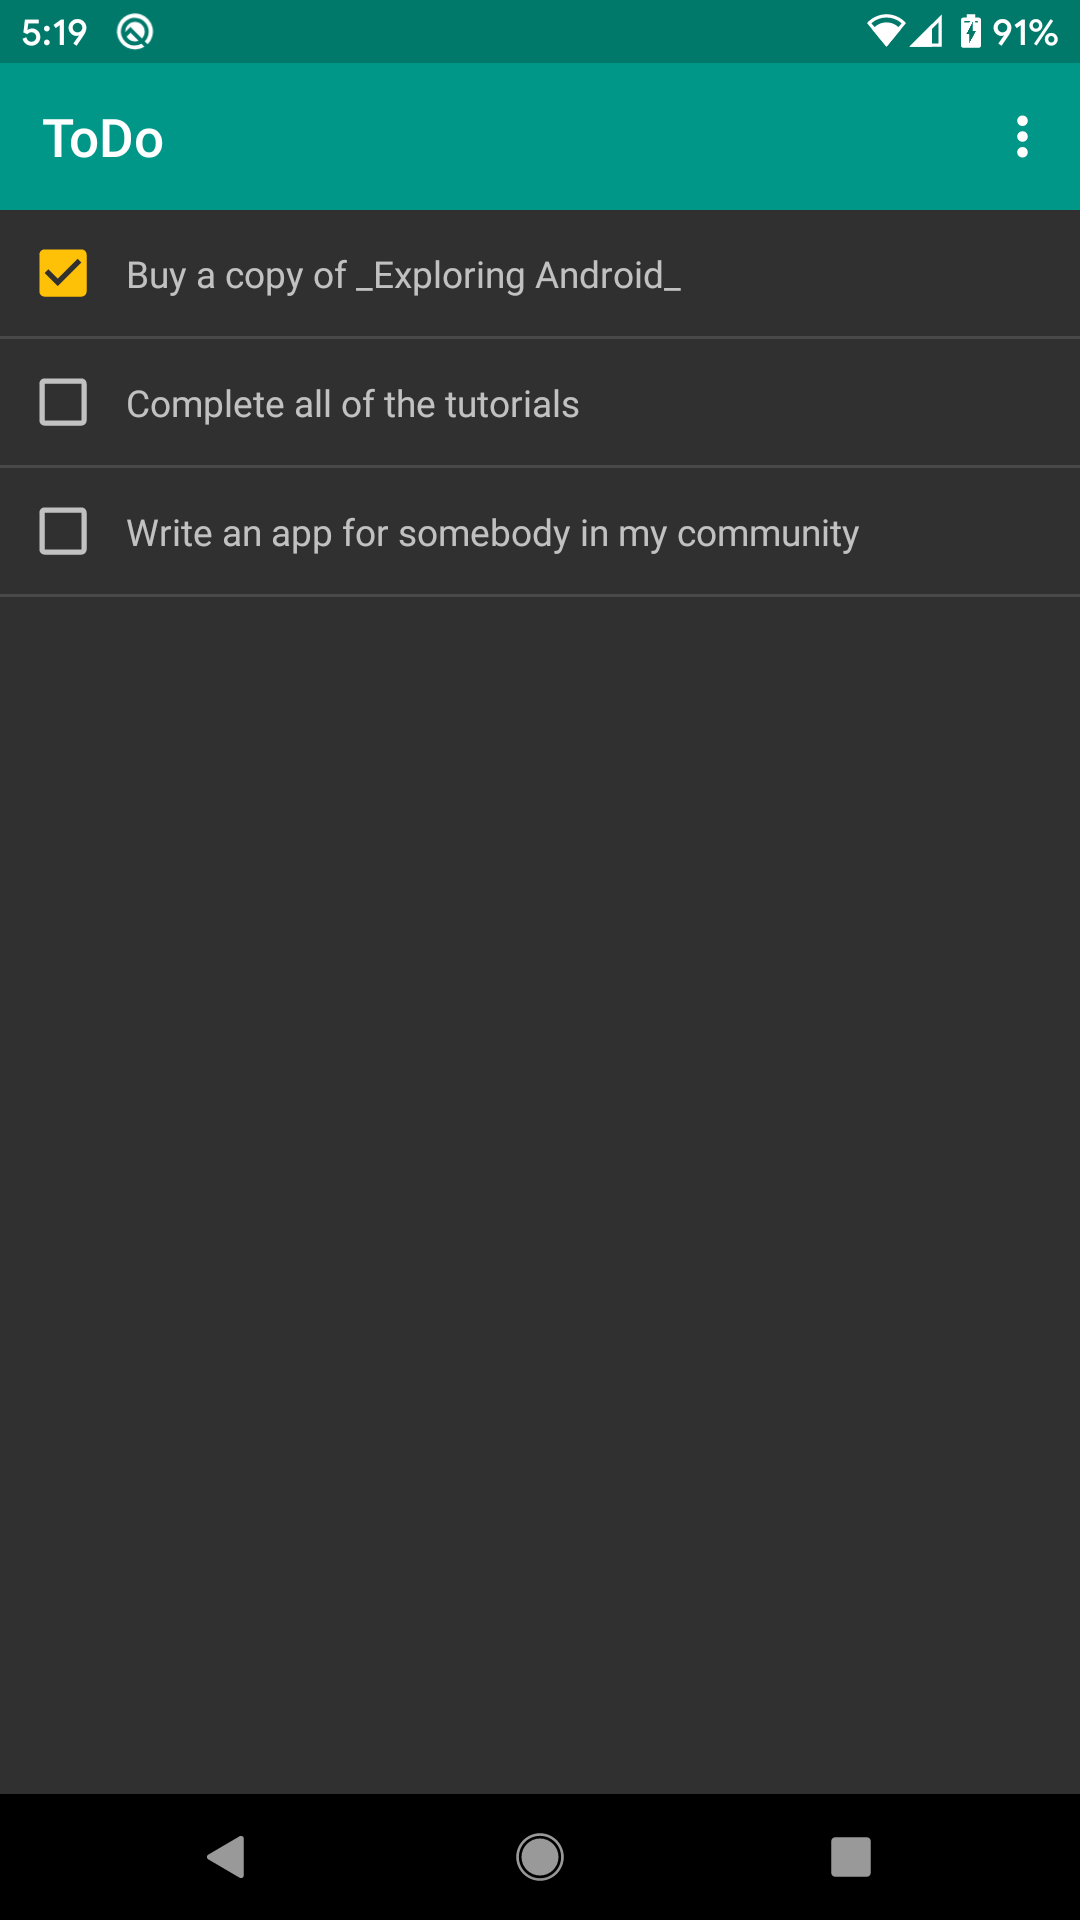
From here, the user can tap the checkbox to quickly mark an item as completed (or un-mark it if needed).
The Details
A simple tap on an item in the roster brings up the details screen:

This just shows additional information about the item, including any notes the user entered to provide more detail than the simple description that gets shown in the roster. The checkmark icon will appear for completed items.
From here, the user can edit this item (via the “pencil” icon).
The Editor
The editor is a simple form, either to define a new to-do item or edit an existing one. If the user taps on the “add” app bar item from the roster, the editor will appear blank, and submitting the form will create a new to-do item. If the user taps on the “edit” (pencil) app bar item from the details screen, the editor will have the existing item’s data, which can be altered and saved:

Prev Table of Contents Next
This book is licensed under the Creative Commons Attribution-ShareAlike 4.0 International license.